| 1 |
Use the Rectangle tool to draw three squares in a corner configuration.
 |
|
Note: You can choose from several techniques to ensure that the edges of the squares meet exactly. Try using Snap to Point, Snap to Guides, Snap to Grid, or the Transform panel to find the method that works best for you. For more information on these features, see the appropriate sections in Using FreeHand or FreeHand Help. |
| 2 |
With the Skew tool, skew the three squares vertically.
 |
| 3 |
Select the top and right squares, then choose Modify > Ungroup to allow editing of the points in each square. |
| 4 |
With the Subselect Pointer tool, Shift-select the two topmost points of the upper square, and then drag them slightly down and to the right.
 |
| 5 |
With Snap to Point on, Shift-select the two rightmost points of the right square, and then drag until the rightmost point of the right square snaps to the rightmost point of the upper square.
 |
| 6 |
Use the Fill inspector to apply Basic fills to the three squares. Use the Cube Highlight swatch for the upper square, the Cube Shadow swatch for the right square, and the Cube Face swatch for the remaining square. |
| 7 |
Remove the stroke (if any) from the three objects that make up the cube. |
| 8 |
Group the three squares that make the cube. |
| 9 |
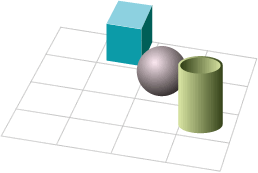
Choose Modify > Arrange > Send to Back to place the cube behind the sphere, then place it on the simple grid in the approximate location it appears in the sample image.
 |
 |
|


