|
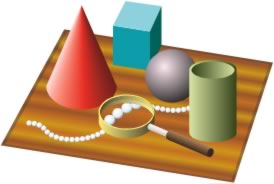
Finish the drawing
The only thing left to do is resize the wood-grained surface to fit the drawing and position it correctly behind the other objects.
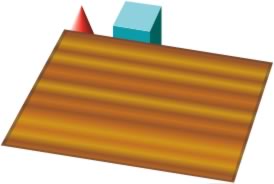
| 1 |
Use the Pointer tool to drag the wood-grained surface into position over the simple grid. |
| 2 |
To manually scale the wood-grained surface to match the size of the simple grid, double-click it with the Pointer tool, and then drag the corner handles to resize the group. When you are finished, choose Edit > Select > None to deselect the group.
 |
| 3 |
To place the wood-grained surface behind the objects in the still-life, choose Modify > Arrange > Send to Back.
|
| 4 |
Choose Window > Panels > Layers to display the Layers panel, and then unlock the Simple Grid layer by clicking the padlock icon for the layer. |
| 5 |
Select the simple grid in the drawing area by clicking it with the Pointer tool, and then choose Edit > Clear to remove the simple grid. |
 |
|
You have now completed the tutorial. Be sure to save your work. Having learned these capabilities of FreeHand, you may find future drawing challenges easier to master.
Submit feedback about this tutorial.
|


