Introduction
Hey, I'm Jess, a motion designer and art director.
In this quick lesson, you'll get an introduction to the Advanced 3D renderer in After Effects and learn how to import and create 3D assets.
Importing 3D models with the Advanced 3D renderer
First, we'll import a 3D model.
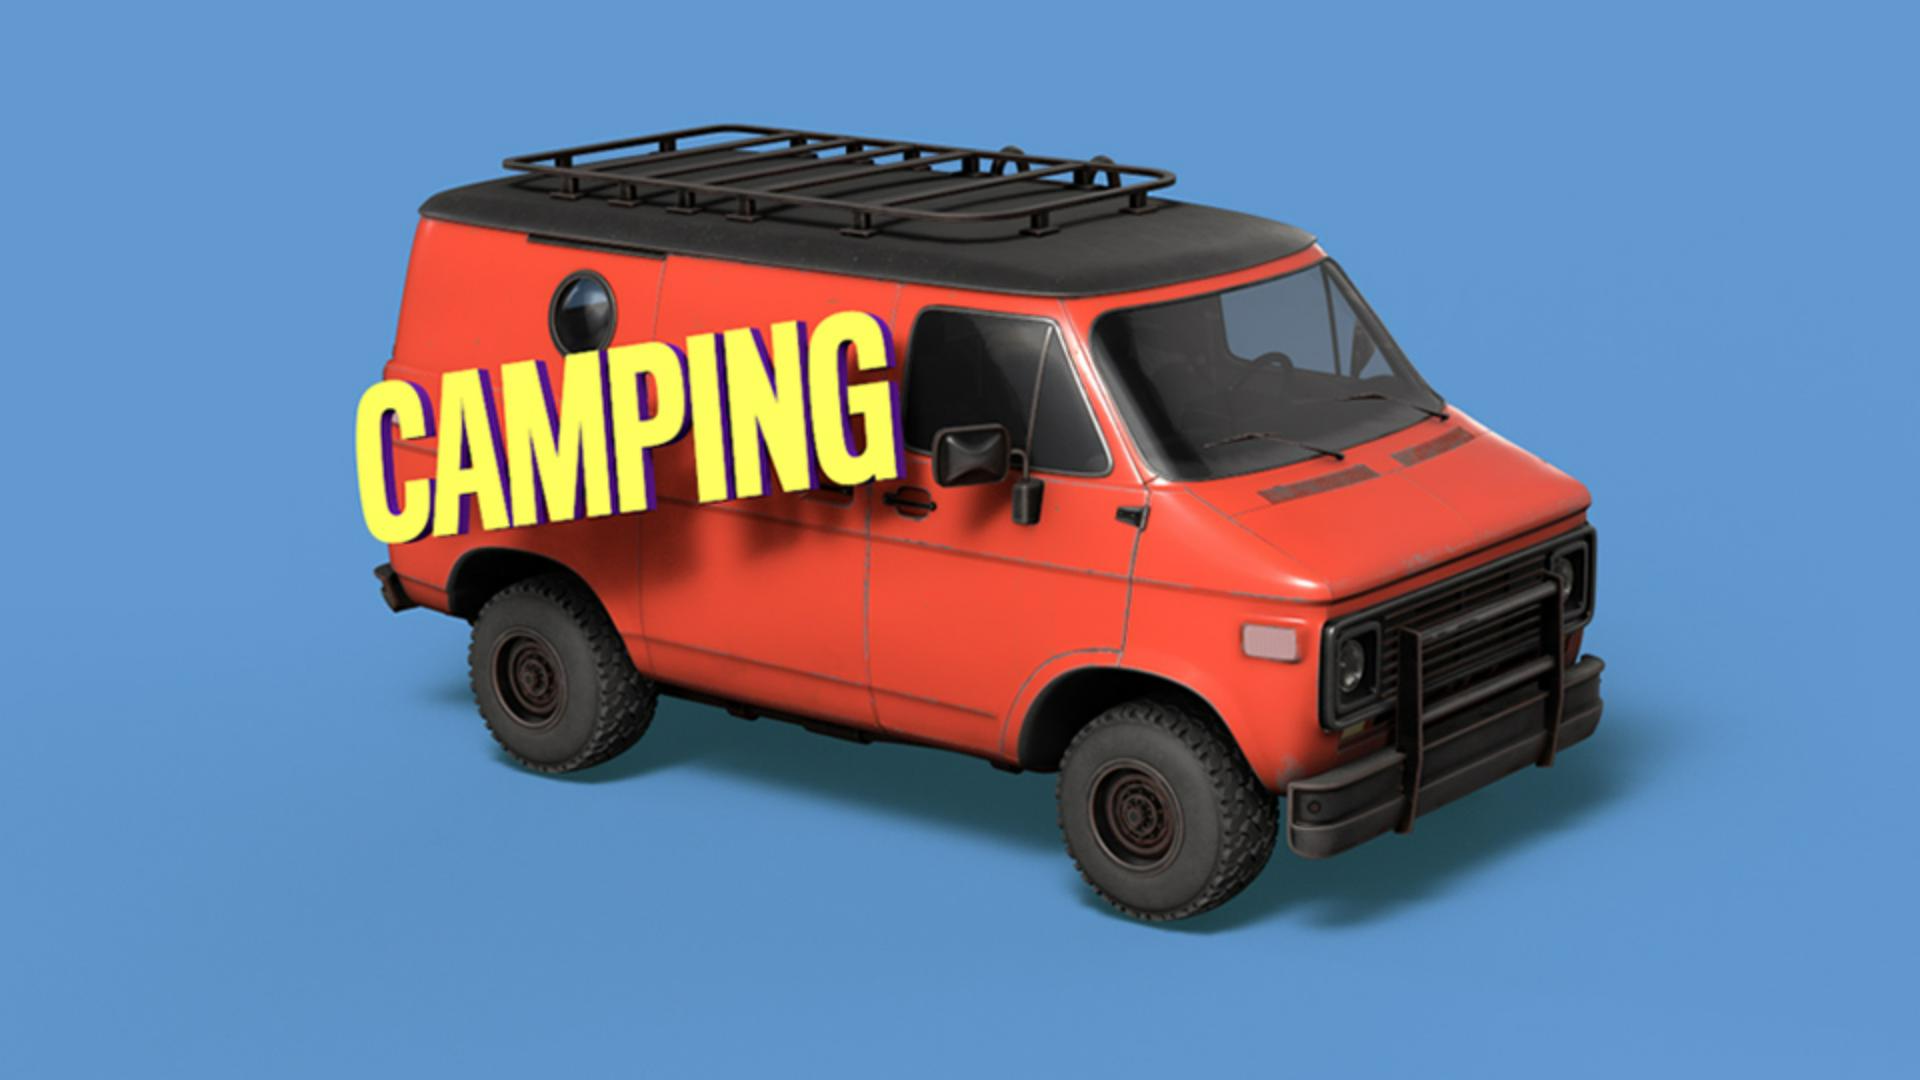
Double-click the Project panel and navigate to the van_01.obj file.
Drag it into the scene.
After Effects will switch to the Advanced 3D renderer, which allows high-quality GPU physically-based rendering.
We can import 3D models, use environment lights and materials on 3D layers.
Click OK.
You can make some adjustments in the Model Settings.
In this case, let's click on Make Comp Size.
Let's hit OK.
And there you have it.
The 3D model is ready to go.
You can find ready-to-use 3D models from Adobe Stock.
You can also create your own models with 3D software of your choice.
Use the Orbit, Pan, and Dolly tools to frame your model by clicking and dragging in the composition.
Next, we'll add an environment light.
Adding and adjusting environment lighting
Go to Layer, New, Light...
Choose Environment from the drop-down and click OK.
Environment lights wrap an image around the scene and use that image information to create realistic lighting.
Rotating the light changes the reflections, shadows and overall lighting.
This is After Effects' default environment light, but you can learn how to customize lights using images in another tutorial from Adobe Learn.
Now we can ground the van with some shadows.
Grounding 3D objects with shadows and solids
Create a new White Solid with the shortcut Control Y, make it 3D by hitting the 3D switch, then change the X Rotation to 90.0°.
Make the solid bigger than the cast shadow, so the shadows are no longer cropped.
To hide the solid's color, but keep the shadows, open Material Options and set Accept Shadows to Only.
You can change the shadow color of this layer here too.
There are other properties here that help you define how the light interacts with this layer.
You can tweak the Rotation of the light again to change how the shadows are cast.
To get faster previews, toggle Draft 3D in the Comp viewer.
This turns off heavy rendering effects like shadows.
You can also toggle the 3D ground plane to help with object placement.
Click the toggle again to turn it off.
Creating and stylizing 3D text
Next, we'll add some 3D text.
Create a text layer, make it 3D, and position it near the van.
Under Geometry Options, we can increase the Extrusion Depth to give it some sides.
Under Material Options, we can change these properties to refine the look of the layer.
In this case, let's just boost the Specular Shininess to give it some shine.
To stylize further, on the text layer, click the arrow next Animate.
Within this menu are various components of the 3D text and additional properties such as color and materials for each.
I'll adjust the side RGB color value, and I'll also reduce the Specular Shine of the front.
These shadows look pretty noisy, but we can increase the render quality before exporting the final.
Under the drop-down that says Advanced 3D,
Improving render quality and shadow settings
navigate to the Render Options...
We can increase the overall Render Quality and dial in the Shadow Resolution and Smoothness here.
Keep these settings low while you're working for better performance and raise them for final output or preview.
The Casting Box Size controls how much of your scene receives and calculates shadows.
The dotted pink line indicates the bounds of the matte.
A bigger box size requires more calculations and longer render times, but if it's too small, it will cut off the shadows.
So, try to find the right balance.
It doesn't change the shadow quality, just the coverage area.
Now that you know how to import 3D models and make your own 3D shapes, you should check out the lesson about image-based environment lighting.
Thanks so much for watching.


