Change the color of an object
Want to change the color of an item in a photo without affecting the rest of the image? Use the Brush tool in Adobe Photoshop Lightroom to paint a new color tint over the original color.

This sample file has Adobe Stock images you can use to practice what you learn in this tutorial. If you want to use the sample file beyond this tutorial, you can purchase a license onAdobe Stock . Check out the ReadMe file in the folder for the terms that apply to your use of this sample file.
Feel free to use our practice file, or try these steps with your own photo. For this photo, we wanted to change the color of the model’s shirt. Choose the Brush tool so you can make selective edits, and then brush over the areas you want to modify. Brush along the outer edges, and then fill in the outline with a wider brush. Use the bracket keys on your keyboard to adjust the brush size, and hold Shift while dragging to draw a straight line.
When you paint with the Brush tool, Lightroom applies a mask to show where future edits will be applied. Tap the O key on your keyboard to cycle through the mask overlay options. A red overlay (this may look gray when applied over green tones) helps you see the areas you have selected with the brush. Zoom in, and then hold the spacebar and drag to move the image around as you edit.

Tap the O key to hide the mask overlay and experiment with the Edit sliders to see what new colors you can create. Below is the result of some of our experiments. Reduce Saturation to lighten, or remove a color altogether. Experiment with the White Balance settings, Temp and Tint, for subtle tone changes. See how adjusting Exposure and Contrast can change the colors even more.

See below the adjustments we made for the final image. To continue adjusting edits, tap the O key until you see the blue pin, click on it, and adjust the Edit sliders as needed.

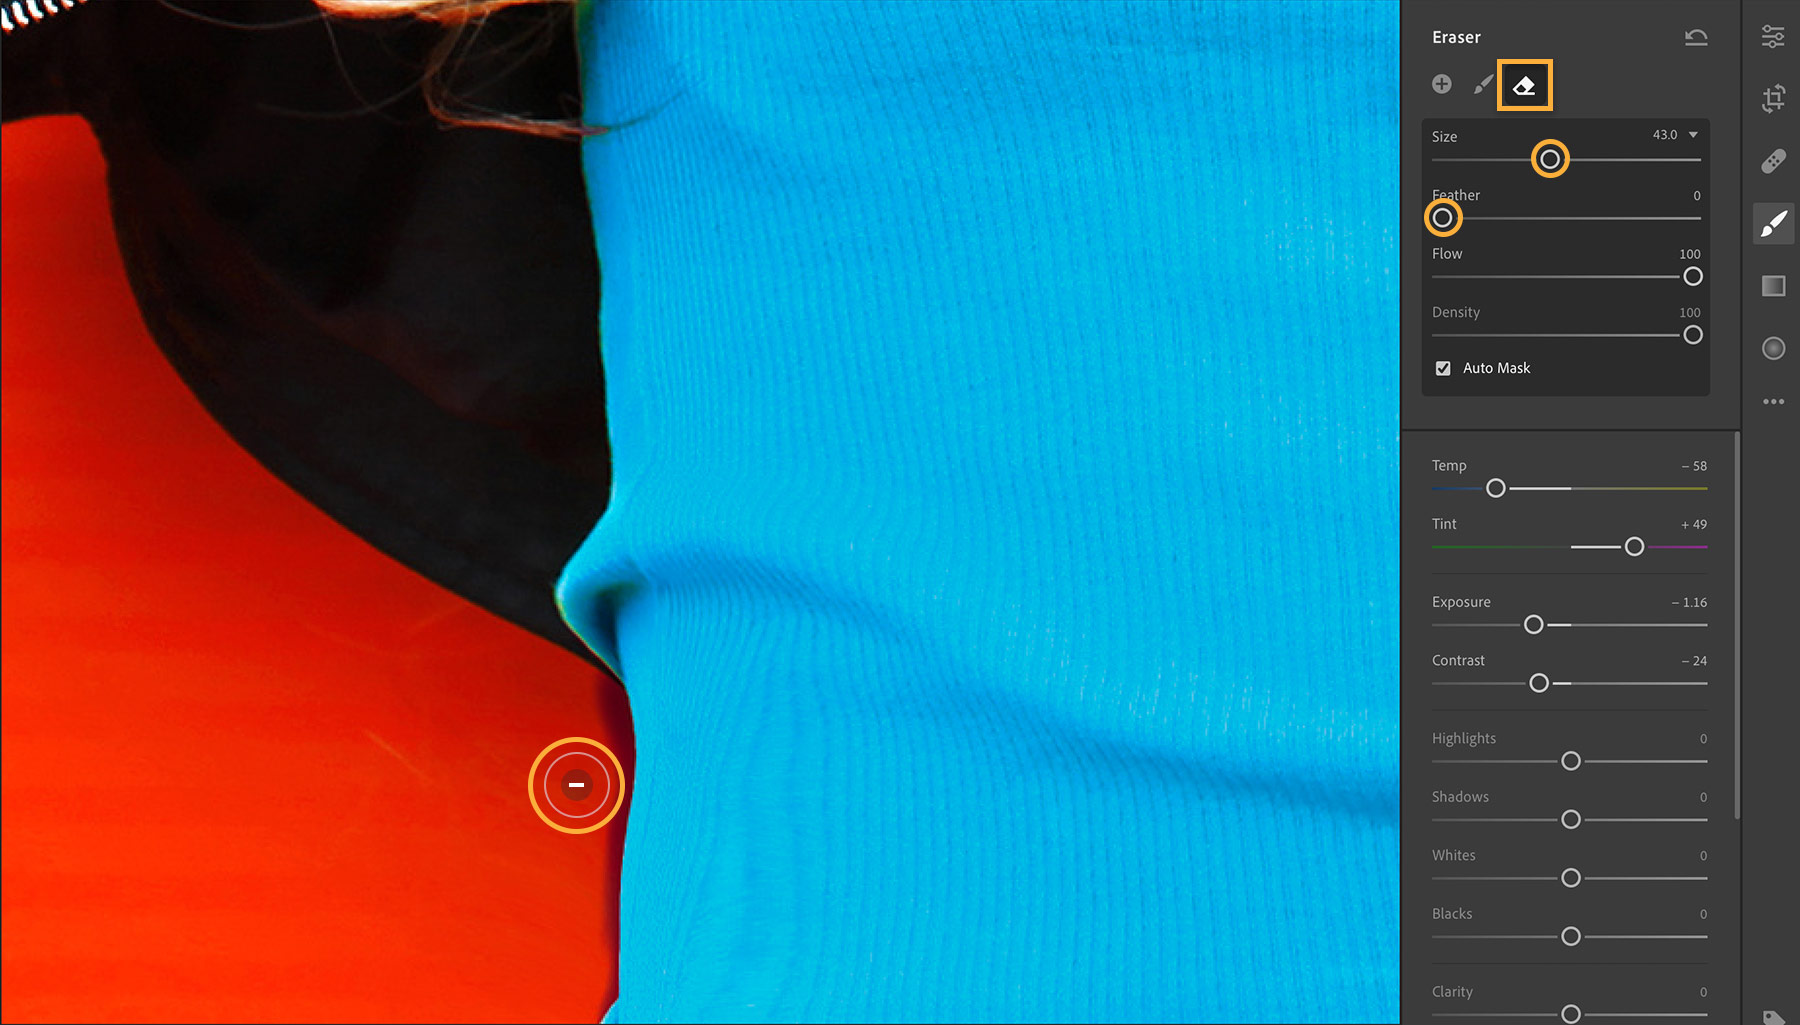
In case you accidentally overshot with the brush, choose the Eraser tool. Adjust the size of the eraser and paint over the unwanted selection.

Check out the before and after results of the color change we made.


Now, you can use the Brush tool and adjust a few sliders to apply a new color tint to select parts of any image.
With Adobe Stock, you have access to more than 100 million high-quality, royalty-free images including photos, graphics, videos, and templates to jump-start your creative projects. TryAdobe Stock and get 10 free images.


