LIGHTROOM
For iOS and Android

Getting an assist from aperture priority mode.
Discover how this digital camera setting can help you to capture great shots at times when shooting in manual mode may not be ideal.
Aperture’s role in photography.
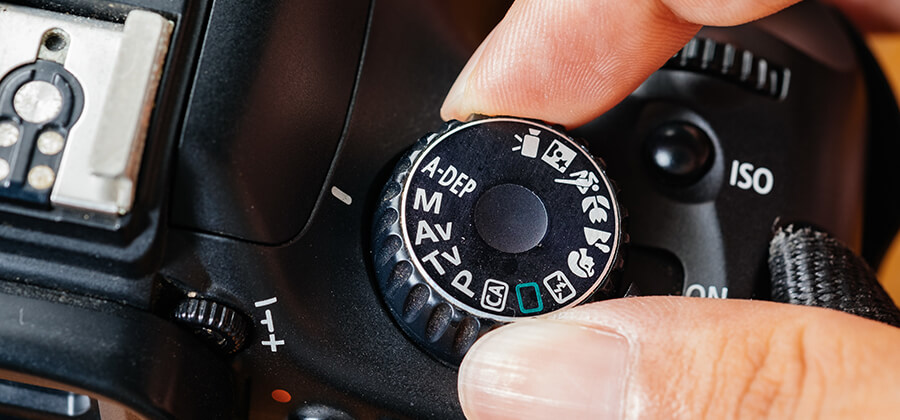
There are three main settings you can adjust to get the exposure you want when taking pictures: shutter speed, ISO and aperture. In digital photography, camera technology now features modes that can help to adjust those settings for you. One of those modes is aperture priority. With it, the photographer selects a specific aperture value and the camera autoselects the proper shutter speed based on how much light it detects.
Understanding aperture settings.
Aperture is the adjustable opening in a camera lens that lets light through to the image sensor, much like the human iris. Aperture is measured in stops indicated with f numbers. A smaller f-stop number gives you a large aperture to let in more light. A larger f-stop number corresponds to a narrow aperture that lets in less light. These adjustments affect the range between the nearest and furthest objects in focus within a picture — this is known as depth of field. Shallow depth of field, which blurs the background to place focus on a subject, can be achieved with a wide aperture. A smaller aperture will give you a larger depth of field, equating to more objects in focus.
Aperture priority and other shooting modes.
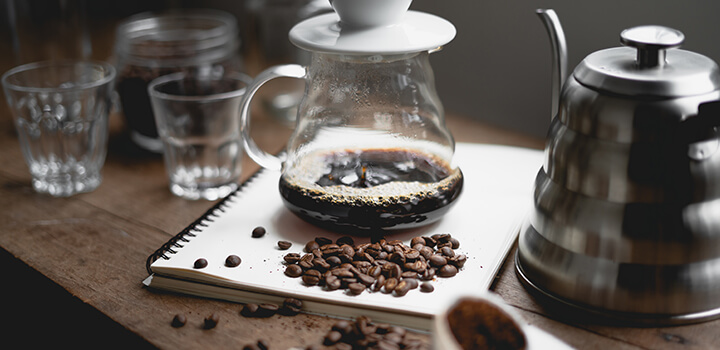
Here’s a quick breakdown of camera settings found on the mode dial of most digital cameras.
Aperture priority: In this camera mode, the photographer selects an aperture and the camera chooses an appropriate shutter speed based on the available light.
Shutter priority mode: The opposite of aperture priority, the photographer sets the shutter priority mode at a certain speed and the camera autoselects a good aperture setting.
Programme mode: Sometimes called auto mode, when the photographer selects programme mode the camera autoselects both aperture and shutter speed.
Manual mode: The photographer is responsible for adjusting both the aperture and shutter speed in this mode.
A learning tool for correct exposure.
Learning when to use a small aperture instead of a wider aperture can require trial and error for beginners. Aperture priority can help you through some of the struggle by automatically finding the right adjustments, which can be a great way to understand the way that aperture interacts with other camera settings.
“For me, aperture priority was a stepping stone toward learning manual mode,” photographer Ivy Chen recalls. “I was able to learn what aperture I preferred in certain situations and understand what aperture looked better in a portrait versus landscape photography.” After taking photos with aperture priority, you can adjust them based on the amount of light you’re shooting in or check the settings later to recreate them on future shoots.
Other great uses for aperture priority.
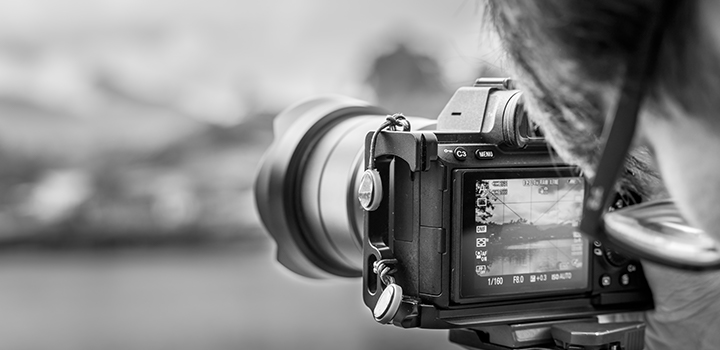
If you’re shooting on a sunny day but want to keep a specific depth of field, aperture priority can be useful. “If there’s plenty of daylight, I’m not super worried about the shutter speed,” photographer Nick Mendez says. “What number of subjects in this frame do I want to be in focus? What am I trying to communicate with that depth of field? The real usefulness of aperture priority mode is that I can make those creative decisions and the camera will make the rest of the exposure decisions for me.”
Conversely, if you’re using the maximum aperture setting because you’re shooting in low light, aperture priority can pick the ideal shutter speed for you to capture the light you need and reduce motion blur. But aperture priority is really a way to simplify your life as a photographer — it’s a tool that lets you rely on technology so you can focus on creative goals. “If I have a good idea of my composition and my lighting’s not too challenging, I really like aperture priority,” photographer Derek Boyd explains. “You’re prioritising your depth of field and saying, ‘I want this and I trust the camera to do the rest.’”
When it comes to shooting subjects in motion with consistent, good lighting, aperture priority can help your camera freeze objects in motion with the right shutter speed. “Everything’s changing all the time when you shoot action,” photographer Justin Bailie says. “With aperture priority, you’re minimising the chances that you completely miss something due to the wrong camera settings.”
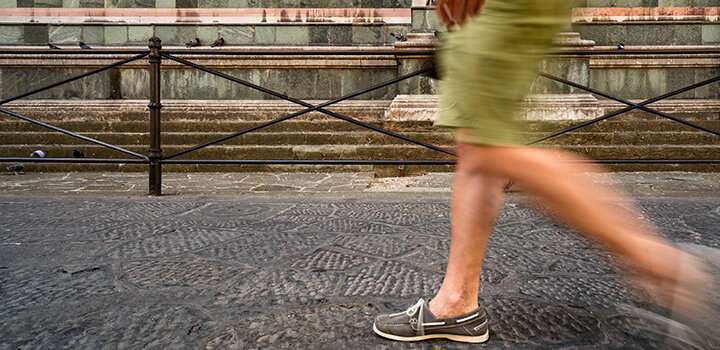
As aperture will affect every photo you take, there’s a lot to understand when it comes to this setting. Mastering when to use and when to forego different camera modes like aperture priority will help you to get what you need from your camera, but if you need to make further adjustments, you can edit for depth of field and more in post-production.
Contributors
Do more with Adobe Photoshop Lightroom.
Edit photos easily with Lightroom presets, Super Resolution, easily share photos from any device and access your projects anywhere with cloud photo storage management.
You might also be interested in…
How to add bokeh backgrounds to your photographs.
Learn more about the beautiful blur effect that can give your photos a striking look.
Tips for capturing nature photos of all kinds.
Explore the possibilities of nature photography, from animals in motion to sprawling landscapes.
Getting into the sports photography game.
Explore the many ways to make a career shooting sports, from live events to fashion shoots.
Make the most of night photography.
Low light doesn’t have to equal low quality with these tips for successful nighttime photos.
