Introduction
Hello, my name is Russell Preston Brown from Adobe Systems.
And in this tutorial, I'm going to be talking about Adobe Photoshop for the iPad.
I want to demonstrate some of my favorite new features and walk you through the process of making a selection.
Now, this is the 1.0 version of Photoshop for the iPad, so we do now have all of the selection tools available that you have on the desktop.
So, you have to get a little bit creative.
So, I'd like to demonstrate some creative tips and techniques for making selections in this tutorial.
Let's get started.
Navigating layers views and workspace gestures
Over here to the right I'd like to show some of the ways in which you can reveal the layers in a document.
Here, this icon at the top shows the compact view of my layers.
Tapping that again will dismiss it.
Tapping on the next icon reveals the detailed view for your layers.
This is the view I like to work in.
Check out this great screen gesture I can use to switch between the Detailed View and the Compact View.
I simply tap with two fingers here on the screen then pinch inward to switch, just like this.
Then I can tap again with two fingers and switch back.
Now, you know.
Next, this icon right here will reveal our Layer Properties.
So, I'm going to have my layers and my Layer Properties open in this fashion as I'm working.
Now, here's a great tip and technique that will resize your image down, so it fits within your available workspace.
Double tap here at the top, on this number right here, the current percentage size.
Double tapping will then drop this down to fit within the window.
Fantastic.
Making selections with the quick select tool
Now, let's make a selection.
Over here in my Toolbar, I'm going to double tap here on my Selection Tools right here.
So, I can see all the tools displayed.
Then, simply select the tool you want to work with by tapping on it.
In this case, I'm going to be using the Quick Select Tool right there.
Notice the properties I set for my Quick Select Tool.
I like to have a hard edge to my tool.
So, I tap on this icon and set it to the hardest value.
I want to have a nice small brush, so I tap here to set it to 16.
And I want to add to my selection, so this icon is selected.
If I wanted to subtract from selections, I'd choose this icon.
But wait, there's one other thing I want to point out.
At the base of each of the Tool Option Bars are the ... you see here.
Be sure and tap on those ..., to see what other options are available for the particular tool you're using.
Now, you know.
Okay, let's get started.
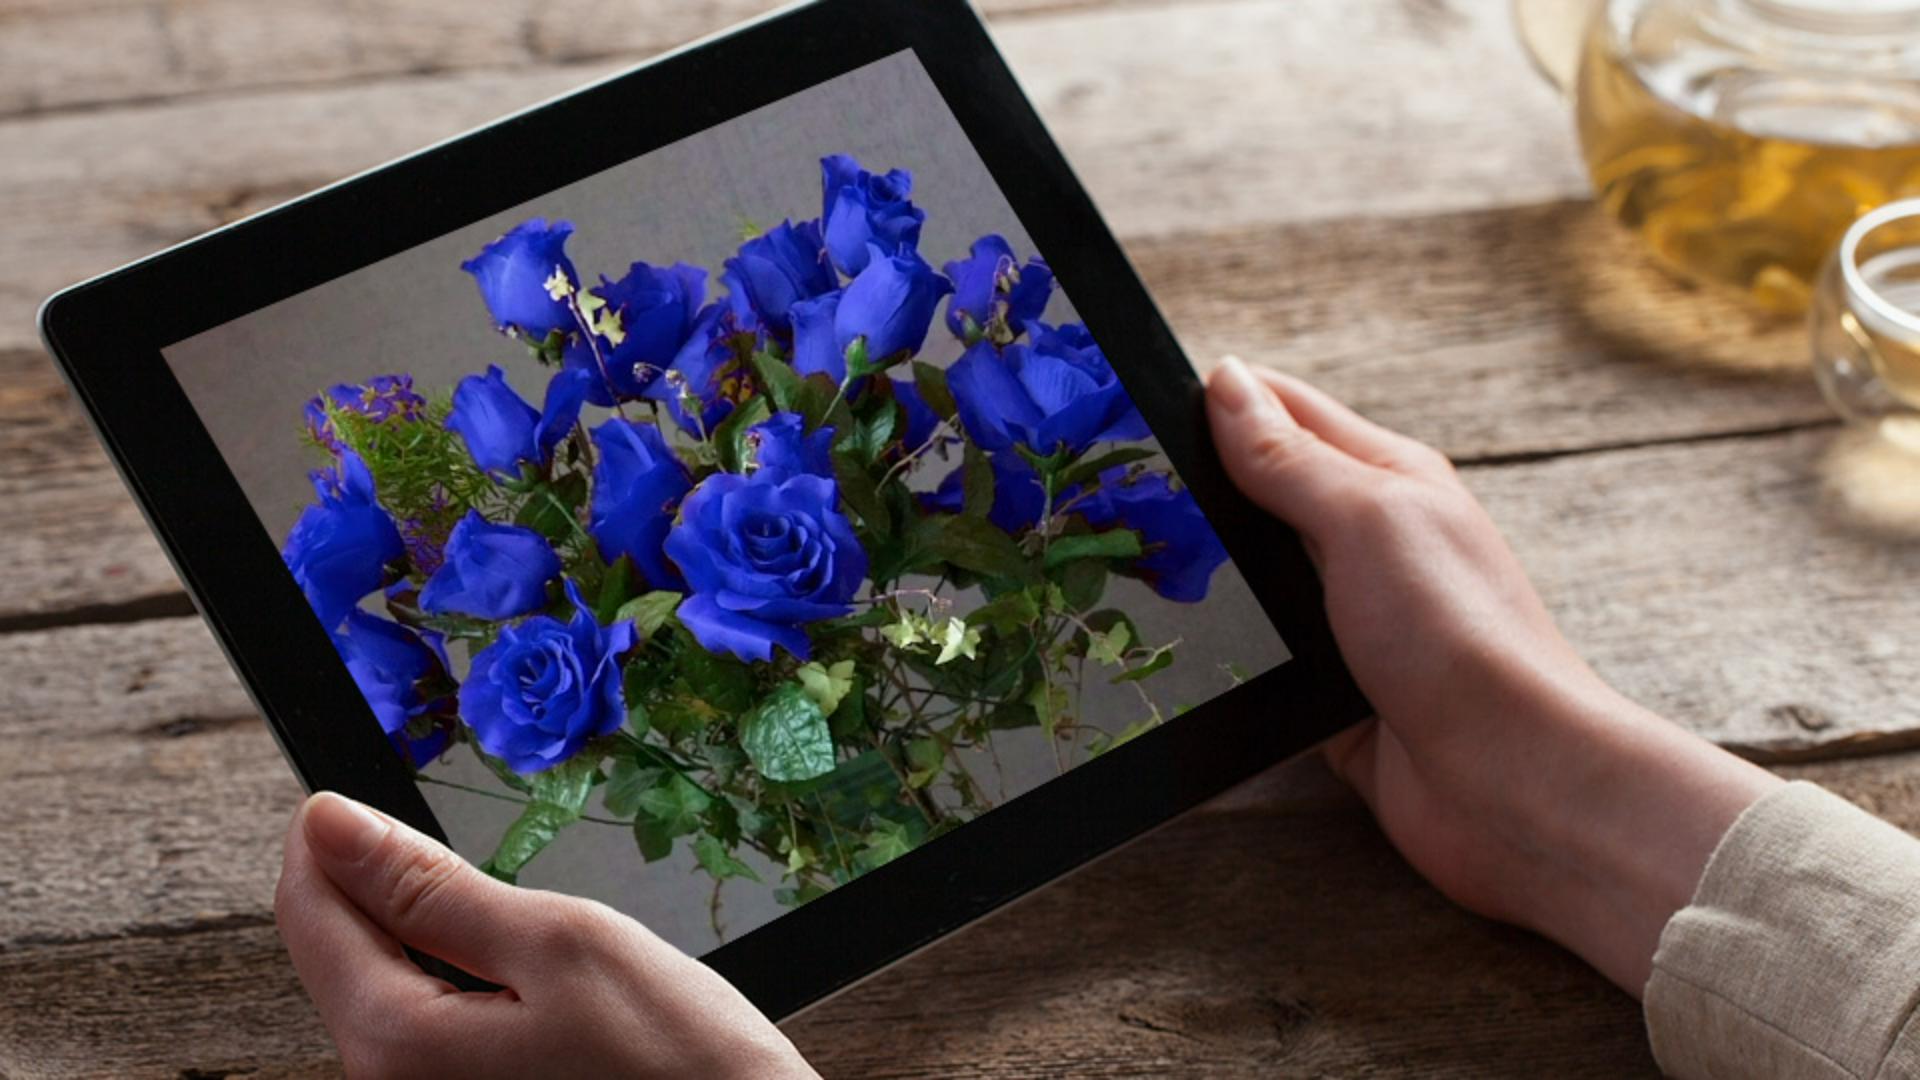
I want to sample some of the shades of red that I want to apply to my selection.
I'm going to select different values of red just like this.
Then down here, in the Selection Tools Action Bar.
Right here, under More - these ...
I'm going to Select similar, right there.
Fantastic.
It selected all of the shades within this image.
Now, I'm going to go down here within my Layers Properties panel
Using select similar with clipped adjustment layers
and I'm going to Add clipped adjustment.
So, it's going to be a non-destructive adjustment that's clipped to this layer and will only effect that layer.
Tapping on this icon, I want to select Hue/Saturation because I want to adjust the color.
Notice up here in my layer's palette, that I have a mask attached to my Hue/Saturation.
The mask is based upon the selection we had earlier, it's then applied this.
If I double tap on this mask you see here, I can then reveal the mask here on my screen.
Excellent.
Double tap again, and it then is dismissed and merely still applied.
Now, with this layer selected, right here the Hue/Saturation 1 layer, I can then adjust the Hue value for everything inside of that mask.
You can see how convenient this Select similar has been for selecting all the similar colors, so I can then adjust them here.
Now I want to finish this off with one more simple super user tip and technique, for working with masks.
Refining masks with gaussian blur and adjustments
I'm going to select the mask here, from my Layers panel, right there.
Then down here, in my Taskbar I'm going to tap on this icon to reveal my Filters and adjustments.
You can now run a Gaussian blur on this mask.
As I tap Gaussian blur, notice I have the ability to adjust this slider.
And I am now blurring the mask.
I'm getting this really interesting multicolor effect, here to my flowers, where I have a combination of the original red color combined with my new hue and saturation adjustment.
This is a destructive adjustment I'm making by the way.
And when I select done, it then applies it to the mask.
Let me double tap here on my screen to reveal this new mask.
And notice, I can go back with my Undo button here at the top and see the before, or my Redo button to see the after.
Double tap again and see my results.
There you have it.
I've reviewed some of my favorite new features found here in Adobe Photoshop for the iPad and giving you a special super user tip and technique for making selections and working with masks.
Give these a try.