Introduction
One of the best things about a layer mask - is that you can edit it.
So if a layer mask - isn't just right at first, you can fine tune it.
I'm Jan Kabili from Adobe.
And in this tutorial, I'll introduce you - to how to refine a layer mask.
One thing layer masks are used for is combining images - to create imaginary scenes.
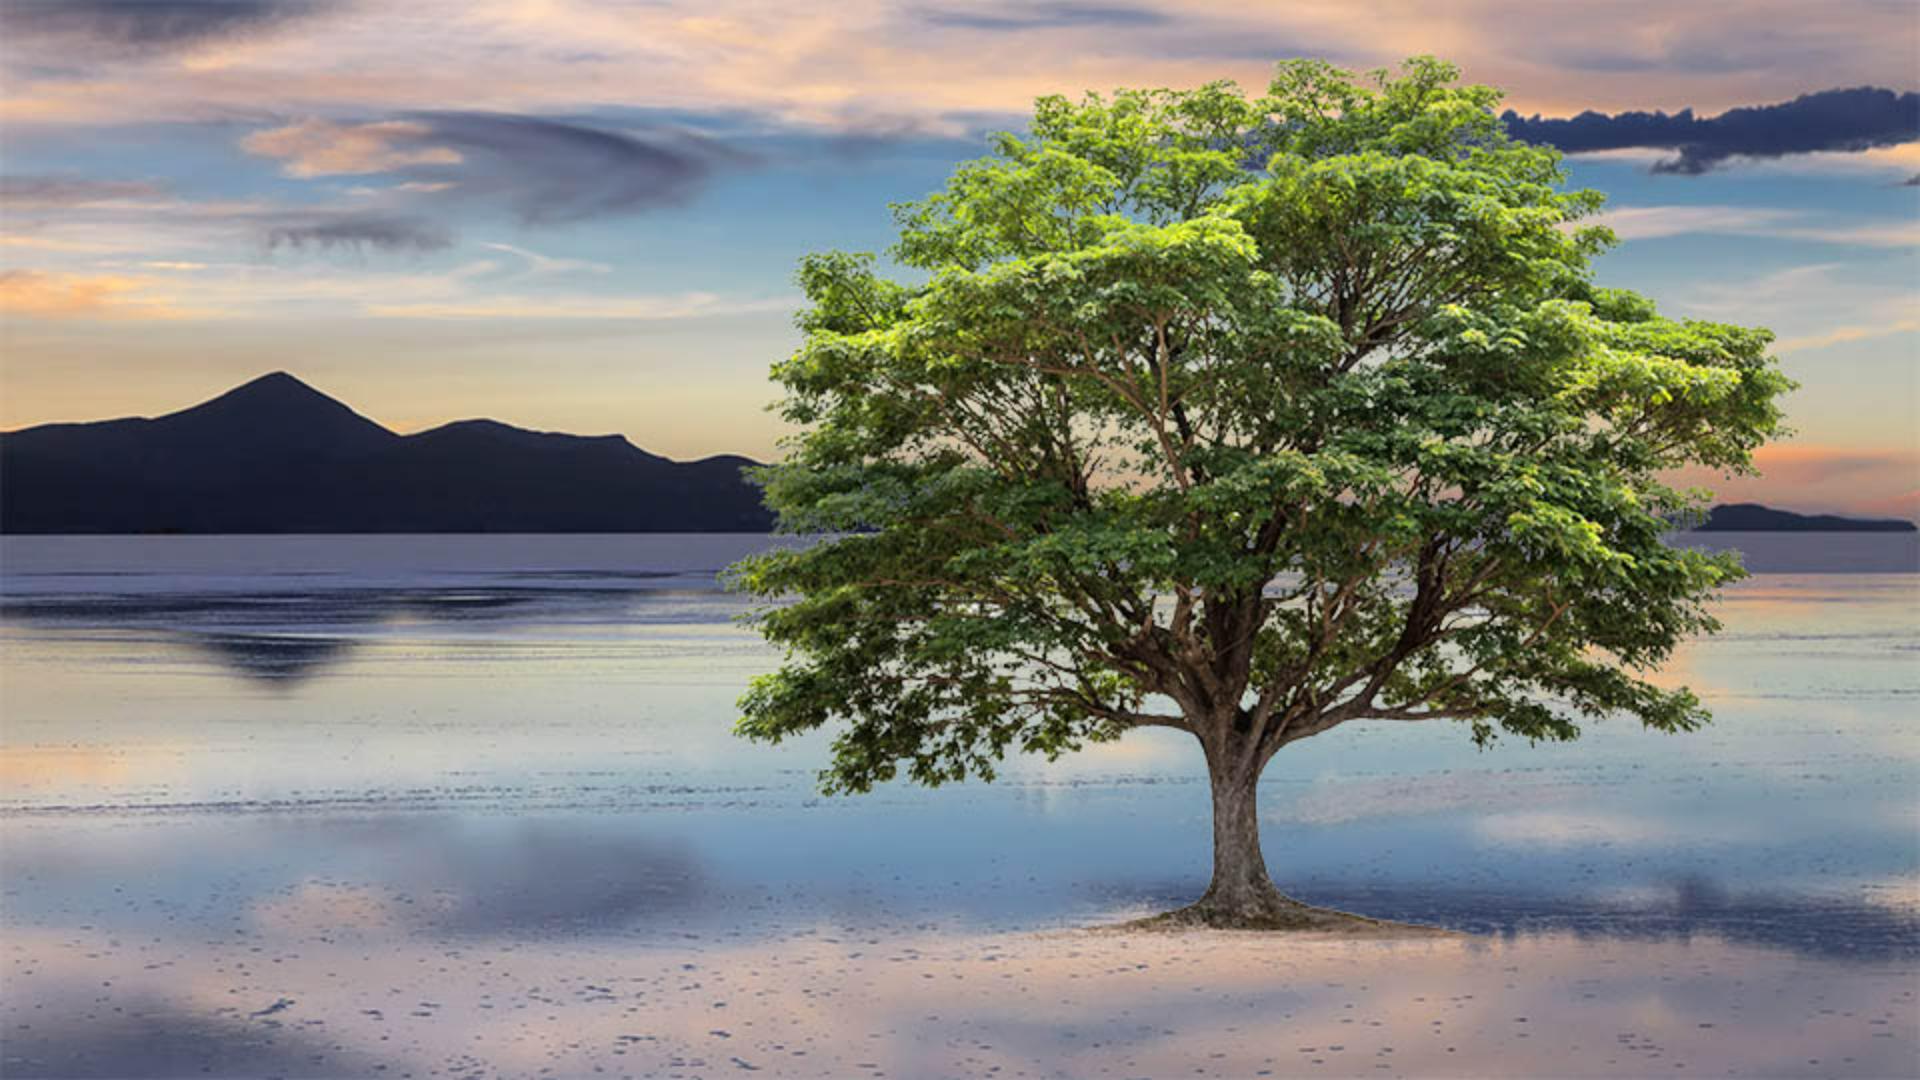
In this tutorial, we'll combine this photo and this photo to create this scene.
We'll do that by adding - and then refining a layer mask, so it hides all the bits of white - around the tree, which will make the resulting - photo composite look more convincing.
Knowing how to fine tune a layer mask - will help you in other situations too.
You can apply what you learn here - whenever you need to make a mask or a selection more precise.
For example, - when you're adjusting details in a photo, or cutting out a person - to use in another image.
So let's get started - learning how to fine tune a layer mask.
Here's the image - we're going to use in this tutorial.
On the top layer is this tree - with a white background.
And what we want to do is use a layer mask - to hide that white background, so that we can see through there - to the lake on the layer below.
We're going to start - with the same technique that we covered in an earlier tutorial - in this series.
So if you've been following along, - this should be simple.
We're going to select the Tree layer.
Creating an initial layer mask with select subject
And then we'll go up to the Select menu - at the top of the screen, and we'll choose Subject, and that will cause Photoshop - to make a selection around the tree.
It's a pretty rough selection, - as you'll see in a minute.
Next, we're going to turn that selection - into a layer mask by going to the bottom of the Layers panel - and clicking the Add Layer Mask button.
Now we have a layer mask - on the Tree layer, you can see its thumbnail - here in the Layers panel.
In the image, you can see - that there's still quite a bit of white around the edges of the tree - and among the leaves, but that's okay, because we're going to be able - to eliminate that by refining this layer mask - in the Select and Mask workspace.
Entering the select and mask workspace
The Select and Mask workspace - is a separate interface from this regular Photoshop workspace.
To open it, we'll first check that we have the layer mask thumbnail - selected on the Tree layer, not the image thumbnail, and then we'll go up to the Select menu - and we'll choose Select and Mask...
This is the Select and Mask workspace.
Over on the left - there's an abbreviated toolbar with tools you can use - to refine your mask.
In the center, there's a live preview.
And over on the right - there are more refinement controls.
A good place to start here - is by choosing a way to view the mask.
You can choose any of these views.
But when I'm combining images - using a layer mask, I like to choose On Layers, because it lets me see - more than one layer at a time, so I get a really good sense of what my final image - is going to look like.
There are lots of features - in this workspace.
And we're not going to look at all of them - in this tutorial.
But I do want to show you a couple - that I use often when I'm combining images - with a layer mask.
Refining edges with radius and refine edge brush
One of those is this Radius slider.
Take a look now - around the edges of the tree, and you can see that there's a lot - of white there all around.
But watch what happens when I drag the Radius slider - over to the right, I'll take it pretty far over.
Now a lot of the white at the edges - has disappeared from view.
What's happened is that Photoshop has widened the area - it's using to detect the edges of leaves.
And when it finds those areas, it's filling in with black - and shades of gray that hide those areas from view, so we can see more - of the lake image behind.
Now there still are quite a few white bits - inside of the tree.
A useful tool for handling areas like this is over in the Toolbar on the left, the second tool from the top, - that's called the Refine Edge Brush Tool.
I'm going to select that - and then I'll come into the image, I have a fairly big brush, and I'm just going - to start dragging over the tree.
And notice that as I do, a lot of those white bits - are disappearing from view, so we can see through - to more of the lake image behind.
And it only takes a few minutes - to hide almost all the white.
And notice, when I release my finger - from the mouse, that even the trunk of the tree - and the ground have been modified.
So I think this is a great result and although there are lots of other tools - I could use, I'm happy with this as is.
So the last thing to do here - in Select and Mask workspace is to output a refined layer mask.
To do that, - we'll go over to the column on the right
Outputting and comparing refined layer masks
and at the very bottom - are the Output Settings.
We'll go to the Output To: menu - and from here, you might choose Layer Mask, - in which case, Photoshop would replace - the original layer mask that we made at the beginning - of the tutorial with this new refined mask, or you could choose - New Layer with Layer Mask.
And that way you'll have both layer masks - back in Photoshop.
So let's do that.
And then click OK.
And the Select and Mask workspace closes, - and here we are back in Photoshop.
So as I said, - we have two layers with layer masks.
We don't have to keep them both.
But I wanted to show you - the difference between where we started, which was this initial layer mask and the layer mask we have now which is a lot more complex and precise and allows us to see a lot more - of that lake image behind the tree.
So I think you can see how powerful the Select and Mask workspace - could be for refining your images.
Don't forget to give it a try - the next time you are using a layer mask to combine photos. -