One of the cool things about using Photoshop CC to create multiple image composites, is that there are so many interesting ways that you can blend photos together.
For some types of composites, you may not even need to make selections or create precise layer masks, but instead, you can combine images using layer blend modes.
In this tutorial we'll take a look at some essential concepts for understanding how certain blend modes can work for compositing projects.
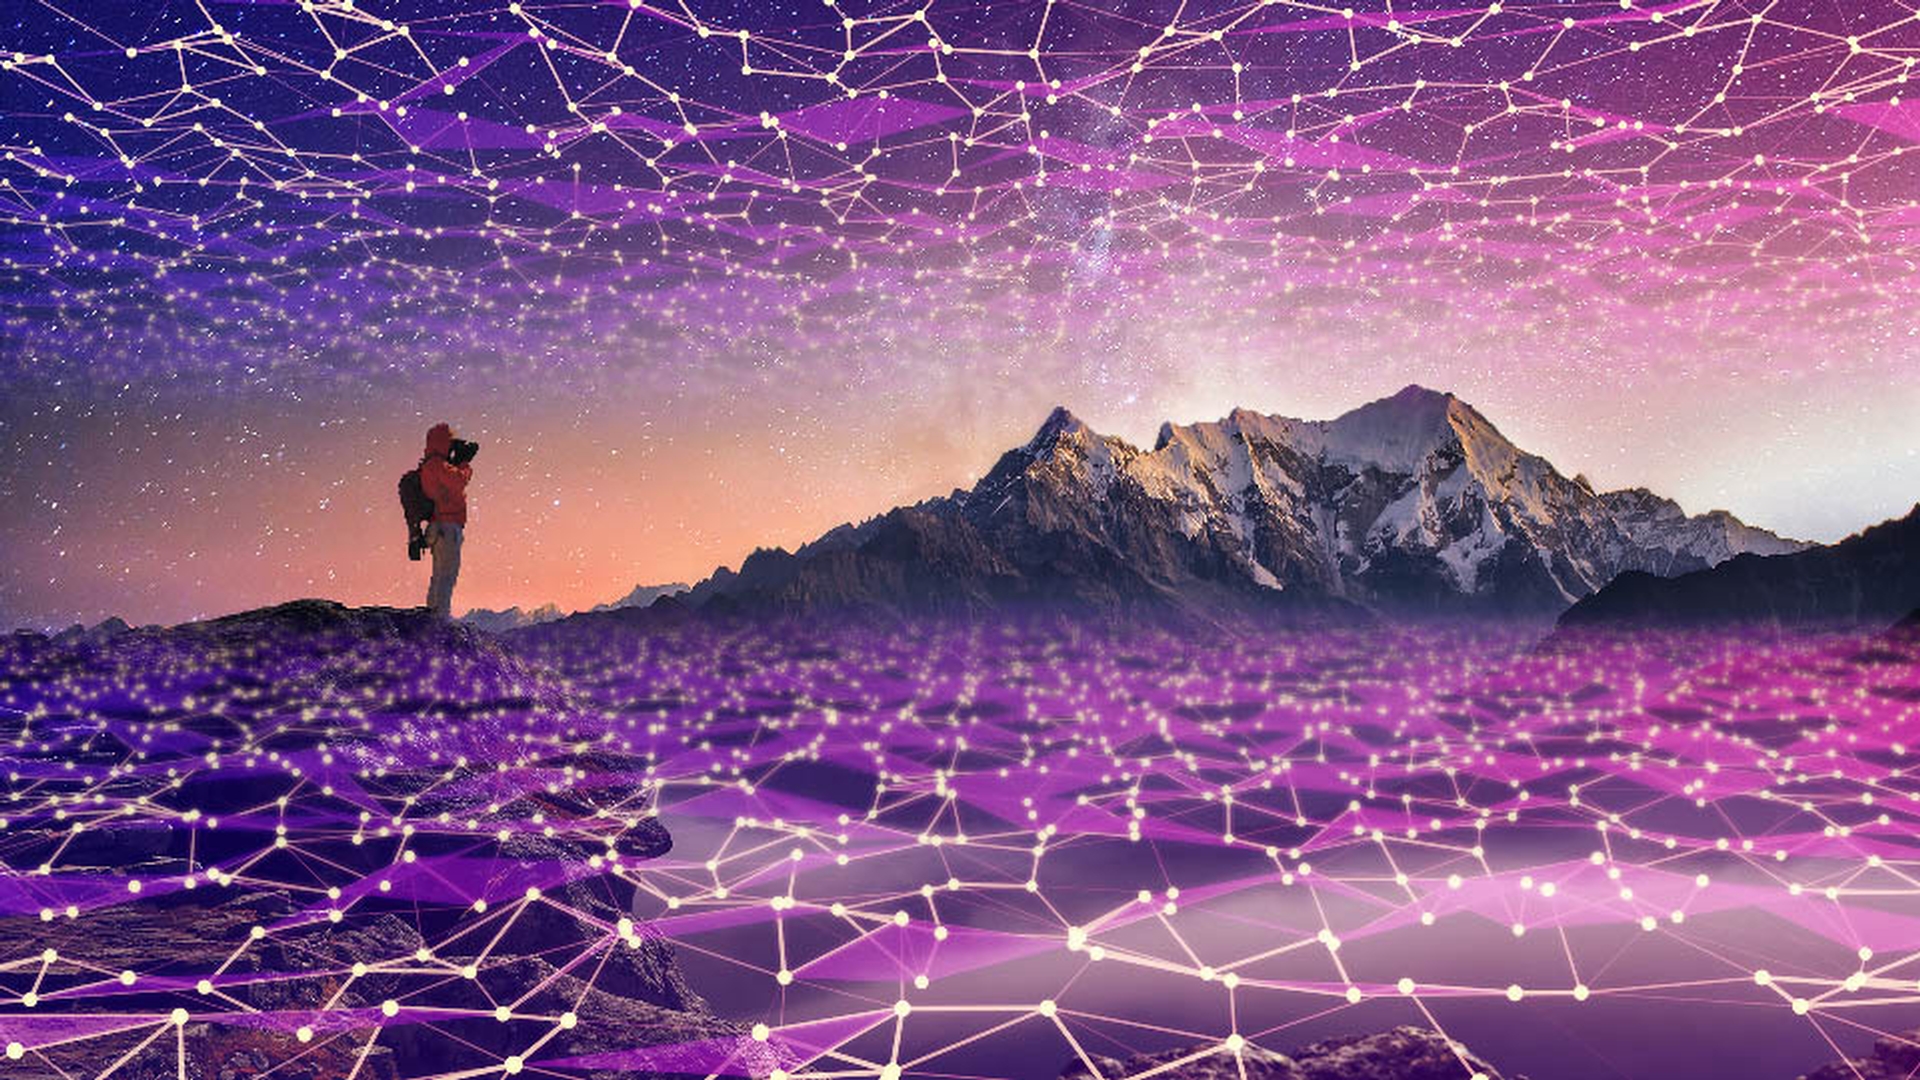
Let's begin with a quick look at the terrain that we're going to be exploring in this example much like the explorer in this photograph is surveying the mountain landscape before them.
In addition to the night view of the mountain scene, I also have a layer with a reflected purple mesh of connected points on a black background and for the top layer I have a copy of the mesh image that I have inverted and made black and white.
Now this may seem somewhat random, but there is a definite methodology to this example.
In order to demonstrate how you can think about how some blend modes work I wanted a layer with light subject matter on a black background, as well as dark subject matter on a white background.
Let's start exploring.
I'm going to begin with the darker mesh on the white background, so I'll turn off the visibility for the purple mesh layer just to take it out of the equation.
I'll make that top layer active and I will click to open the Blend Mode menu at the top of the Layers panel.
Now in Photoshop CC 2019, you can just mouse over the different blend modes in the menu and it will instantly preview the effect in your main image, which makes it really useful to explore the blend modes and see what they do and how they will affect your photographs.
But there are some important concepts to understand that will help you use them more effectively.
The first thing to notice is that the blend modes are divided into specific groups.
This is important because two of the groups up near the top of the menu the ones with darken and lighten as the first blend modes in the group will give you a clue as to how they'll affect the image.
The Darken blend modes compare the color and tonal values of the active layer with the underlying layers and will emphasize whatever is darker on each layer.
These blend modes also do not show anything that is white.
So, for instance with a multiply blend mode that I've chosen here, you can see that the white areas on this layer are not visible at all, but the darker areas of the mesh are.
In some areas of the scene, such as the rock outcropping on the left, we can't see the mesh pattern because those areas of the rock are darker than the mesh of connected points.
The Darken blend modes are very useful anytime you have dark subject matter on a light background that you want to easily blend into a photo, such as blending the text of old letters or documents into an image.
The lighten blend modes will compare the tonal and color values on the active layer with the underlying layers and will emphasize whatever is lighter on each layer.
Now, for this mesh layer that already has a white background, it is overwhelming the mountain scene below because of course it is much lighter than the mountain scene.
So that's not really working, I'm going to turn that layer off and I'm going to go to the purple mesh layer with the black background and now I'll set that to Lighten and now we're getting somewhere.
That actually looks pretty cool.
So, this is Lighten, here is Screen, Color Dodge, Linear Dodge (Add).
An important thing to know about the Lighten blend mode is that they do not show anything that is black.
So, all of the black areas on this layer are not visible in the composite when one of the lighten blend modes are used.
The lighten blend modes are very useful anytime you have light subject matter on a dark background that you want to easily blend into a photo, such as bright lighting effects like stars, or lens flares, or light leaks from old film images.
So, in this quick look at blend modes, I focused on how you can take advantage of the darken and lighten blend modes for compositing purposes.
There are many other layer blend modes to explore, 26 in all.
Take them for a spin with some of your own images.
Once you understand some of the key concepts that govern how they work, you'll know what the general effect will be, allowing you to use them more effectively to combine images.