See the world from a new angle
with aerial photography.
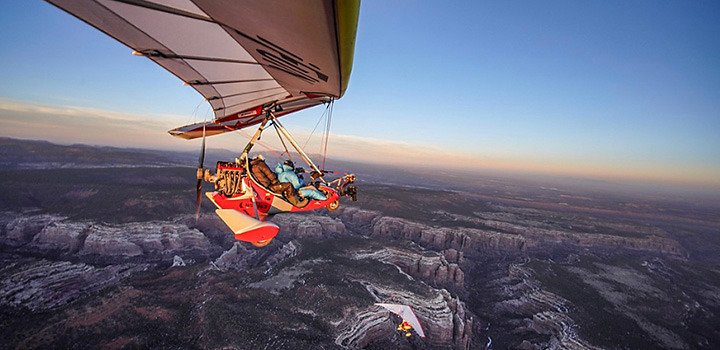
Showcase stunning landscapes, architecture, and more with aerial photos. Whether you’re using a drone, standing atop a skyscraper, or shooting from an airplane, these tips will help you succeed in aerial photography.
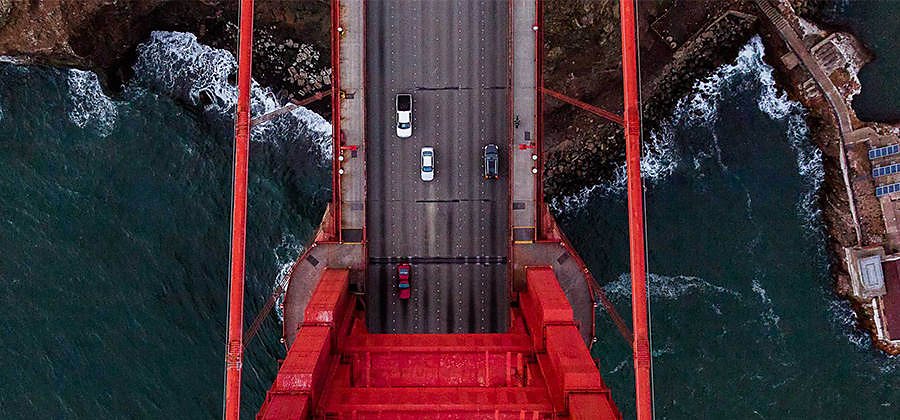
Photo by Toby Harriman
Get a bird’s-eye view.
Aerial photography and videography are extraordinary ways to see landscapes and architecture from unique angles, allowing you to capture gorgeous shots of otherwise inaccessible areas. Aerial imagery and video are essential assets for the architecture, real estate, and environmental sectors. Explore the special considerations needed when shooting from an airplane, helicopter, drone, or tall structure. Plus, learn about the right tools and applications on hand to get what you want out of your aerial session.
Choose your aircraft wisely.
The optimal method for aerial photography depends on what you’re shooting and why. For simple projects, like site planning or real estate shots, a drone might be all you need. However, certain heights and areas can require you to hop into an aircraft. In an airplane or helicopter, you can bring more equipment to ensure that you capture the high-resolution images you want.
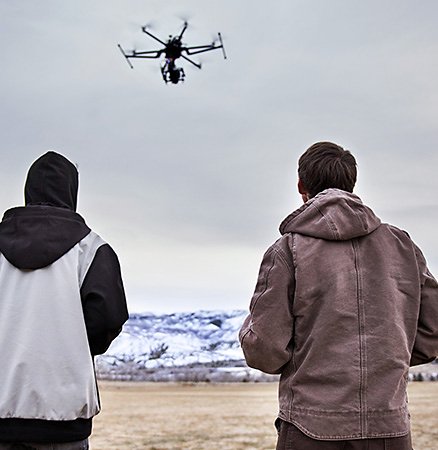
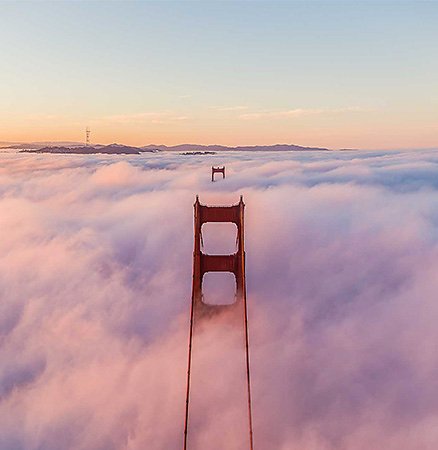
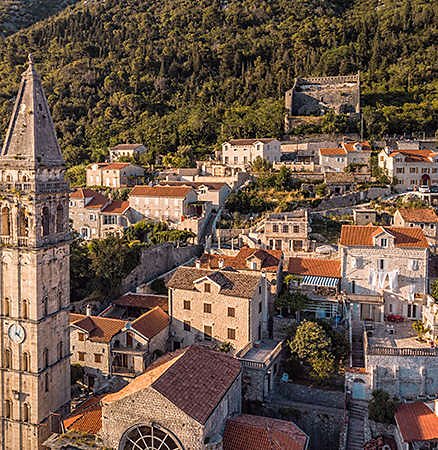
Photo by Toby Harriman
Drones are accessible and sustainable.
Drone photography is an attainable and affordable way to break into the field. Also, the environmental impact of drone flight is much smaller than that of other aircrafts. While some drone technology is approaching the level of high-quality cameras, if you want higher-resolution images, you’ll want to steer clear of drones or find one that can hold your camera. Keep in mind, drones do have airspace regulations — so be sure you’re permitted to occupy the area where you’ll be flying it.
Airplanes go the distance.
Airplanes can go higher, farther, and get you an overhead view of many areas where drones are not allowed. It may be less expensive and easier than you think to book a flight. Plus, you can bring your high-quality camera equipment with you, ensuring gallery-level work. Pilot and aerial photographer Alex MacLean recommends using a high-wing plane, like the Cessna 172, so the wing is above the cockpit and out of the way while you shoot.
Helicopters move nimbly at lower altitudes.
An airplane can’t fly below 1,000 feet in a populated area. If you need to fly low or hover over one area, book a helicopter flight. Although it will likely cost more than booking a plane, chartering a helicopter is your best bet when shooting something smaller in scale or in a densely populated area, like a house or a stadium.
Prepare with the right tools and applications.
“You can do anything. It just comes down to a permit and a budget,” says aerial photographer and videographer Toby Harriman. Just be sure you’re prepped and ready. Before you take flight to capture aerial video or photos, keep these key factors in mind.
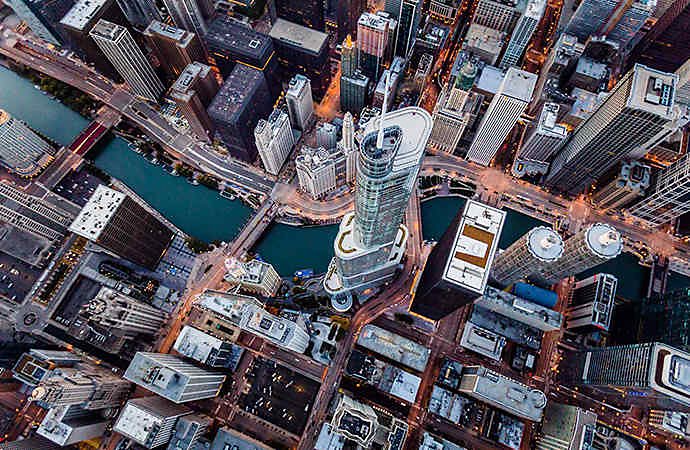
Photo by Toby Harriman
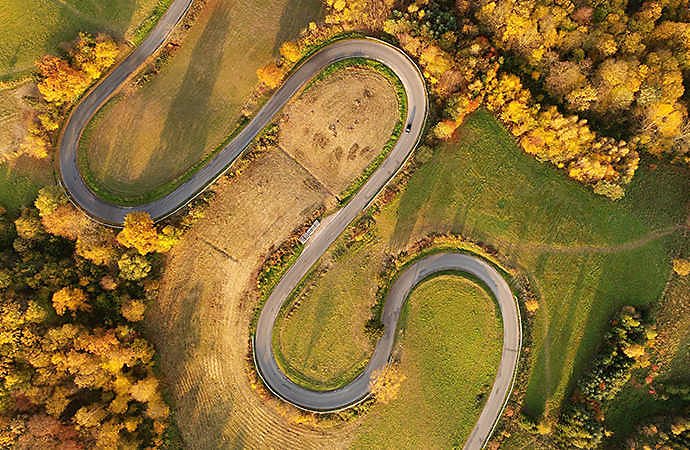
Make sure your drone or aircraft flight is FAA approved.
There are serious consequences for flying aircrafts in prohibited areas. One benefit of chartered flights is that the pilot has the necessary regulatory knowledge and will clear your flight beforehand. For drone flights, be sure to register your drone with the FAA and use a program like AirMap to authorize your drone path.
Schedule according to the sun’s position.
According to MacLean, the best time to shoot from an aircraft is when the sun is about 20 degrees above the horizon. This is generally in the early morning or a few hours before sunset, but it depends on the time of year and your location. Aim for the sun to be a bit lower than 20 degrees if you are simply shooting from a tall building or hillside. Use a service like SunCalc.org to see exactly where the sun will be during your flight.
Shoot out an open door or window when possible.
Ask your pilot to open or remove the window or door to eliminate interference from the glass. Be sure to keep your camera inside the window frame to avoid shaking caused by the airstream. Don’t touch your camera to the edge of the window or to any part of the plane either, as the vibration will cause motion blur in your photos. If the window must remain closed, you’ll see interference from the glass in your photos. To help reduce this, wear dark clothing that won’t reflect as much off the window.
Secure your equipment and settings before takeoff.
Secure your camera and equipment to your own body using a strap and clips, especially when shooting out an open door or window or from a high altitude point. Don’t forget to wear pockets with zippers to hold smaller items like your phone and keys.
Choose the right lenses and bring a spare camera body.
Many prevailing camera brands sell lenses with image stabilization. This type of lens can reduce softness or blur caused by vibrations in the aircraft. However, if you’re using significantly fast shutter speeds relative to your focal length, you may need to turn off image stabilization, since it could start to deteriorate the image. Using a few lenses that cover a range from 28 millimeters to 400 millimeters is best. Bring along a second camera body for your additional lens, so you can seamlessly switch back and forth. Any lens that shoots wider than 28 millimeters may pick up the body or wing of the plane, and any lens longer than 400 millimeters may provide too much magnification and cause blurry photos. You can also try mitigating blur by attaching your camera to a gyro stabilizer.
Shoot at a high shutter speed and keep other settings on lockdown.
Shoot at a high shutter speed, such as 1/1000 of a second or higher, to avoid blur. Set your camera on autofocus and consider securing the setting with painter’s tape so it can’t shift back to manual as you move the camera around.
Shoot at a higher ISO as the light dims.
Outdoor adventure and lifestyle photographer Justin Bailie recommends using a camera that can shoot at a higher ISO if the sun will be setting during your flight. “You might start out shooting at 200 or 400, and then, as it gets darker and darker, bump it up to 1600, 3200, or even higher,” he suggests.
Make the most of your air time and save the critique for later.
“Flying is expensive. Once you’re out there, you might as well take a little time to shoot for yourself,” says MacLean. “I feel like I haven’t taken advantage of flying if I’m doing an assignment and I just go out and photograph it and come back.”
Do a quick check to be sure your settings are correct.
Take a look at your first few shots to make sure your settings are correct. It’s easy to get caught in the moment, says Harriman. “When you have one tank of gas and you’re paying by the hour, you’ll be trying to get everything you can. You’re not really looking at the scene or digesting what’s happening until you land.”
Keep your eyes out the window and keep shooting.
It’s important to check your settings when you first start shooting; but remember that your flight time is limited, and the view is changing every second. Focus your attention out the window as much as possible while you’re in the sky. “Don’t be seduced by checking how you did when you’re still up in the air,” says MacLean.
Take care of unavoidable issues in post-production.
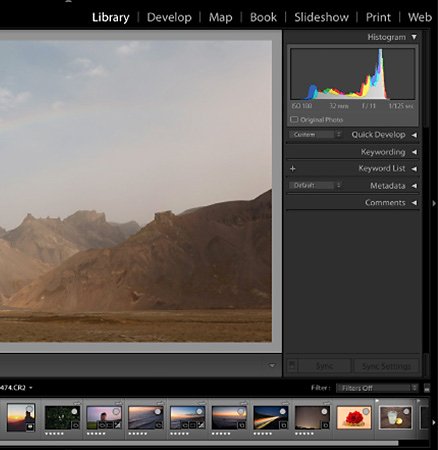
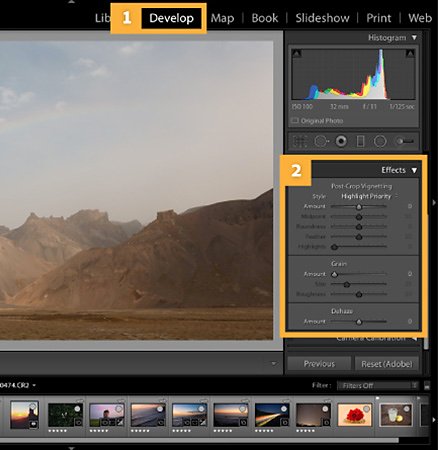
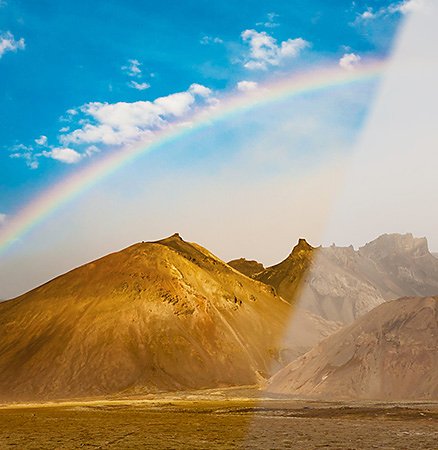
Editing is your friend when shooting from afar. Dehaze in Adobe Lightroom is a valuable tool for removing the foggy look often present in imagery shot at a high elevation. Use the Dodge tool to lighten specific areas of the photo and the Burn tool to darken others by utilizing the Adjustment brush. See how to best edit aerial shots by drone in this step-by-step video from Michael Shainblum.
Remember, the sky’s the limit.
From gaining new insights on a familiar city to learning more about wild environments, sometimes an aerial view is all you need. Start by finding a safe and accessible rooftop to shoot from or book a flight or try out a drone if budget is less of a concern. “When I spent $300 on my first one-hour flight, my parents thought I was crazy,” Harriman says. “But that flight turned into tens of thousands in paying jobs.”
Take high-altitude photography to extremes.
Read how world-class climber and photographer Renan Ozturk uses a combination of high-altitude and aerial photography to capture the extremes of mountain life.
If you’re not used to heights, getting started can be a challenge. “You should forgive yourself if you’re a little distracted. It’s a very distracting environment,” says MacLean. But if you’re as well prepared as possible, you’re sure to get some amazing shots out of your aerial session. Just don’t forget to enjoy the view.
Contributors
You might also be interested in…
Iniciación a la fotografía inmobiliaria.
Empieza tu viaje a la fotografía inmobiliaria con estos consejos e información de profesionales en activo.
Getting started with drone photography.
See how you can take to the sky to capture photos from a unique aerial perspective.
What is ISO?
Discover the role this pillar of the exposure triangle plays in photography.
Discover how adjusting shutter speed can help you capture clean shots or motion-filled moments.

