Point your camera at the Milky Way.
Explore Milky Way photography with practical advice from professional photographers to help you to capture the splendour of the night sky.
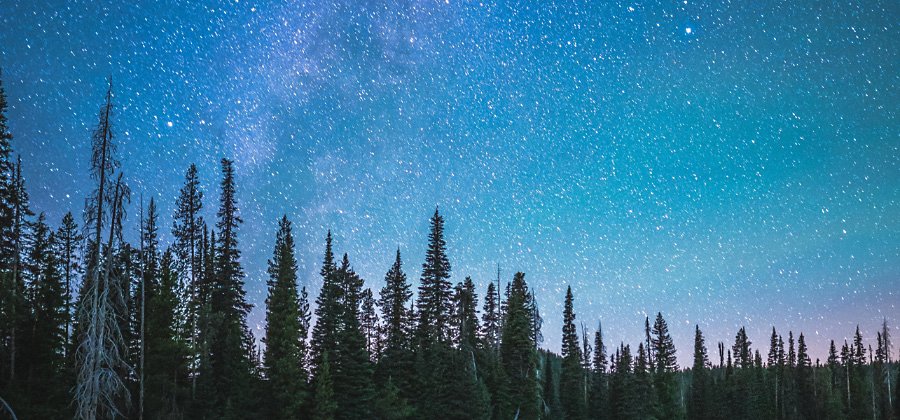
Image by Whitney Whitehouse
Meet astrophotography’s biggest star.
The Milky Way is Earth’s galaxy and home to all the stars we see in the night sky. When we look toward its centre on a dark night, we see a luminous, milky cloud of stars and dust. This cloud is a popular subject for astrophotography, sometimes called night sky photography.
For all astrophotography, but especially for the best photos of the Milky Way, you need to be in the right place at the right time, with the right equipment and a patient attitude to capture amazing shots.
Set yourself up for success.
Do some research and make sure you’re prepared before you set out. Find a good location on an ideal night and pack the tools you need to stay safe and avoid frustration. Don’t forget a sturdy tripod, a remote shutter trigger and potentially an intervalometer, so you don’t blur the image when you take the shot.
Beware the full moon and light pollution.
The features of the Milky Way’s centre are only visible in the Northern Hemisphere between April and October and in the Southern Hemisphere between February and October. During those times of year, the Milky Way is most visible on dark nights in dark places. Check a moon-phase calendar to plan your shoot on the night of a new moon (when no moon light is visible) or for times before the moon has risen or after it has set. “For those of us with day jobs, that means comparing the lunar calendar to the work calendar in order to find a weekend to go,” says photographer Julia Ohst.
To avoid light pollution, you may have to travel some distance. “Light of any kind, whether it’s the moon or city lights or even small town lights, will wash out the Milky Way and make it look really dim,” says Ohst. You can use a light pollution map like the Dark Sky Finder app or Dark Site Finder website to help you to locate the closest dark places near you. Don’t forget to check the weather to make sure the sky won’t be hidden behind clouds.
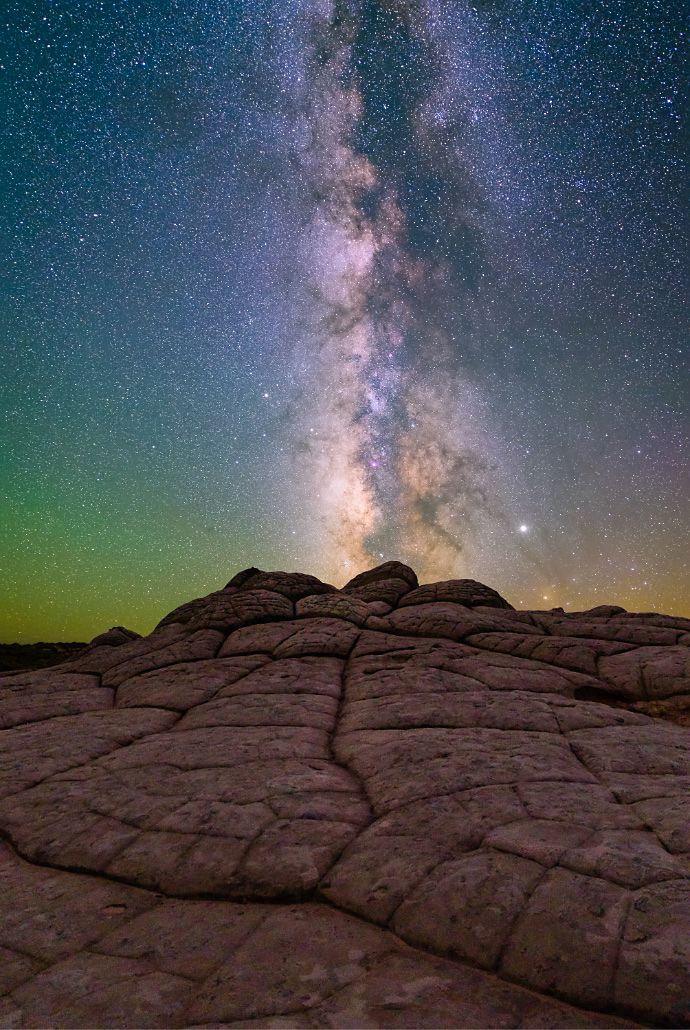
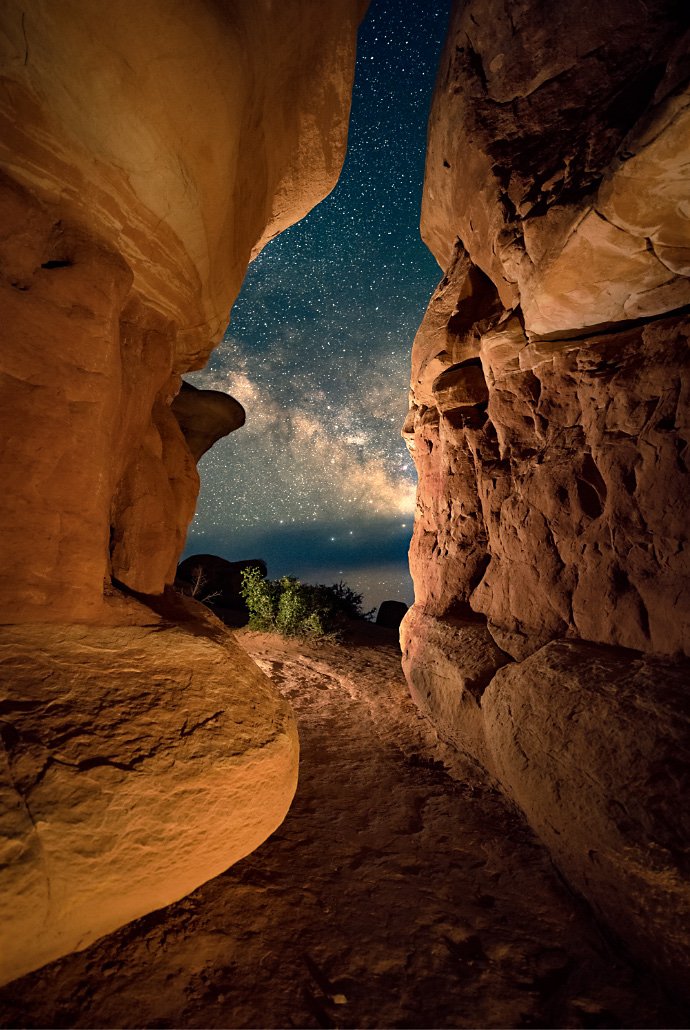
Images by Julia Ohst
Put the foreground elements first.
Great Milky Way photos typically include some earthly elements for context. These features provide framing and perspective; without them, the viewer is just floating in space. “I really like putting dramatic mountainscapes in front of the Milky Way or going to a lake where I can get it reflected in the water,” says photographer Whitney Whitehouse. Try to find leading lines to help guide the viewer’s eye to the stars. “Rocks can create a line leading the eye up to the Milky Way. Trees or dimly lit buildings are also options,” says Ohst.
Scout your shot in the daytime.
Though you can’t see the Milky Way during the day, you can still explore the area, choose foreground elements and plan the framing for your shots. Both Ohst and Whitehouse recommend using the PhotoPills app on your smartphone to help you to see where the Milky Way will be throughout the night. “If I’m standing in front of a cool foreground, I can turn on the augmented reality in the app and move the Milky Way with my finger, which drags it in time,” Ohst explains. “The app allows me to capture several different compositions within one night.”
It’s also much easier to find the right spot and set up your equipment while the sun is out. Especially if you’re in a place that’s popular with astrophotographers, you don’t want to have to work around them in the dark or potentially upset their work with your headlamp while you set up. “Know where you want to shoot from and what direction you want to shoot so that you don’t have to do a lot of that in the dark,” says Whitehouse.
Ohst recommends another app, Gaia GPS, for navigating in the night. “Just press record when you’re leaving your car and it will record the path you walk on. It even works if you have no signal, so you can always get back to your car.” To capture multiple compositions in a night, you can drop a waypoint for each spot so you can find it in the dark.
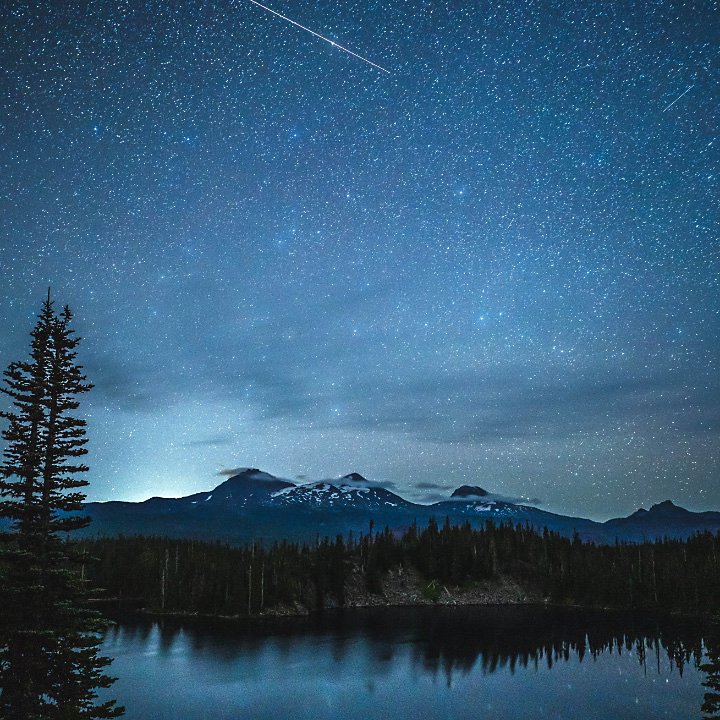
Image by Whitney Whitehouse
What to do with your camera.
It takes patience and practice to find the right camera settings to shoot night photography. The LCD screen on your DSLR camera might make everything seem extremely bright in the dark, so use your camera’s histogram to make sure your shot is bright enough.
To focus on objects that are 25,000 light-years away, you can’t rely on your camera’s auto-focus. “You need to have the ability to manual focus, to set your ISO, aperture and shutter at exactly what you want, so you need to go full manual,” Whitehouse says. One option, if your camera has it, is to use the focus magnifier feature (“Live View” on a Nikon) to pull your focus. “I find the brightest star in the sky, focus magnify on that, get it to where it’s super-crisp and that makes the entire scene perfectly crisp,” Whitehouse says.
“It doesn’t always work perfectly the first time,” says Ohst. “So once I do that, I zoom back out, take a test shot and then I zoom way in on the test shot to see if my stars are pinpoint. Often they’re not and I have to try it again.” Ohst recommends checking and double-checking your focus, especially if you change your camera orientation, because you might accidentally touch the focus ring and lose your shot. “And there’s no fixing that at home,” she cautions.
If you’re new to photography and you aren’t comfortable with manual mode yet, try setting your focus before the sun sets. “One trick that you can use is to focus on the thing that’s the furthest away in the landscape. Then when it gets dark, you don’t have to worry about it,” says Whitehouse.
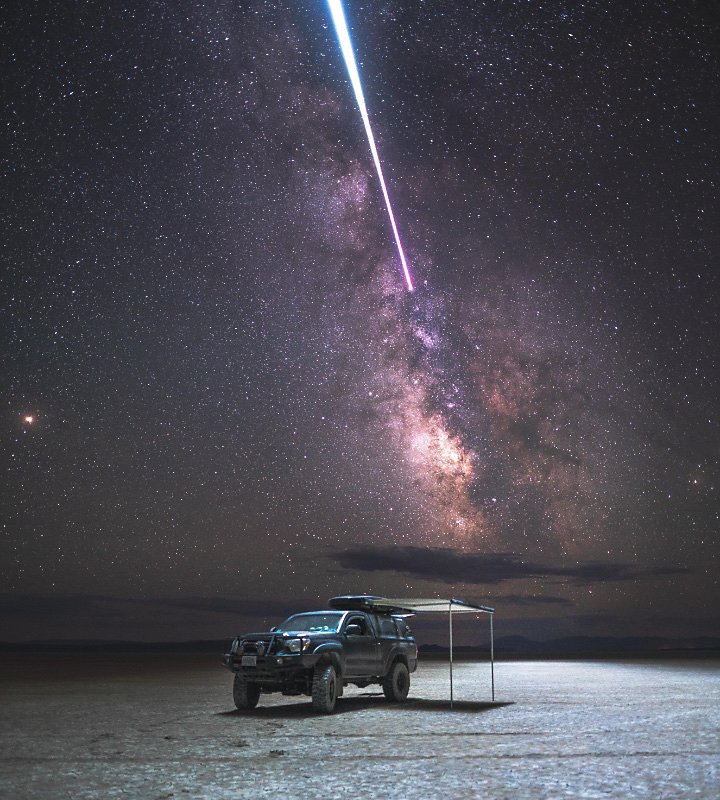
Image by Whitney Whitehouse
Play with the exposure triangle.
The exposure triangle is the balance of focal length, shutter speed and ISO that results in properly exposed photos. For best results shooting the Milky Way, use a wide-angle lens (Whitehouse recommends something between 14 mm and 20 mm). A shorter focal length will help you to take a longer exposure without blurring the stars. The aperture setting controls the amount of light that enters the camera, with a lower f-number allowing more light. “Some of the prime lenses that I have go down to a maximum aperture of f/1.4, which is ideal for astrophotography,” Whitehouse says.
Finally, the ISO refers to the sensitivity of the light sensor in your digital camera. Whitehouse starts with the ISO around 3,200, along with a very low aperture of f/1.8 or f/2.8 and a shutter speed set for a 30-second exposure. “If that’s too bright, I’ll pull back the ISO to a lower number and maybe cut a few seconds of exposure time,” she says. Ohst says it’s important to have a camera that can go up to a high ISO to capture as much starlight as possible.
Use technology to avoid star trails.
One of the biggest challenges in Milky Way photography is letting enough light into your camera’s sensor without creating star trails (bright streaks that show the movement of the stars over long exposures). You can avoid those by raising the ISO setting on your camera. “I shoot at ISO 6,400, 8,000, sometimes even 10,000, depending how dark it is,” says Ohst. “But when you shoot at those ISOs, the picture is really noisy. You can see pixels and they might be odd colours.” Photographers use two techniques for long exposure noise reduction: stacking and tracking.
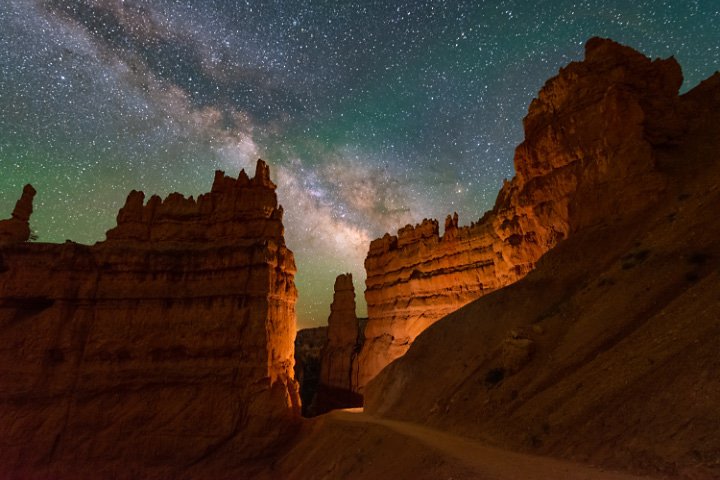
Image by Julia Ohst
- Stacking: To stack, you take the same photo 10 to 20 times in a row. Then you run the photos through a programme like Starry Landscape Stacker for Mac and Deep Sky Stacker or Sequator for PC. The software layers the photos, one on top of the other, using an algorithm. Ohst typically uses the Median algorithm, which finds the median (middle) value of every pixel. “That way, if you have a coloured pixel in there, it gets averaged out,” Ohst says.
- Tracking: “Tracking” refers to tracking the movement of the stars. To track, you put a tracker device on top of the tripod and align it to the polar axis of the sky and it moves as the sky moves. You can take photos with longer exposures, keeping your ISO low and avoiding star trails. The drawback to tracking is that the foreground will blur. “Many people use stacking and tracking at the same time. They’ll stack only two to four images,” Ohst says, “but those exposures might be as long as four minutes.”
“The most compelling images of the Milky Way have a really interesting foreground,” Ohst says. But that’s difficult to achieve when you’re exposing for the night sky. “If you want to capture everything in one shot, you’re best off doing low-level lighting.” Ohst uses an LED panel that allows her to set the brightness and colour temperature or white balance. At the lowest possible setting, it’s still too bright, so she covers it with layers of white fabric.
Whitehouse will do a quick light painting of the scenery with her headlamp. “If there are mountains in the foreground, I’ll usually just try to brighten the mountains in post-processing,” she says. Ohst cautions that light painting won’t work with photo stacking because it’s hard to replicate the light over several shots. “And,” she adds, “it can really annoy other photographers who might be around.” (Whitehouse recommends using a red headlamp when changing camera settings so you don’t annoy nearby photographers.)
Experiment with photo blending.
With Adobe Photoshop, you can blend your perfect photo of the Milky Way with your perfect blue-hour photo of the foreground. It can take a lot of time to mask the horizon of one photo, especially if there are trees. “I’ve learnt to avoid trees,” Ohst says.
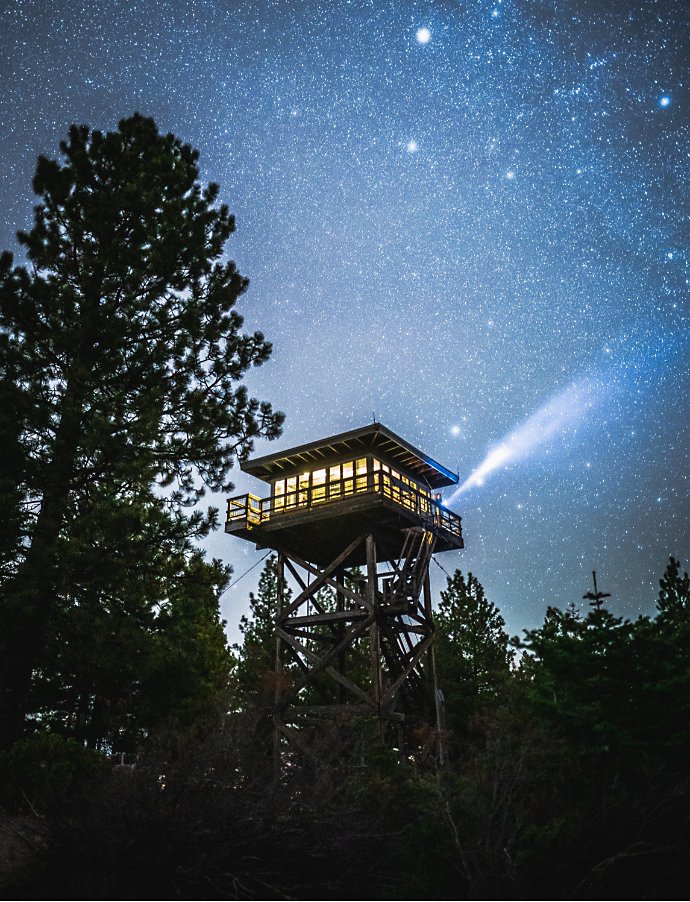
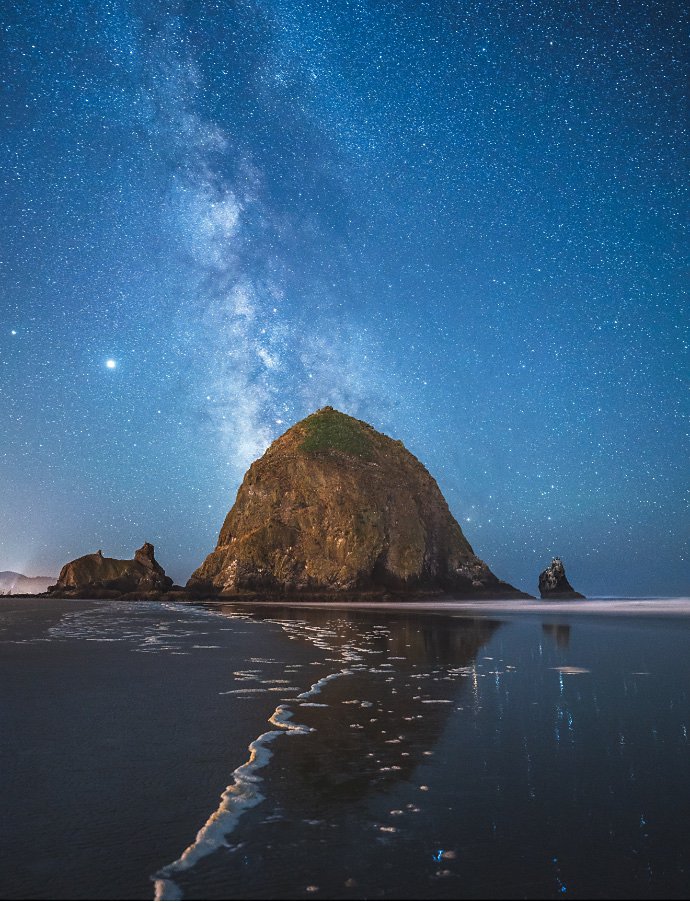
Images by Whitney Whitehouse
Make the Milky Way shine in post-processing.
Find the perfect edits of your photos with Adobe Photoshop Lightroom. “Use Lightroom to bring up the saturation and vibrance more than you would for other kinds of shots and avoid increasing contrast too much, because then the stars can look crunchy or overly processed,” says Ohst. For more tips on adjusting your photos in Lightroom, check out tutorials on how to reduce noise and how to edit the foreground while leaving the background untouched.
As you begin your photographic journey to the core of our galaxy, remember to move carefully in the dark, be respectful of other photographers and be patient with yourself. Mistakes are inevitable, but with practise you’re sure to capture fantastic shots.
Contributors
Do more with Adobe Photoshop Lightroom.
Edit photos easily with Lightroom presets, Super Resolution, easily share photos from any device and access your projects anywhere with cloud photo storage management.
You might also be interested in…
Tips for capturing nature photos of all kinds.
Explore the possibilities of nature photography, from animals in motion to sprawling landscapes.
Night Photography.
Low light doesn’t have to equal low quality with these tips for successful nighttime photos.
Building a great landscape photo.
Explore ways to artistically capture scenic views with tips on landscape photography.
Explore the exciting world of storm and lightning photography.
Discover how to capture lightning strikes on camera and learn safety tips for photographing storms.
Get Photoshop Lightroom.
Edit, organise, store and share photos from anywhere.
7 days free, then LE 238.26/mo.
