
This guide will show you the basics of video editing in Adobe Express. Video is a useful medium for most kinds of content creation and has become a new standard for engaging an audience on social media. Learning video editing can open the door to accessible storytelling and user-friendly, scroll-stopping, unique content on social channels.
Whether the content you’re building is for advertising and marketing, product showcasing, information sharing, or capturing the attention of your social media followers, Adobe Express makes video projects quick and easy.
First, you’ll need to select the format for your social video. The standard ration for desktop videos is 16:9. A horizonal or vertical mobile video should be 1080 pixels by 1920 pixels.
Social channels such as TikTok, Instagram, and YouTube each have specific dimensions for videos. In Adobe Express, you can choose pre-set Editor and template sizes that fit the social content you’re looking to create. The first step to beginning video editing in Adobe Express is to choose whether to start from scratch or start from a template and make it your own. We’ll first go over how to start editing a video from scratch.
How to start a video from scratch
Starting a video from scratch enables you to have complete control over the content you produce. While it might be intimidating to start from scratch, we’ve tried to remove the complexity to make it easy and fun. This section will guide you through the process.
Here’s how to get started:
-
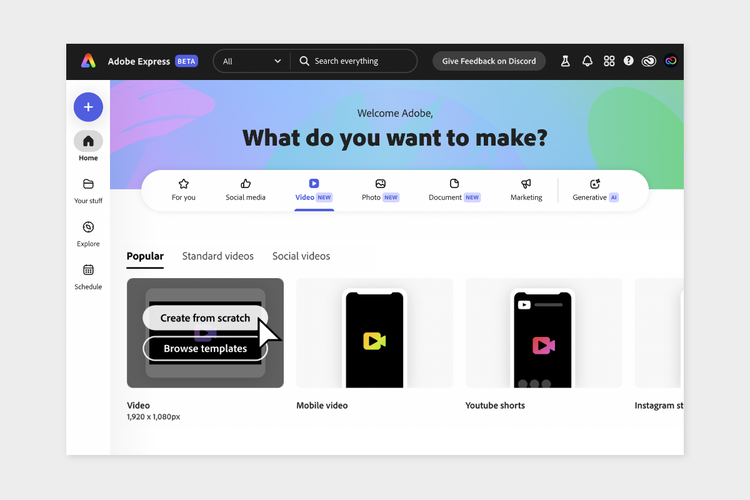
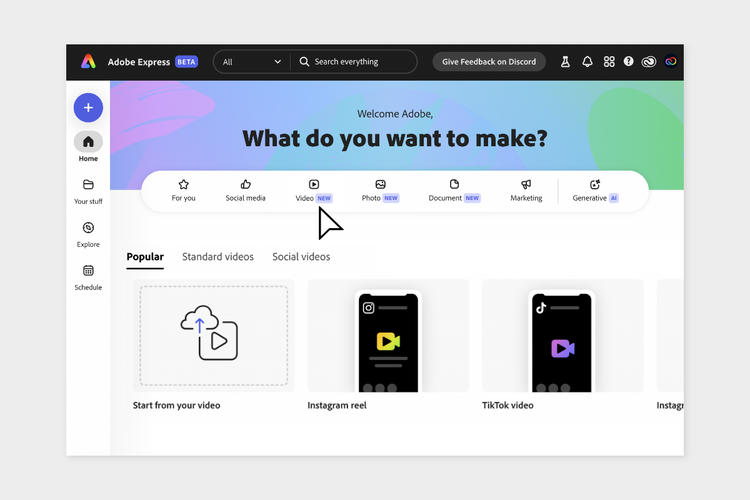
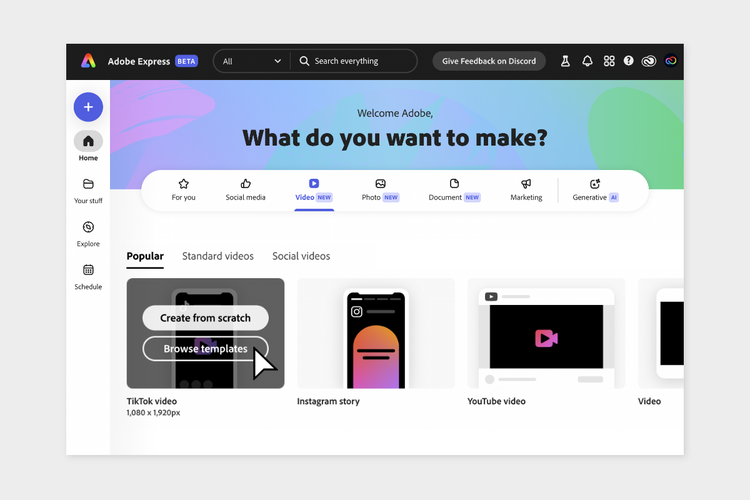
On Home, click “Video” under the banner that reads: What do you want to make?
-
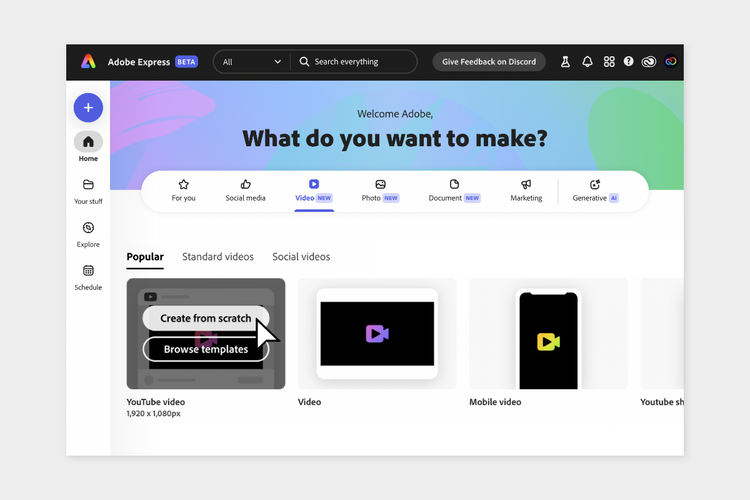
Choose the type of video you want to make. For this example, we’ll “Create from scratch” a YouTube video.
-
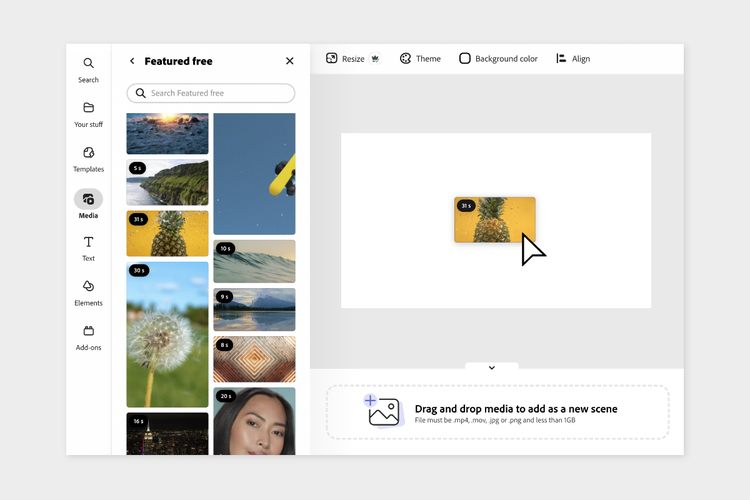
This brings you to the Editor. From here, you can either upload a video from your device or utilize stock videos in the Media panel by clicking or dragging them into the Editor. You can add or import multiple videos into your project by dragging and dropping into the timeline or by clicking + Add scene.
-
When you hover over a scene, trim handles will appear on either side, which you can use to adjust the duration (or length) of the video. Additional properties like scale, speed, opacity, and visual effects can be adjusted by selecting a video on the canvas or in the layers stack. Once selected, the video’s properties will appear and you can adjust as you like.
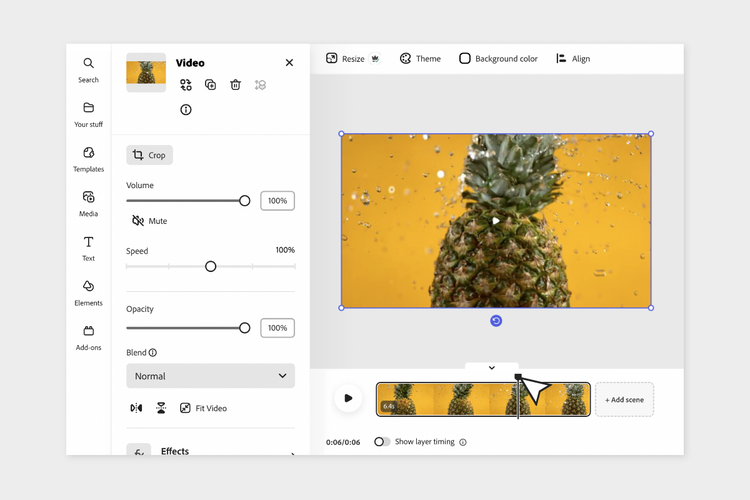
- To add additional scenes, simply click the +Add scene button at the end of your existing project timeline. Templates are not available to use in additional scenes, but you can always add one as another page in your project.
Pages are separate pieces of content within the same project. You can use different formats across pages, so one page of a project could be a YouTube video and another could be an Instagram story. Each page will download as the size for the given format. To toggle between pages, click the arrows at left or right of the Editor.
How to start a video from a template
Want to avoid the blank page? Start from a template! Templates accelerate your work by providing a professionally designed starting point for your work. Templates offer an existing framework, style, and flow for your video that you can customize to make all your own and fit your video’s needs.
In Adobe Express, there are thousands of templates from which to choose, ranging from occasion-specific invitations to topical graphics to social channel greetings. Save time by starting with a template and make it all your own with these steps:
-
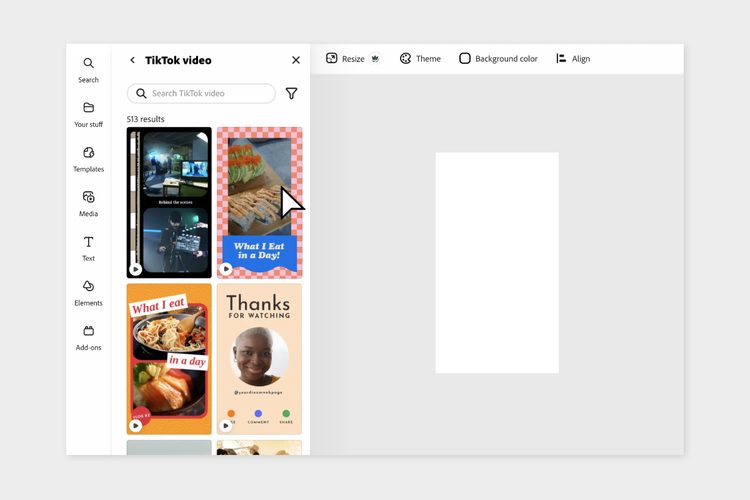
From Adobe Express Home, choose your task type (i.e., Tik Tok video or Instagram story) and then click “Browse templates.”
-
Select the template you want, and it will populate in the Editor.
-
Click the content on the canvas and you’ll see the Layer stack appear in the upper-right portion of the Editor. The Layer stack is one of the most useful areas in the Editor. It shows all the layers in a selected scene and allows you to adjust layer order, as well as see each layer’s properties. This is where you can select, edit, or move an asset to make the template all yours.
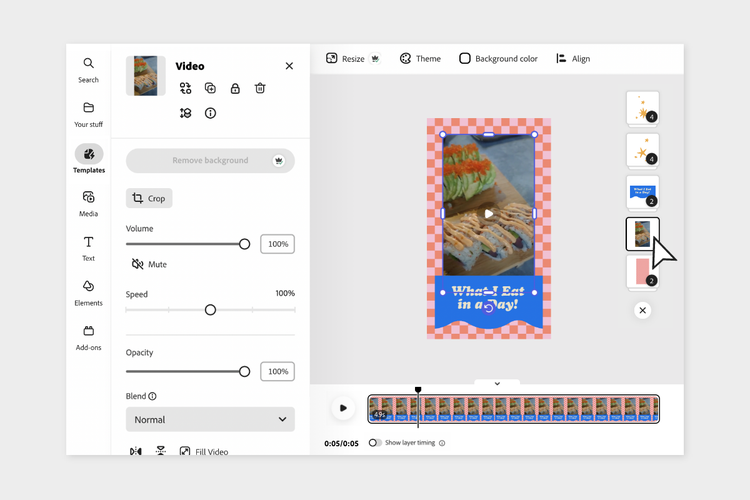
- For example, update details like dates, product or store names, and brand colors by swapping out template assets for those you choose yourself. We’ll go into how to add and replace assets in the following section.
How to add and replace media
- To add media to an existing template or project from scratch, select Media in the left-side navigation options.
-
Click or drag stock media to place it on the Editor.
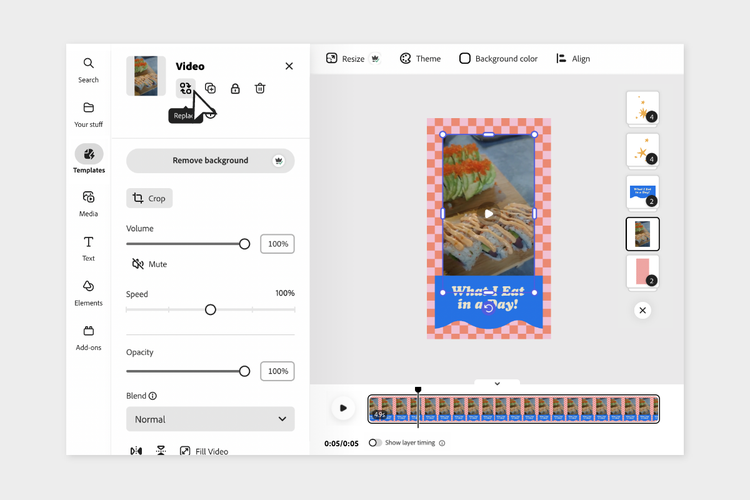
- If you want to replace an asset while using a template, you can select it by clicking the asset directly in the Editor or by selecting the asset in the Layer stack. Click the Replace button in the navigation bar and you will be given the option to Upload from device or select from recommended stock assets.
How to add your own media
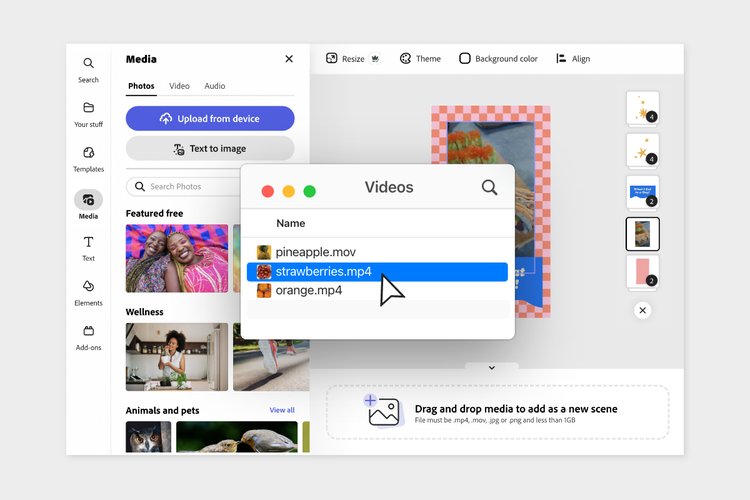
- To bring your own media into the Editor, simply click the Upload from device button on the media navigation and select the appropriate file from your finder window.
- You can also replace an existing element of the template with a piece of your own media.
How to trim clips and change scene duration
In Adobe Express, it’s easy to change your video’s duration so that you can keep the content concise and maintaining a good flow. Trimming scene length within your project ensures your work is punchy and to the point. It’s important to remember that a scene in this context is a section or portion of your video. Individual elements, or layers, can be edited within a scene.
- When you hover over a scene, you’ll notice trim handles at each end of the scene. Trim the scene either from the beginning or end by dragging the trim handles.
- If you have a specific point that would be ideal for trimming, right-click (CTRL+click for Mac users) from the precise timing in the scene and select Split.
- Delete any portion of the scene that you do not want in the final product.
When trimming a scene, all the layers in the scene are affected. So if you have a scene that’s 10 seconds long, all the layers will appear for a maximum length of 10 seconds, unless you adjust the layer timing, which we will cover in the next section.
How to adjust layer timing
When working on a scene with numerous elements, being able to adjust the timing of each layer is important to get your desired effect. All assets in a template, including text and backgrounds, have their own layer timing. Similarly, when you start a video from scratch, you can assign timing to each asset layer you add. Here’s how to adjust layer timing in a video:
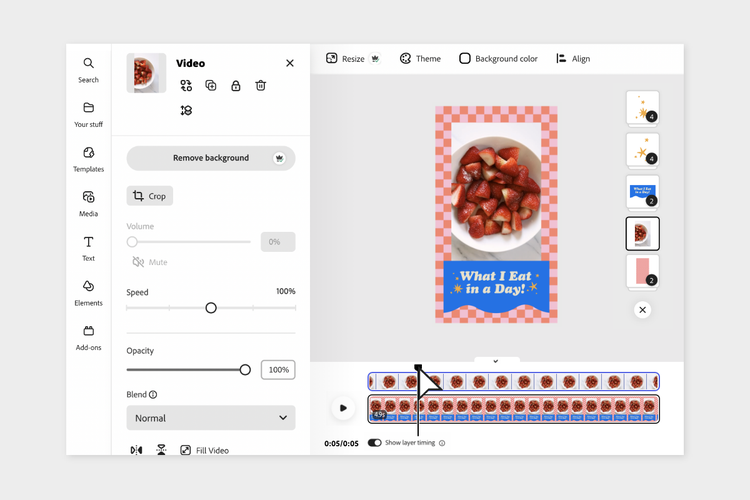
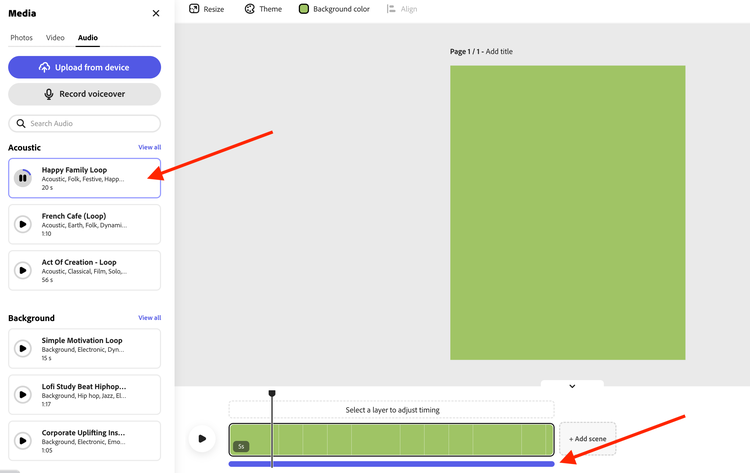
- In the timeline area, you will see a “Show layer timing” switch that you can toggle on and off. When enabled, this toggle will display the selected layer.
- When you select a layer within your scene, it appears on the scene’s timeline. We'll call this a layer track.
- Hover over either end of the layer track to expose the trim handles. Trim the selected layer as you see fit.
- Now that you have a trimmed layer, you can move it to any point in your scene. Hover over the layer track and a hand icon will appear. Using that, you can drag the layer along the scene’s timeline to place it.
If you have selected a video from a template that has a lot of elements, you can Group or Ungroup the elements by:
- Hold down Shift on your keyboard and click multiple layers in your video. Alternatively, use your mouse to drag the cursor over multiple assets in the Editor.
- Select Group in the left panel.
Grouping elements allows you to edit a variety of visual effects all at once. You can have multiple objects appear or disappear at the same time by grouping them and then adjusting the layer track. Groups appear in the layer track when selected and can be trimmed and moved like regular layers.
How to speed up or slow down your video
-
In the Editor, select a video layer for which you want to change the speed. In the left panel, you’ll see video controls.
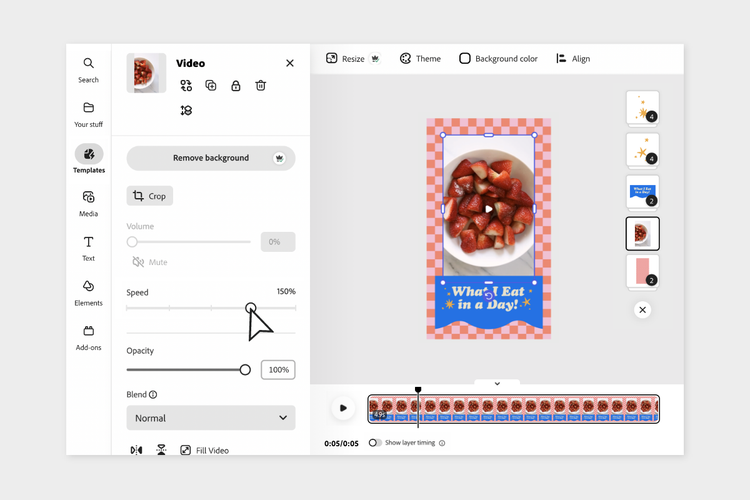
- Speed will be one of the options available. Sliding the cursor along the scale, you can increase the speed to 200% (or two times the speed) or decrease the speed to 25% (or one-quarter of the speed) of the original video.
- By adjusting the speed of a layer, you also adjust its duration within a scene. Thus, if you adjust your layer to be faster, it will also be shorter. Be sure to trim the length of the scene if you don’t want to have excess empty space after speeding up a layer.
How to add text to video
Get your message across by adding Text to your video. When selecting the properties of your text, consider the text’s visual legibility across the duration of the video, including scene changes. Here’s how to add text to a video in Adobe Express:
- In the left panel, select Text and click Add your text.
- Select the text in the Editor or as a layer.
- Type into the text box.
- Next, choose in the left Text panel properties of your text, including font, color, and opacity.
- You’ll also see Recommended fonts in the left Text panel. These fonts are curated by artificial intelligence to match the look and feel of your video.
- Additional options like outline or shape can give the video more personality and improve legibility. With outline, you can choose both fill and outline colors, as well as the thickness. Shape allows you to put a shape behind or frame your text, whether basic or decorative. You can also give your text a shadow or animate the text’s entrance into, exit out of, or presence within the video.
- Text Effects is a feature powered by Adobe Firefly Artificial Intelligence which allows you to write a prompt telling the app what you want your text to look like. Say you’re making a poster to advertise landscaping services and you want to give some texture to a title section. You could input “freshly mown grass” and Text Effects would generate a texture that matches your prompt.
How to add audio (stock, upload your own, voiceover)
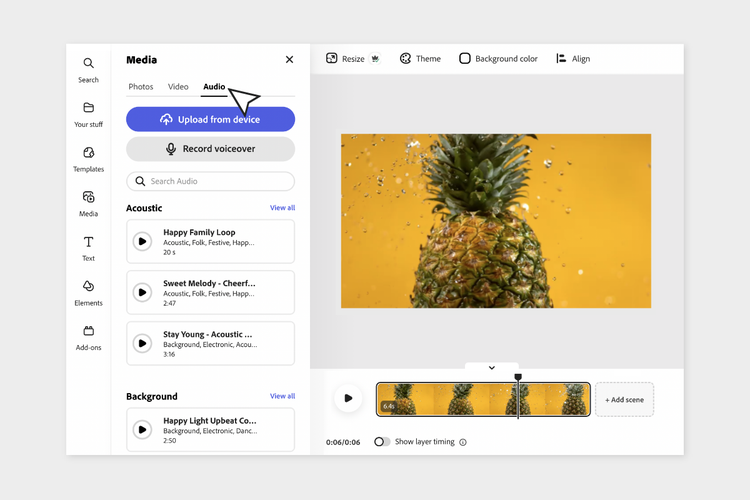
- In the left navigation, click the Media tab. Media options include Photos, Video, and Audio.
- From here, you have the option to upload audio, browse stock audio, or record a voiceover.
-
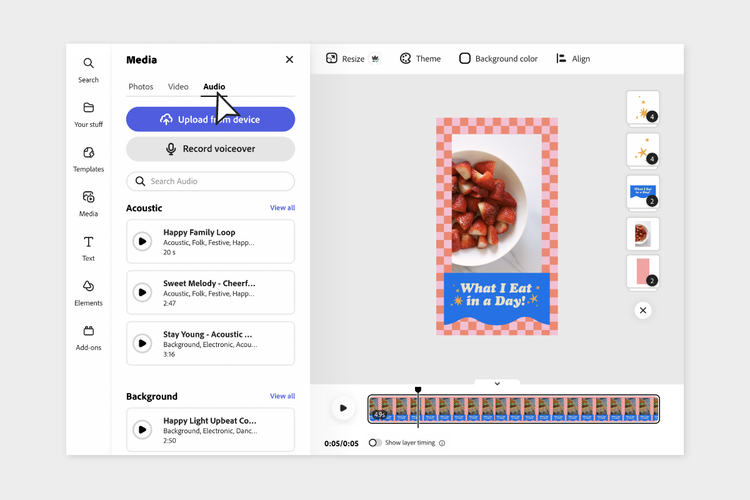
To incorporate your own audio, select Upload from device. Your finder window will open, and you can select a file.You also have the option of browsing Stock audio. Categories include background, film for a cinematic audio track, and various music genres. Each section has several options for this view, or you can view all the audio track options within a given category. The search bar above the categories enables you to specifically target a desired sound, mood, or tone. Stock content (including music) is licensed, so it’s safe for commercial use.
- To record your own voiceover to your video, click the Record voiceover button at the top of the navigation. Make sure the appropriate microphone is selected and when ready, press “Start recording.” Your voiceover can be edited like any other layer.
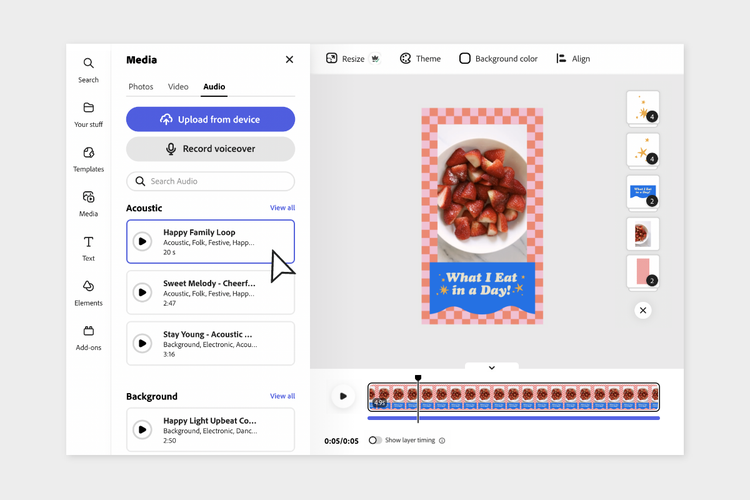
Trimming an audio track works just like trimming a scene. Hover over the audio track and handles on each end will appear. When the audio is selected, you can also change the volume of a given audio track.
Just like with video clips, you can use the Split function by right clicking a specific section of any kind of audio track. This allows you to isolate, reorder, or remove specific parts of your audio track.
How to export your video (include setting expectations on time and resolution)
Once you’re done editing your video, you’ll want to export it. This
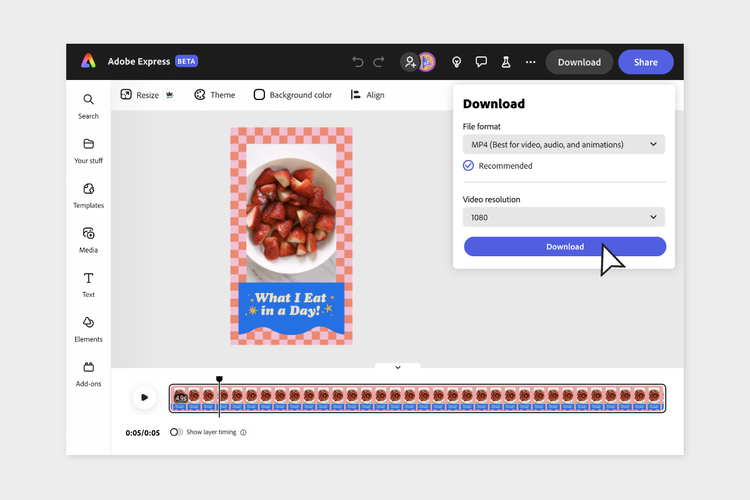
- To export your video, look to the top right where you have share and download options. For exporting, click Download where you see a drop-down menu that includes different file formats and resolutions. Resolution determines the amount of detail and clarity of a video.
- You will download your video as an MP4. The resolution options available are 720, 1080, and 4K. A higher resolution will mean a larger file with sharper quality. Choose your resolution and click Download.
- Videos can take a bit to render and download. If you want to start something new while your project is downloading, click Start something new and a new tab will be opened. This won’t interrupt your download.
Now you have the basics for video editing in Adobe Express. We hope you have fun experimenting with all the features while you create your next video project. Happy video editing.