Go places with travel photography.
Get travel photography tips from professional photographers so you can capture new landscapes, cityscapes and portraits of people you meet on your journeys.
Follow your wanderlust.
Whether your interests lie in landscape photography, wildlife photography or street photography, if you travel for the shoot, it counts as travel photography. Like documentary photography, travel photography expresses some truth about the particular scene it captures. “For me, it’s just one way to share my perspective on the world,” says professional travel photographer Tiffany Nguyen. “I travel to different places, see the world through my lens and tell stories through photography.”
Start where you are.
You don’t need to quit your day job and sell all your possessions to make travel photography. “I would just start in your own backyard,” Nguyen says. “I started small, doing short, weekend trips, then when I got more comfortable travelling and better at photography, I wanted to take it to the next level and do more international locations.” Begin with a list of places nearby that might be interesting to shoot. Find locations you can get to in an afternoon.
Research the location.
You can save yourself time and effort and get better pictures, if you plan ahead. “Having the right inspiration before you get there is really key,” says travel photographer Forrest Smith. “Before I go, I like to build a mood board to try to find the exact shot that I want.”
Nguyen does a lot of Internet research, looking at blogs, Google Earth and Google images. She scouts Instagram for different angles and perspectives. “I also find that social media is a huge resource, especially using hashtags on Instagram,” she says. “They’re really helpful for finding live conditions at a certain location. For example, if I go to a waterfall, I don’t really want to waste my time if the waterfall is dry. So I’ll search the hashtag of the waterfall name to get an idea of the water level.”
In addition to weather conditions, your Internet research can tell you how popular the location is, how to get there and what times might be the least crowded. “I’m looking for the length of the hike, the elevation gain, any obstacles or challenges that are going to come my way,” says Nguyen.
Bring the right equipment.
Make a checklist so you don’t forget anything as you pack your camera bag. Include things like extra batteries, an extra memory card, a headlamp, emergency snacks, rain gear, protective cover for your photographic equipment and extra lenses. (If you know you’ll do a lot of walking, make sure you really want that telephoto lens before you bring it.)
“For me it’s important to have compact, lightweight equipment,” says Nguyen, who uses a mirrorless Sony camera. Unlike DSLRs, mirrorless cameras have no mirror to reflect the image to the optical viewfinder. “Their bodies and lenses are much smaller than the DSLR cameras, but they’re still super-high-quality, super-high resolution,” Nguyen says. She uses several lenses, including a 24-70 mm f/2.8 lens and a 16-35 mm f/2.8 lens for wide-angle shots. She’ll bring a prime lens (a lens of fixed focal length) for astrophotography or low-light photography and a lightweight carbon-fibre tripod. If she’s going to be close to her car, she’ll bring a 70-200 mm f/2.8 telephoto lens.
Both Nguyen and Smith will bring drones for aerial shots if they know they’re going somewhere drones are allowed to fly. (Drones are not allowed in U.S. national parks.) The best camera for his work, Smith says, is a Canon 5D Mark IV DSLR. Like Nguyen, he uses a 24-70 mm f/2.8 lens. “If I’m going out for the day, I like to have something wide and something more cropped, so I’ll bring my 24 mm prime or my 100 mm prime,” Smith says. He’ll also bring neutral density filters. “They’re really great to have if you’re photographing water.”
Get the timing right.
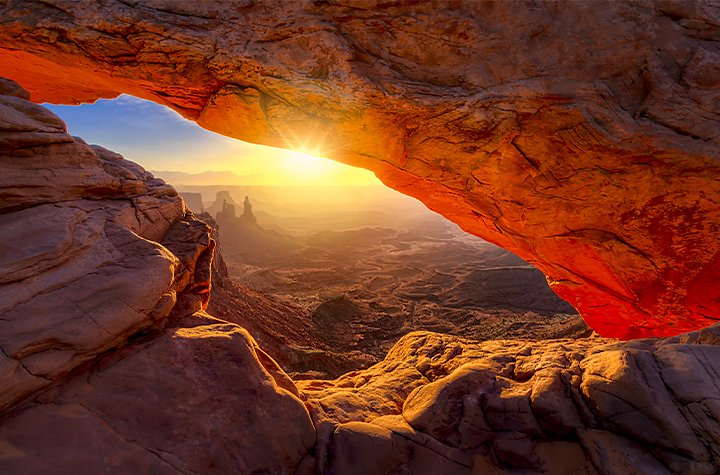
Part of your research should include finding the best times of day to shoot and factoring in travel time. “I like to take advantage of the light, so I like to shoot at golden hour or sunset,” Nguyen says. “I try to avoid shooting at midday because the harsh lighting doesn’t look good for photos and there are more people out.” If you want to shoot an empty landscape in a typically busy place like a national park, you may want to get to the location before sunrise.
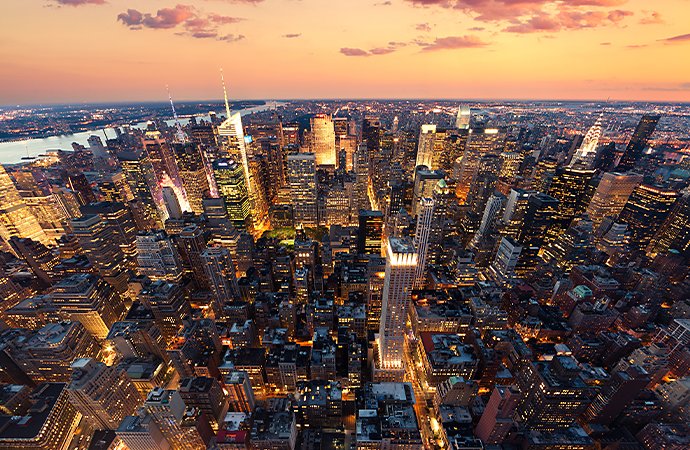
Always be on the lookout for great shots that you haven’t planned. “You have to be in the right place at the right time with the right attitude,” says Smith. “Keep an eye out because there are always stories to be told. Whether you’re in the heart of New York City or the middle of nowhere in Utah, there are always things happening that, if you’re attentive to them, you can use to tell an incredible story.”
Smith recommends keeping a camera with you at all times, even if it’s just a Polaroid or the camera on your smartphone and using it to develop your creative eye. “Whether you’re at an iconic location or you’re just walking around your neighborhood, look for compositions and good lighting. Those off-the-hip, spur-of-the-moment photographs often tell a more incredible narrative than the super-planned shots do,” he says.
Accept uncertainty.
Travel is all about unpredictability. You might stumble upon a once-in-a-lifetime shot or you might get fogged in and rained on. Try to roll with the punches when you encounter frustrating weather, find a road closed or miss a train.
It helps to have backup plans and even backup plans for your backup plans. That way, you’re never at a complete loss for what to do if things go wrong. “Be realistic with your expectations and with things that you can’t control; it’s just a lot easier to be flexible and try to find a different plan,” Nguyen says.
Focus on telling stories.
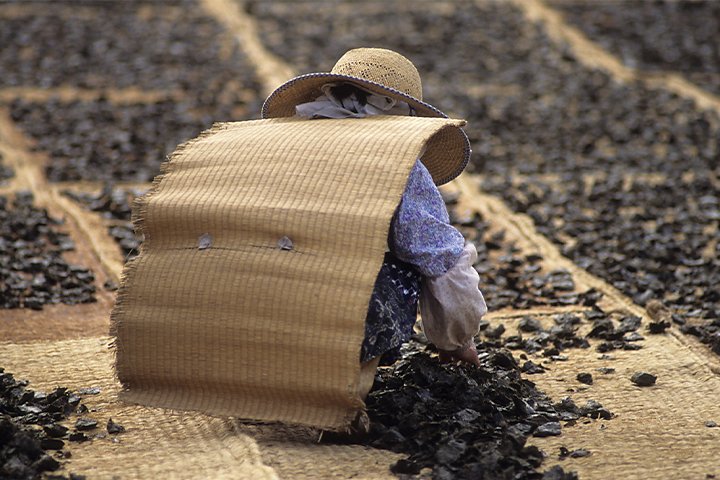
Every travel photograph has a story to tell about a time and place. “Being able to bring people along for your journey through your images is the most important part of travel photography for me,” says Smith. “You want to be able to not just show the location but breathe life into it and find those authentic moments.”
Don’t be afraid to tread the beaten path. Even if you travel to places that have been photographed by hundreds or thousands of people, your photos and your stories will be unique. “You can have ten different photographers go to the same location, but you’ll come back with ten completely different images, ten different edits and ten different stories, because everyone sees the locations differently,” says Nguyen.
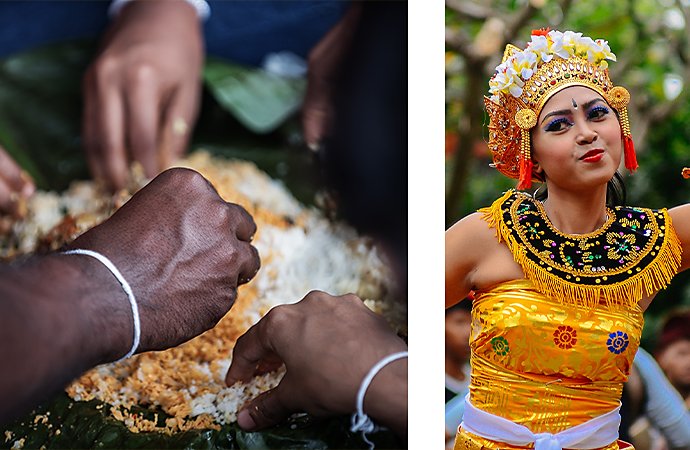
Tips for international travel photography.
International travel involves a lot of planning because you want to make the most of your time. But it’s also important to accept that you can’t plan every moment. “Part of the experience that’s so fun and rewarding is how spontaneous it can be,” says Nguyen. “You never know where you’ll run into things you just can’t plan out or predict, so you just have to just go with the flow and work with what you find around you.”
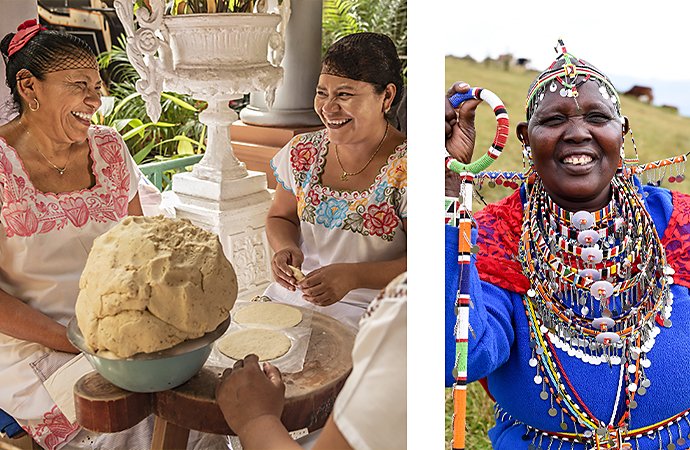
Approach local people and their customs with an open mind and heart and try to participate in their culture instead of just observing it from outside. “The people make the big difference. They have their own stories to tell and you can learn a lot from them,” says Nguyen.
Remember to always be respectful. If you want to take a photo of someone, talk to them. Get to know them a bit and then ask for permission. “A majority of the time, they’re more than happy for you to take their photo and maybe talk too,” Nguyen says. “People think it’s fun because it’s not something that happens every day.”
Practice.
The best way to get better at travel photography is to keep going places and taking photos. “Put in the time and effort, show up and shoot as much as you can,” Nguyen says. Keep building your portfolio and when you’re ready to look for work in the photography business, be selective about the photos you share. Be sure that you know why you’re including each photo and what skills you want to showcase with it.
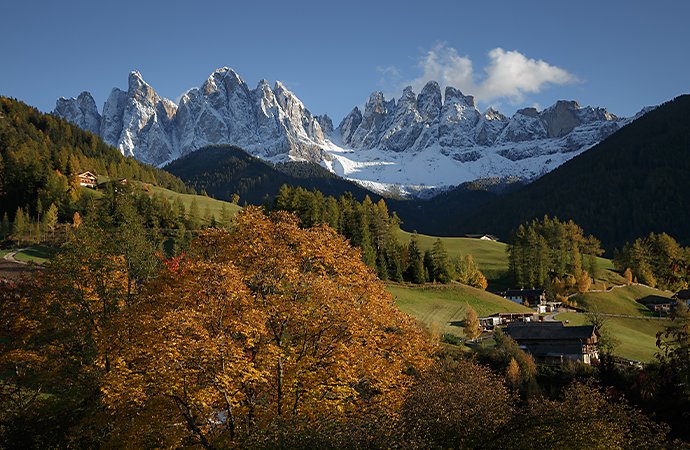
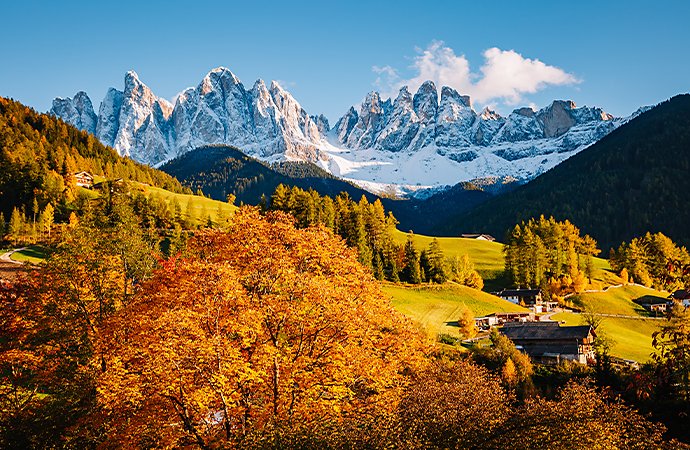
Make the right moves in post-processing.
With Adobe Photoshop Lightroom photo editing software, you can take your photos from good to great. If a photo just needs a nudge toward the rule of thirds or your horizon needs levelling, you can easily make those changes in Lightroom. You can also apply presets for fast fixes to urban photos and nature photos or follow step-by-step tutorials to learn how to do everything from image sharpening to removing unwanted objects.
Wherever you go with your camera, remember to embrace the adventure and the uncertainty that goes along with it. Be patient with yourself and your surroundings. With every photo you take, you’re practising your photography skills and adding to your story.
Contributors
Do more with Adobe Photoshop Lightroom.
Edit photos easily with Lightroom presets, Super Resolution, easily share photos from any device and access your projects anywhere with cloud photo storage management.
You might also be interested in…
Night Photography.
Low light doesn’t have to equal low quality with these tips for successful nighttime photos.
Crafting narratives with street photography.
Embrace this form of candid storytelling and start capturing snapshots of everyday life.
Architecture photography, inside and out.
Learn basics tips for photographing the interiors and exteriors of buildings big and small.
Explore the world of culinary photography with advice from industry professionals.
