Try reflection photography to find unique perspectives.
From bodies of water to mirrors, reflection photos capture distinctive takes on subjects and scenes. Explore how you can use reflective surfaces to get great shots.
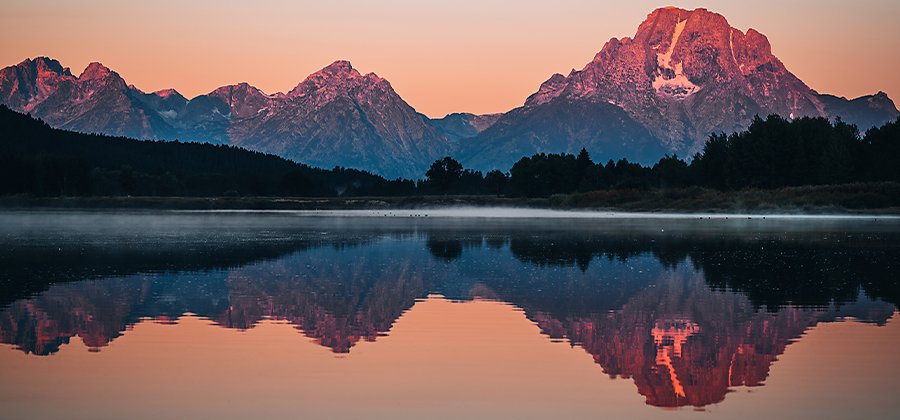
Image by Patrick Koetzle
What are reflection photographs?
Reflection photos refer to any shot, no matter what type of photography genre, that uses a reflective surface. Landscape photography, with a mountain duplicated in the still water of a lake, is reflection photography. An image of a city captured on the shiny surface of a skyscraper is a reflection shot, as is that same city skyline captured in a puddle on a sidewalk. Even a self-portrait snapped in a store window is a type of reflective photography.
“Reflection photography really is about the ability to look at an image in a different way,” photographer Patrick Koetzle says. “Seeing a reflection in the water appeals to me. It pulls me in. It makes me see this beautiful image twice.”
Learn more about how to get good reflection photos so you can turn the world upside down with your work.
Look at the world differently to find amazing reflections.
Beautiful reflections can exist anywhere, but you’ll need to train your eyes and be aware of your surroundings to find reflective surfaces to use in your shots. “A lot of people will walk by a river, a lake, or a puddle, and they won’t necessarily see the reflection,” Koetzle explains.
You won’t be able to move some reflective surfaces, like lakes, puddles, or windows, so that means you’ll have to move around in order to find the right angles.
“With any reflection, you’ll want to mess around with height,” photographer Tyler Grobmeier says. “You may have to get low to the ground if you want to get more of the subject reflected. If there’s a puddle on the street, crouch down to the level of the street.”
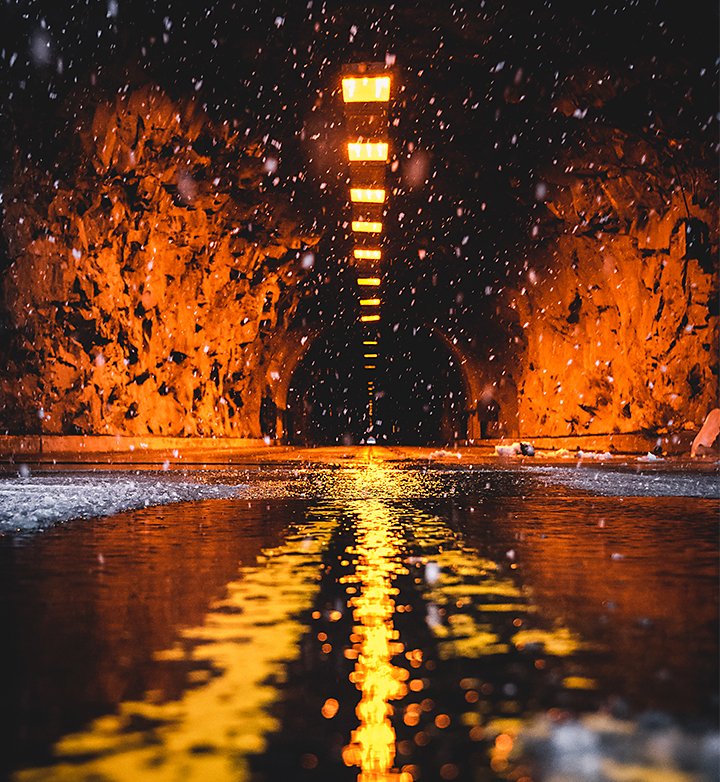
Image by Patrick Koetzle
As you move around your reflective source, adjust your composition. Try your shot with objects in the foreground, center a subject in the reflection of a lake, or use the rule of thirds to position a building on one side of a puddle’s reflection. Don’t be afraid to look a little odd to passersby. The best angle might require you to squat inches from water collected in a storm drain, but that is a small price to pay for a breathtaking shot.
Learn to see water, reflections, windows, and mirrors in a new way. Once you do, the creative opportunities you can find are only as limited as your imagination.
Need-to-know tips about outdoor reflection photos.
A serene, glass-like pond won’t reflect anything on a day when its surface is disrupted by a downpour. But minutes after the storm stops, the water may be perfectly still and surrounded by trees that glisten with raindrops. As is often the case with photography, timing is a factor.
You can’t control the weather, but you can set yourself up for success with a good plan. Wind and anything else that can upset the smooth surface of lakes and ponds can be problematic. Winds are often calmer in the early morning or at dusk. Try those times if you want to capture mirror images of mountains, trees, and more. And, of course, check the weather report for rain.
Flat, reflective surfaces can be subject to midday glare from the sun. “The number one thing you want to avoid with reflective photography is glare,” Grobmeier explains. The vaunted golden hour, when light is diffused around sunrise and sundown, is a great time of day to get good light without the glare.
Note that with certain equipment and camera settings, you may be able to work at midday, or you can even capture reflection photography at night.
Location
It can be a lot of work to line up the right angle on a building or mountain that reflects off a certain body of water. You can save yourself time and hassle with a little research.
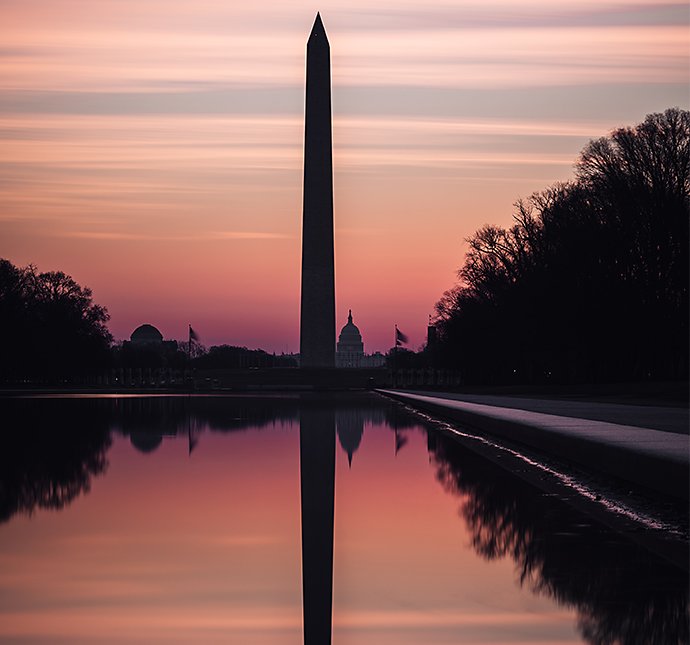
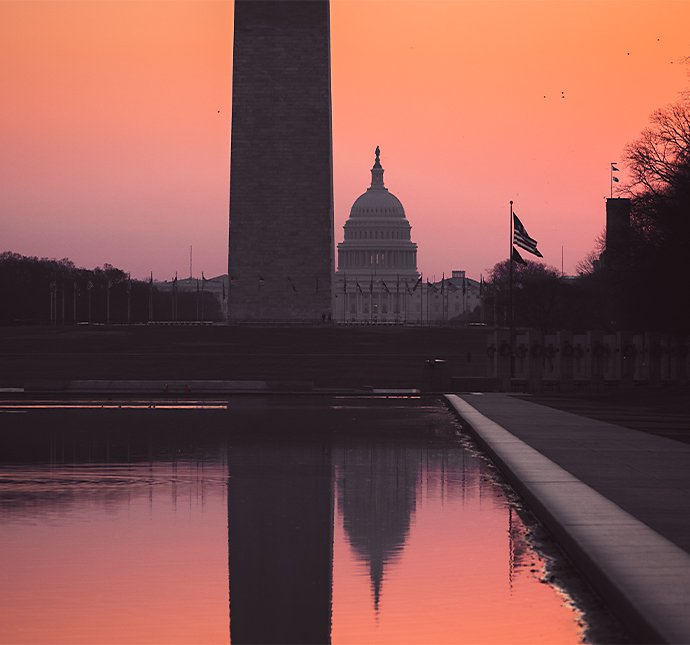
Image by Patrick Koetzle
“Composition is behind my love for planning trips — I’m obsessive about it. I do research on Google Maps or Google Earth for a long time before I go anywhere new,” Koetzle says. For locations you’re familiar with, it may be easy to find the right timing and angles to snap great reflections. But when natural lighting windows are limited, you can miss the perfect moment without some preliminary research.
“Preplanning is essential,” Koetzle explains. “Just type in a location and check out the sample images to get inspiration and ideas. Google Maps can help you plan out what angles you might want at sunrise or sunset, where the light might hit differently.”
Camera settings and gear to help you capture mirror images.
As always, the question of what you want to capture will guide your choices. Your settings and gear selections will be different if you want to shoot a tree and its reflection versus a shot that focuses solely on the reflection.
“If you’re going to sit down and take pictures of a reflective surface, you want to come away with different kinds of shots and different compositions,” says Grobmeier. “You can use a telephoto lens and a wide-angle lens and get a diverse selection of photos from that.”
The focal lengths of different lenses will partially determine what is possible in your reflection photography. A wide-angle lens with a shorter focal length can capture a larger scene, like a mountain and its reflection. A longer focal length, like on a telephoto lens, is better suited to focusing on just the reflection.
Larger apertures produce a narrow depth of field, which means they are ideal for a blurred background effect like bokeh. If you want to capture a reflected portrait of a subject, wide apertures are where you’ll want to shoot. Smaller apertures bring more of the scene into focus and are good if you want to capture a subject and its reflection.
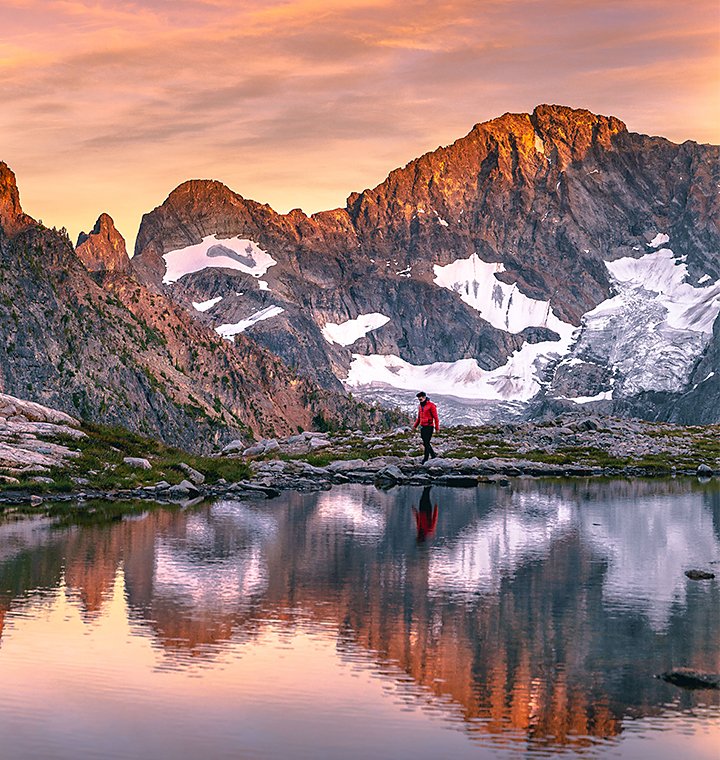
Image by Tyler Grobmeier
Shutter speed
Adjust shutter speed based on the amount of light and potential movement in your shot. A quick shutter speed will ensure you freeze a moment in time, ideal for capturing the reflection of a subject walking by a puddle or window. Even with ripples on water, a fast shutter speed may catch portions of a reflection.
If your subject is still and your reflective surface is too, you have more options. With a tripod to steady your camera, and cooperative weather to give you a nice reflective body of water, you can use a relatively slow shutter speed. Use a tripod and slow shutter speed at night to capture the reflection of stars.
A longer shutter speed can help you get beautiful shots when water is choppy, but these long exposures won’t capture reflections. They will turn waves into dreamy, silky pools of water, but those surfaces will not be reflective, as they capture seconds worth of waves in motion.
Circular polarizers and neutral density filters
You can attach both of these filters to a lens to reduce the amount of light that enters your camera. Neutral density (ND) filters are like sunglasses for your lens. They filter out bright light, so you can capture reflection photos when the sun is higher in the sky. Circular polarizers remove or lessen light that reflects off surfaces like water. If you use one for reflection photography, it can reduce glare so you can capture more detail in your reflective shots.
Get creative with reflection shots.
While the symmetry of a mountain perfectly reflected in a lake may be a beautiful photo, don’t hesitate to explore other types of reflective shots.
“Think outside the box in terms of adding a bit of realism to the photo,” Grobmeier suggests. “You can disrupt the surface by throwing a rock into the water. It breaks the image real quick, but you still have the reflection.” Put a leaf in the middle of a puddle. Play around, and see what happens.
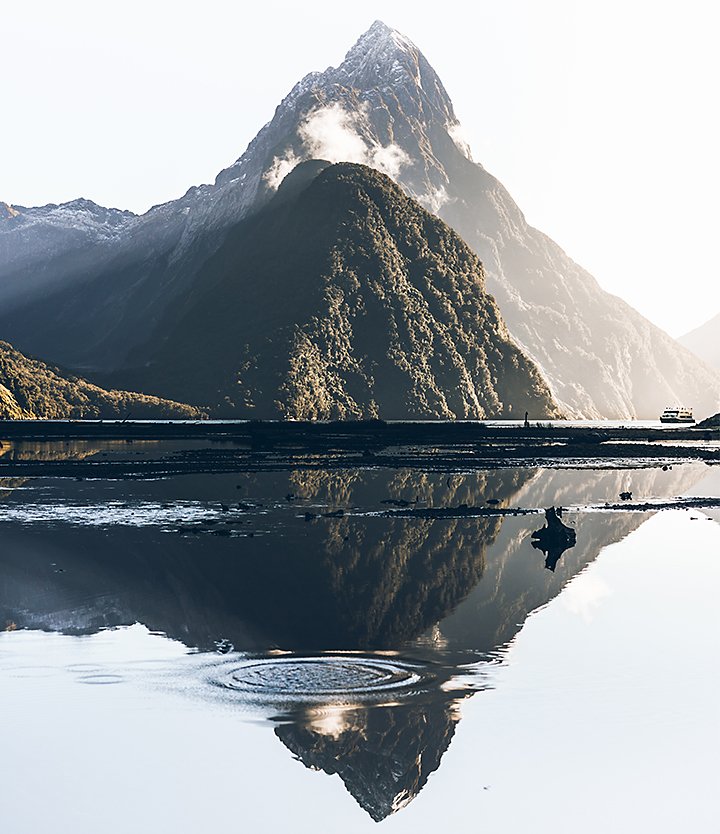
Image by Tyler Grobmeier
Let your gear give you options. “Bring a tripod with you,” Grobmeier says. “If you don’t have someone to take a photo of you, you can take a photo of yourself on a timer and add yourself into the reflection to make the photo more fun.”
And, maybe most importantly, don’t hold back. “Go for that artistic shot,” recommends Koetzle. “I think this shot might look awesome. But maybe it doesn’t. Who cares? You might end up with something you didn’t expect.”
Fine-tune your reflective images.
It may take practice to get the hang of reflection photography, and Adobe Photoshop Lightroom is a great tool to help you organize your attempts on the way to perfection. You can also edit and tweak your images in Lightroom. Adjust Highlights and Shadows, Hue, and Saturation to amplify the effect of your reflective shots. When you land on edits you love, save them as a Lightroom preset to create your own filter-like adjustments you can use again and again.
If you have trouble with the perfect reflection shot, you can always turn to Adobe Photoshop to help. For example, you can create an HDR image that combines two photos. Take a shot of the whole scene as a base. Then, make your focal point the subject beyond the body of water and snap a shot. Finally, change your focus to the reflection and capture that image. You can combine all three in Photoshop to create a well-lit, perfectly focused scene.
Keep your eye out for a good reflection, capture it as best as you can in-camera, and you can always edit to your heart’s content afterward. Practice reflection photography skills in-camera and in post-production, and your path to brilliant reflective shots will be crystal clear.
Contributors
Do more with Adobe Photoshop Lightroom.
Edit photos easily with Lightroom presets, Super Resolution, easily share photos from any device, and access your projects anywhere with cloud photo storage management.
You might also be interested in…
Create gorgeous compositions with tree photography.
Learn how to capture beautiful tree photographs and get tips on location, timing, and equipment.
Reach new heights with mountain photography.
Take great mountain photos with these tips from professional landscape photographers.
How to add bokeh backgrounds to your photographs.
Learn more about the beautiful blur effect that can give your photos a striking look.
What is ISO?
Discover the role this pillar of the exposure triangle plays in photography.
