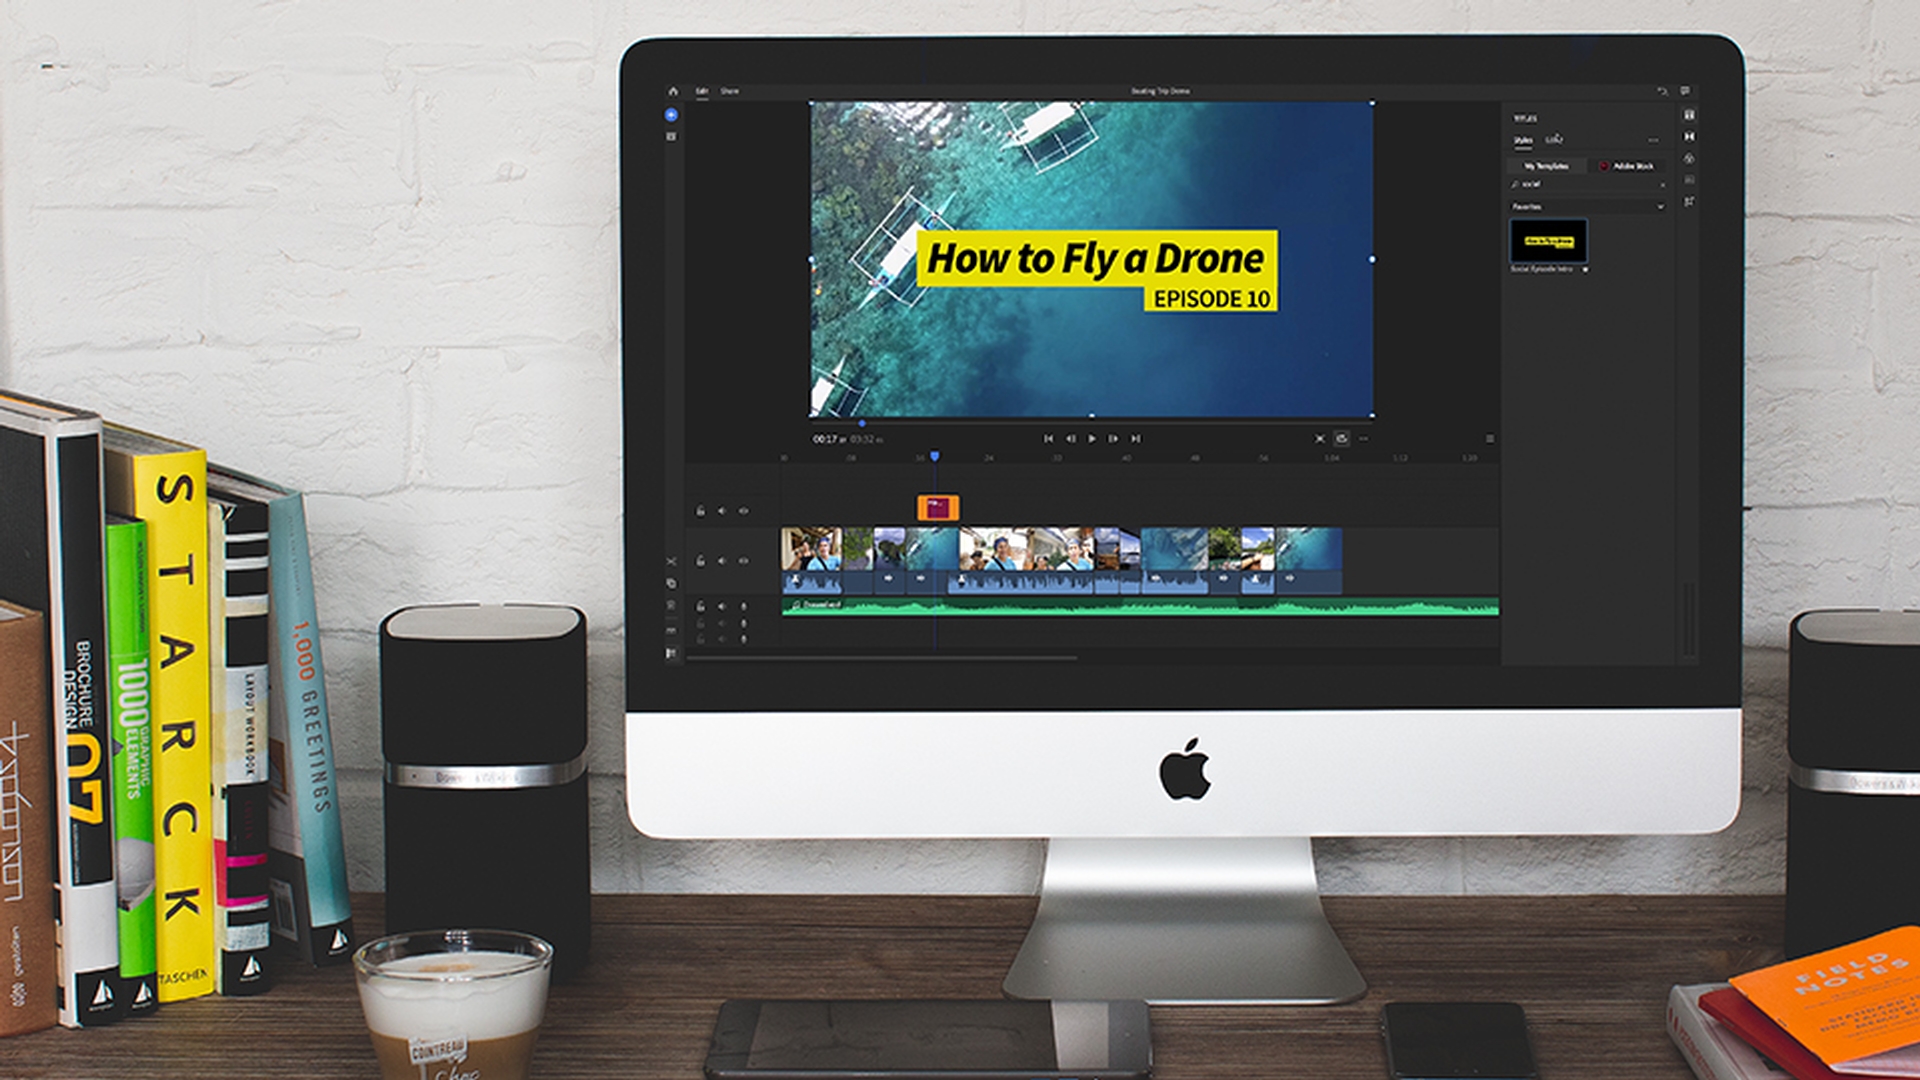
Hello everyone and welcome to part 4 of the Getting Started series on Adobe Premiere Rush CC.
In this video, you will learn how to add and customize awesome titles in Rush CC.
In Rush CC, there are two main ways to add titles.
The first way is to go up to the Plus icon and create a default title that you can edit.
Or the second way is trying out different styles by clicking on the title templates in the panel on the right.
This panel here shows you a bunch of different built in, professionally designed title templates that you can customize, and some of them are animated.
So, let's start with the first method.
Let's go up to the Plus icon and create a default title.
You can double click on the text here in the monitor to type out your own title.
And then from the Edit tab under the Titles panel on the right, you can make further customizations.
For example, you can choose your favorite Font, and Style.
You can also make adjustments to the Size using the slider.
And if you want to have the option to adjust the Character Spacing, the Line Spacing, or even the Baseline Shift, these sliders are here, so you can do that.
And lastly, you can adjust the Color Fill; you can add an Outline if you want, or even add a drop shadow to your title.
And also, in the Timeline you can edit the title here, just like a video clip.
You can trim the length by shortening or lengthening the orange handles on either end.
Or you can even move the clip to an entirely new video track.
If you want to scale, rotate, or change the titles position, you can manipulate the title directly in the Preview monitor.
And you can drag a corner to increase the scale, or you can hover on a corner to rotate it.
To undo any of these moves.
Just hit Command Z on a Mac, or Control Z on a PC.
So, this is one way to add and customize a title.
The other way is to drag and drop a title template from the Titles panels browse tab.
From the Titles panel you can actually search by keyword to find some of the templates that you might be looking for.
You can also star them as a favorite.
Once you find the one you like, you can drag it into your Timeline, and you can play it back to see how it looks with your video.
Then you can double click on the title to edit the text, and you can see that the elements automatically change size and respond to the Text size.
This is called responsive design and it makes editing fast and easy.
You can also change the Font type as well from the Edit tab, and you can change the Size and Color.
Also, from the Edit tab the other elements with the template have their own set of controls.
So, if there is a background shape, such as a rectangle, you can change the color parameters of that element to match your own branding.
And of course, there's more than just title templates available in Rush CC.
You’ll also find elements and colorful transitions which you can drag into your Timeline and modify the colors to fit your branding.
So, with Rush CC you really have a ton of flexibility when it comes to title and Motion Graphics.
You can choose from hundreds of professionally designed templates which are fully customizable, so you can really make them your own.
So, that's all for titles; let's take a deep dive into sharing to your favorite social channels.


