Get nostalgic with a vintage aesthetic.
Explore a wide range of vintage photo effects. Learn how to apply a retro vibe to your own images using these photo editing tips in Adobe Photoshop.
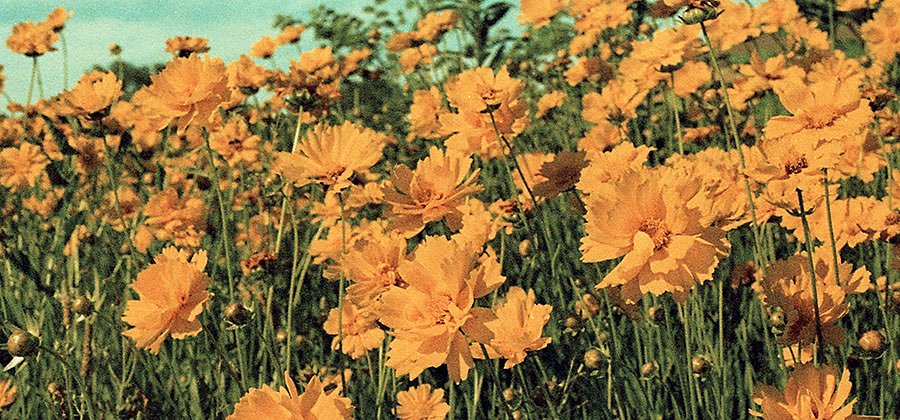
Image by Jennifer Froula Weber
Add a classic feel to your images.
The term vintage photography covers a range of photographic styles that includes film photography, tintypes, black-and-white images, and more. A vintage aesthetic is when you take a modern digital photo and give it an aged look and feel. These digital filters mimic the style that a film camera would achieve.
These effects are now trendy because of the nostalgic look and sense of timelessness they bring to photos. Great retro effects can make modern photos feel like they’re from a whole different time period by conjuring up a mood, setting a tone, or evoking different emotions. Check out these options to find one that matches the style you want.
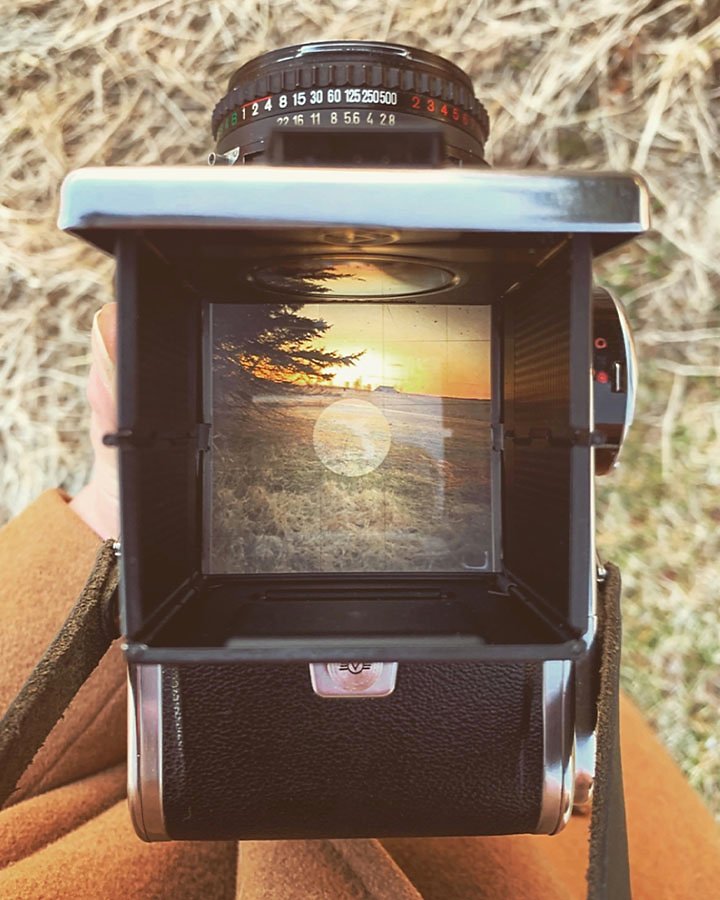
Image by Jennifer Froula Weber
A variety of vintage looks.
When it comes to vintage photography, there’s no single approach. Photographic technology and styles advance over time, so depending on the era of photo you want to recreate, you can apply different effects.
Monochrome
A simple way to give your photos an antique look is to transfer them into black and white. Since camera film was initially only available in black and white, this automatically gives your photo a retro vibe. There’s a whole series of high-quality black-and-white filter-like presets available in Adobe Photoshop Lightroom, if you want to start there.
Sepia
The soft, reddish-brown tint you see in vintage photos is called sepia. The effect is a result of an older developing process for black-and-white film that helped prevent decay of photos. You can easily recreate this effect in Photoshop by applying tints or overlays to a monochrome image.
Tintype
One of the oldest kinds of photography, tintypes are made from thin sheets of metal coated in photosensitive chemicals and developed in a darkroom. These plates produce distinct black-and-white images with a darkening vignette around the edges and a metallic tint. If you want to apply a tintype aesthetic, experiment with the shadows and contrast in your photo.
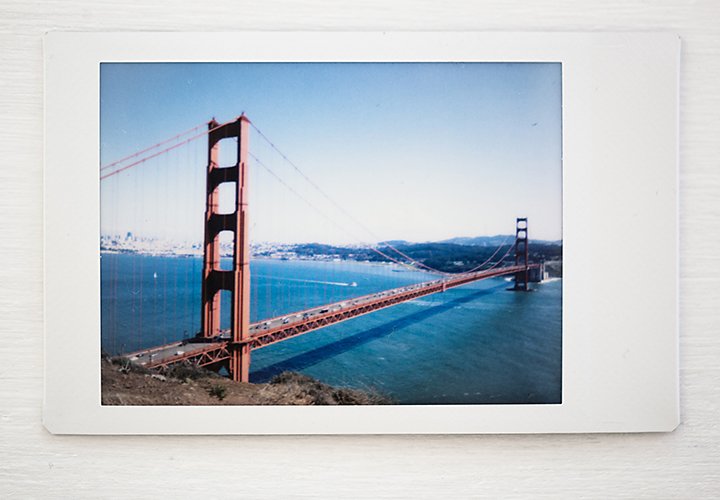
Polaroid
Polaroid cameras capture and print photos very quickly with special film. Most popular in the 1970s, these instant photos have a distinctive white border. Since the camera has fewer settings to adjust, the photographer has less control over the aperture, shutter speed, and depth of field. This gives photos a more spontaneous, less-perfect feel. You can create a Polaroid-style digital photo by applying overlays or placing your image into premade Polaroid templates.
Glitch and grunge
Photo scans and prints weren’t always as perfect as they are now. Whether it was camera scanning or tracking errors — or even degraded film that wasn’t shot or developed properly — old-school photographs used to have an element of visual randomness to them with scratches and imperfections. You can recreate your own glitch effects by selecting pieces of the image and moving them deliberately.
Create a vintage look with black-and-white photos.
If you want to create a monochrome vintage-style photo, follow this tutorial using editing tools in Photoshop.
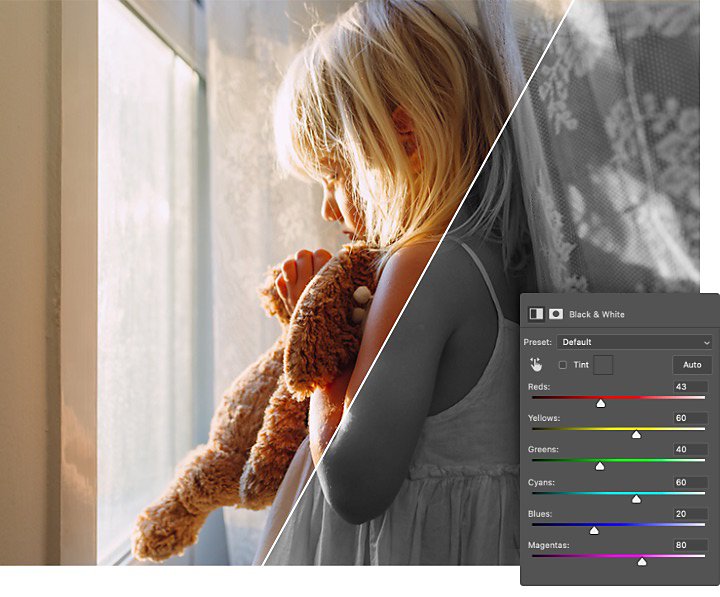
1. Make the photo black and white.
First, translate the photo into black and white using a Black & White Image Adjustment layer. Experiment with different presets or adjust the color sliders within each preset to tweak the appearance of your photo. Move sliders to the right to lighten specific areas and to the left to darken them.
You can also use the Target Adjustment tool to simply click and move the cursor over the image to edit the sliders in the preset accordingly.
2. Adjust the brightness and contrast.
Add another Image Adjustment Layer to your image, and choose the Brightness/Contrast setting. Keep in mind that older images tend to have less contrast or look a little darker, so adjust the sliders until the image has your preferred level of contrast and brightness.
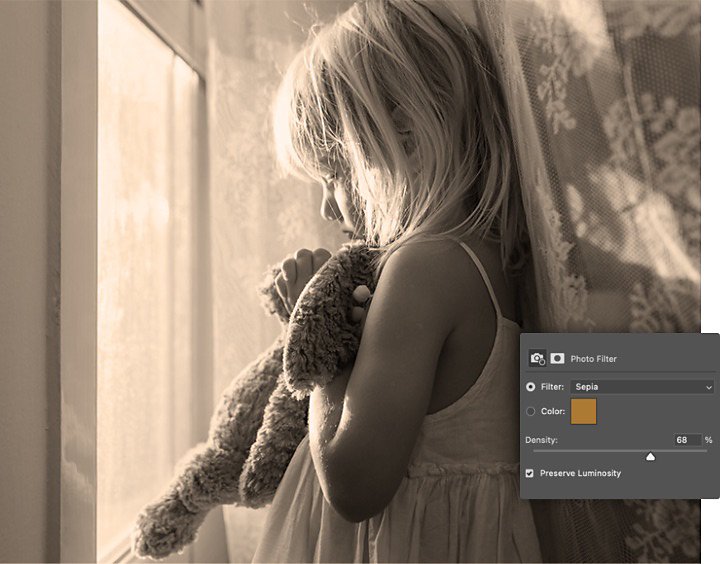
3. Apply a photo filter.
Add another Image Adjustment Layer and select Photo Filter. This allows you to apply a vintage color wash, such as sepia, which gives the image a warm, reddish-brown look. You can also explore other color washes, like a cool blue or a moody green.
4. Layer in some noise.
Add noise to the image to give it an authentic vintage feel. Click Filter, and then choose Noise from the drop-down menu. Noise gives your photo a texture reminiscent of film grain. Make sure to select Monochrome in the Noise window, so it doesn’t add in color speckles.
5. Create a vignette.
Click on your pixel layer, then go to Effects and select Inner Shadow from the drop-down list. This adds a subtle shadow effect and makes your image appear less perfect and more similar to ripped or damaged vintage photos.
6. Add the finishing touches.
Use the Clone Stamp tool to remove or retouch any modern elements of the image that would disturb the vintage aesthetic. Whether you take out a modern logo on a piece of clothing or edit out telephone poles, those final touches can preserve the retro look.
Give color photos a vintage effect.
Follow this tutorial to give your color photos a vibrant retro style in Photoshop.
1. Choose the photo.
Color trends change and vary. If you want to create a photo that looks like it’s from the 1950s, the colors will look different from one taken in the 1990s. So, consider the color scheme, textures, and composition when you select your shot.
2. Flatten the photo.
Lessen, or flatten out, the contrast in your image by creating a new Image Adjustment Layer and opening the Levels tool. By bringing up blacks and lowering the whites, you can achieve the same faded, flat look that’s common in vintage photo prints.
3. Edit the brightness and contrast.
Flatten the image even more by creating a new Image Adjustment Layer for Brightness/Contrast. Adjust the sliders accordingly to lower the contrast.
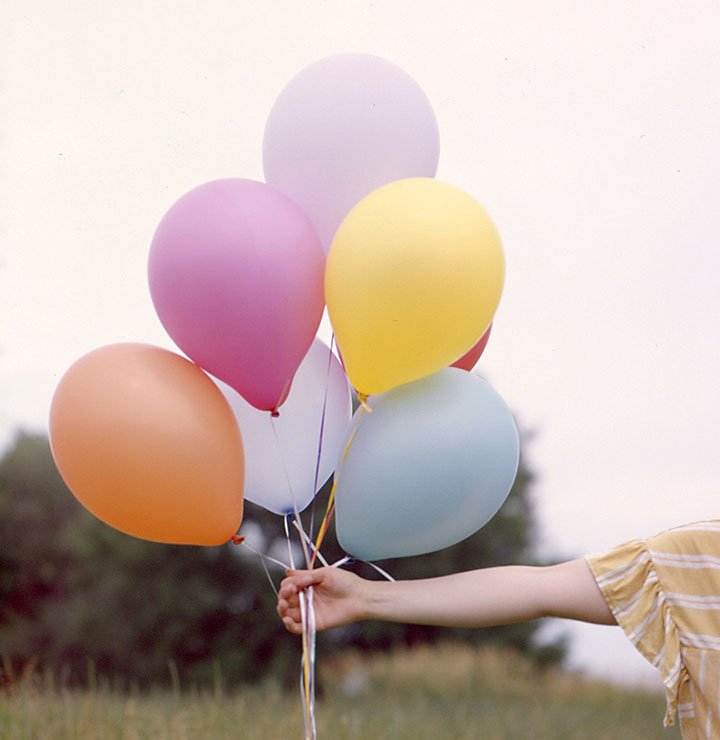
Image by Jennifer Froula Weber
4. Focus on the color.
The vibrance in old photo prints changes and fades over time. To recreate this effect, open up the Curves tool from the Image Adjustment Layer drop-down menu and move the sliders to explore different effects. You can also adjust the Hue, Saturation, and Color Balance tools. Each slider controls different elements of the color in your photo.
Since every photo is different, there’s no one-size-fits-all filter. Instead, experiment with each color editing tool to find the perfect combination for your image.
5. Add a little noise.
Give your photo a final vintage touch by adding visual noise. Click Filter and choose Noise from the drop-down options. Even a little subtle noise will give your image an authentic vintage feel.
For vintage-looking photos, it all comes down to tone, contrast, and color. There’s never just one way to edit an image. Play around with different tools, see what you think looks best, and experiment with new photo effects. You may find a new combination of edits that you can use to create your own vintage filter with Lightroom presets.
Do more with Adobe Photoshop.
Create beautiful images with Photoshop brushes, Content-Aware Fill, Photo effects, Neural Filter, Sky replacement, and the many tools photographers rely on.
Explore the Photoshop family of apps.
You might also be interested in…
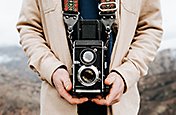
Go analog with film photography.
Explore the roots of analog photography and learn how to shoot, develop, and print your photos.

Creatively change color in your photos.
Adjust the color palette in photos by editing Hue and Saturation levels in Adobe Photoshop.
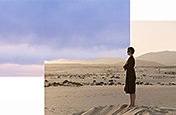
Learn how to overlay images with Adobe Photoshop.
Sky and clouds with an image of a woman standing in sand overlaid over it

Find your truth in fine art photography.
Follow your passions and explore the conceptual layers of creating artistic photos.