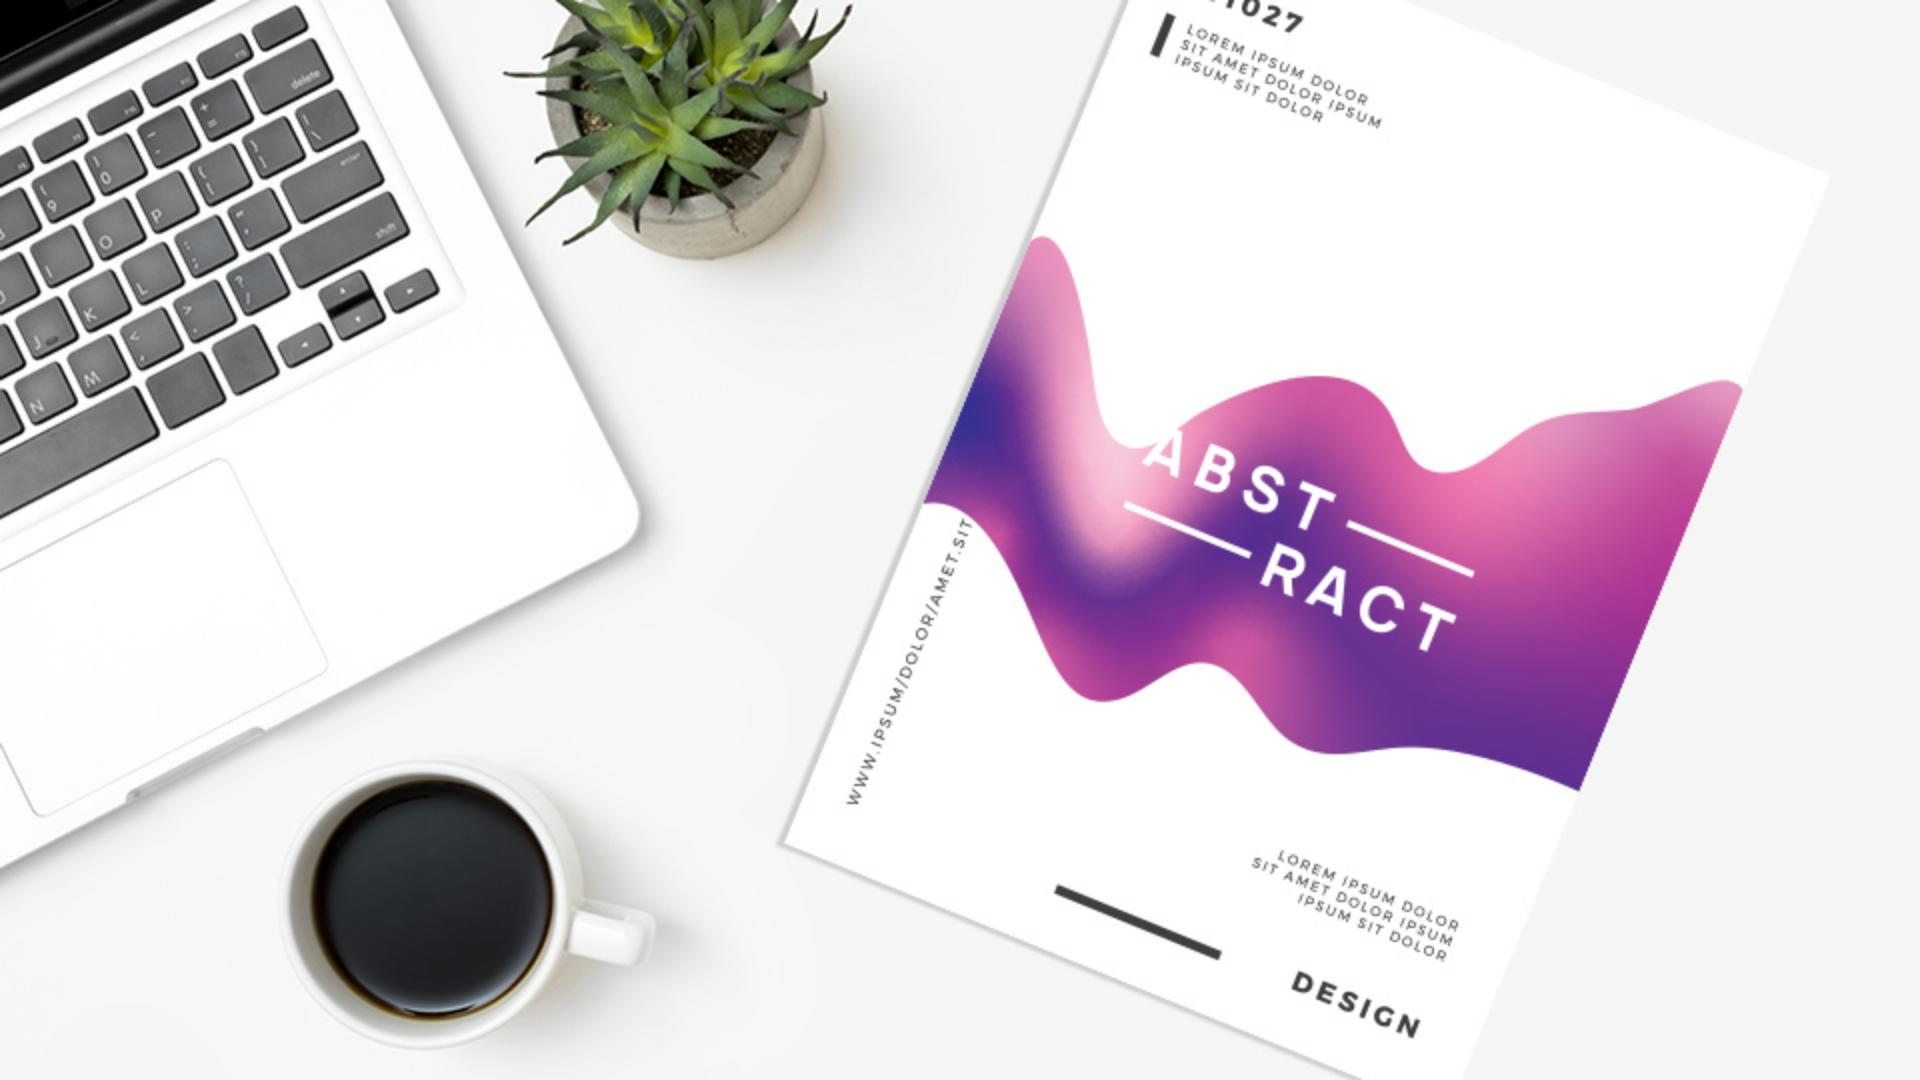
Illustrator makes it easy to create complex multicolor gradients called freeform gradients to transform your artwork.
Here you can see several examples of how freeform gradients can be applied to artwork.
With standard, linear or radio gradients the colors blend in a line.
Freeform gradients can be used to create a graduated blend of color stops within a shape in an ordered or random sequence so that the color blending appears smooth and natural.
For this project, you'll apply a freeform gradient to this shape, so that the color gradation follows the curves in this shape.
Now to get started, you can apply a freeform gradient in a number of ways.
Select the Gradient Tool in the Toolbar on the left and click in the shape to select it.
In the Properties panel on the right you can actually see the three types of gradients you can apply.
Now to apply a freeform gradient click the Freeform Gradient button here.
When you apply a gradient like a freeform gradient the default experience is applied to the selected object.
You'll most likely see a series of black and white colors in this shape.
The colors you see may not match exactly what you see here and that's okay.
We'll fix them.
Each of the colors in the shape are called color stops.
Each color stop is a point on this shape that controls the color of the gradient in that area.
With the Gradient Tool selected move the pointer over one of the color stops and click to select it.
Drag it down here and you can see how the color is blending with the colors of the other color stops.
Now to remove a color you can either select color stops and delete them or drag them outside of the shape.
Click another color stop to select it and to remove it press Delete or Backspace.
You can see that the color in the shape is now blending a little differently.
Try dragging each of the remaining color stops like you see here.
Now to add color stops you can click anywhere within this shape.
Make sure that there are five color stops.
I'll click to add one more and make sure they're positioned here.
Now to change the color of these stops come to the color stop in this area and double click it.
You can see the different ways you can change color.
With the Swatches selected, select the pink swatch.
You can now see how the new color is blending into the other colors.
Now the rest of these color stops need to be the same pink color.
You can select a series of color stops and edit them at one time.
Click another color stop press and hold the Shift key and then click on each of the remaining.
When they're all selected release the Shift key.
Now to change the color, click the Fill color on the right and with the swatches showing, click the pink color.
Now with the freeform gradient you can add color stops using other points, which is what you've been doing, or lines.
Points are used to shade the area around the color stop.
Lines, like you see in this example are used to shade the area around a line and can be a really great way to blend color.
Now to add a line of color, first in the Properties panel on the right, select the Lines mode.
Now as you add points, you'll actually draw a curved line so come into the shape, click here to add a point.
Now you want to change the color of this point so that the remaining points in a line will be the same color.
So, to change its color double click the color stop.
With the swatches selected, select this dark purple swatch.
Then come out here and click to add another point and you can see a line connecting them.
Move your pointer over and keep clicking to draw the line following the curve of the shape.
When you're finished adding points you can come back to the points on the line and drag them, you can double click to edit the color, like we already saw, or even drag one of the points outside of the bounds in the artwork to remove it from the line.
And when you're finished drawing, you can press the Escape key on your keyboard, to stop drawing.
Now you'll fine tune the appearance of the gradients in here.
We want to be able to edit the points out here, not the lines, so we need to go to Points mode.
Select Points in the Properties panel on the right then click one of the points and with your pointer over it you'll see a dashed circle around it.
You can drag this little handle down here to adjust the spread of the color.
The smaller the circle the less the color spreads.
Now if you want to apply the same exact spread to individual points for instance, you can also edit the spread in the Properties panel or Gradient panel.
In the Properties panel click More Options here and you can see the Spread value.
Freeform gradients open up a whole new world of achieving smooth and natural color blending and they're really fun to work with.
Why don't you try experimenting with this artwork to add and edit points and lines and see what you come up with.


