Explore the exciting world of storm and lightning photography.
Learn how to photograph lightning and stay safe while shooting storm pictures. Plus, discover the best settings and tools for creating stunning lightning images and extreme weather shots.
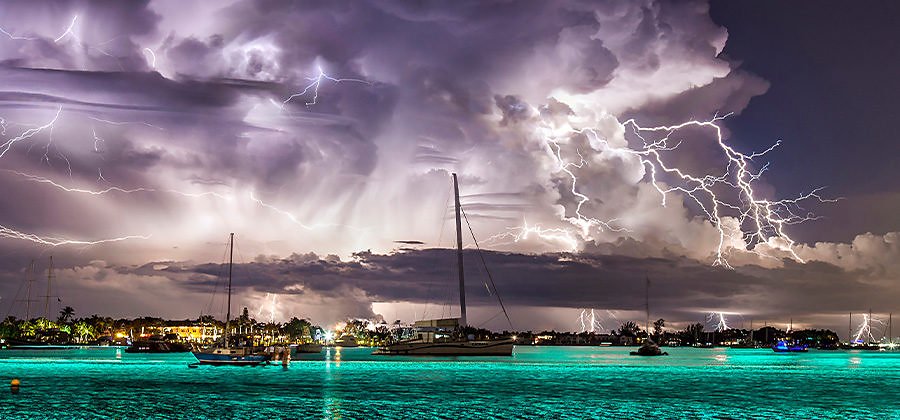
Photography by Jason Weingart.
Do it for the thrill of the chase.
The unpredictability of lightning and storms makes them alluring photography subjects. Awe-inspiring pictures that capture lightning strikes and unique images of storms fascinate viewers and can also help in the study of weather. “No two lightning bolts are ever the same,” says photographer Nick Ulivieri. “It’s a really interesting release of nature’s power — capturing that is a thrill.” Storm chaser and photographer Jason Weingart has caught anomalies like plasma discharges on his camera. “You never know what kind of rare event you’re going to capture,” he says. But before you get started, do your research, so you can get the perfect shot while staying out of harm’s way.
Put safety first in storm photography.
Staying safe is the primary concern for any type of storm or lightning photography. “If you can hear thunder, then you’re at risk for being struck by lightning,” says weather and environmental photographer Jim Reed. “In some cases, you don’t even have to hear the thunder.”
Take shelter.
Set your camera up with a cable release or a lightning trigger so you can shoot from your car or a nearby structure. While cars are fairly safe, “you’re not a hundred percent safe unless you’re in a building and not touching anything that’s connected to an outlet or plumbing,” according to Weingart.
Don’t stand under a tree.
If you must be outside, avoid being the tallest object where you are and don’t stand under the tallest objects either, like trees or power lines. If a nearby tree gets struck, the current could travel to you or the tree could explode. If you absolutely can’t get inside in time, get on your tiptoes while crouching down; you want to be as low as possible, while also minimizing contact with the ground.
Check radar and be mindful.
Radar apps like RadarScope or RadarOmega not only enable you to find your storm, but they can also keep you safe. Keep an eye on the location of the storm and check often for changes in speed or direction. If you’re in a car, stay alert about where you’re stopping and pulling over. Don’t sacrifice your safety to get your shot.
Keep your distance from the storm.
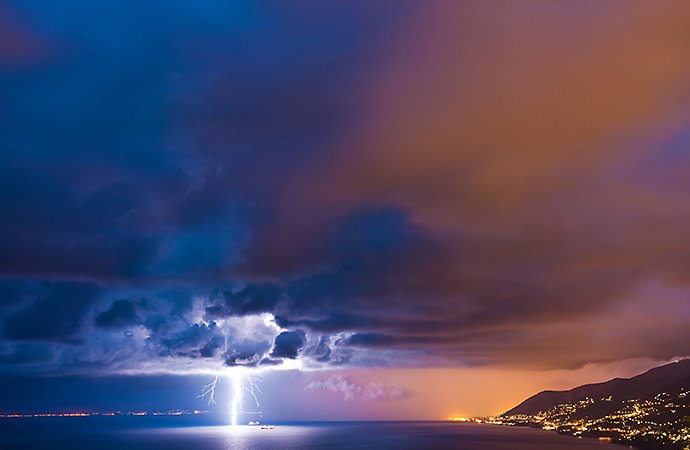
Find a location where you can take pictures of storms from a distance of 5 to 20 miles. This distance is safer and can even make for more compelling images. “The whole storm structure lighting up from a distance is often prettier than being directly underneath it, with the lightning strike only a half a mile away,” says Weingart.
Find your vantage point and have patience.
Using a radar app and the National Weather Service website, find out which direction your storm is coming from and decide on a location with composition in mind. “I try and get to a safe location where the cityscape is between me and the storm. This way I can watch the system evolve as it approaches,” says Ulivieri. If you can find a safe elevated spot, that will also add some interest to your images of lightning strikes.

Find the right equipment and settings for capturing lightning.
Sturdy tripod and cable release.
A tripod is necessary to avoid blur when shooting lightning, especially with the shutter open for a longer exposure. Before shooting a lightning storm, invest in a stable tripod that will reduce camera shake. You can also use a cable shutter release to trigger the photo without having to touch the shutter button, further reducing any chance of blur.
Lightning trigger or intervalometer.
During daytime storms, you’ll need a shorter exposure and narrower aperture to avoid blowing out the image. A lightning trigger can help by setting off the shutter when it perceives a lightning flash, allowing your exposure to be quick. When it’s dark, try shooting repeated longer exposures with an intervalometer, which will continually set off your camera’s shutter at regular intervals.
Wide-angle lens and rain protection for your gear.
Using a wide-angle lens is a great way to capture a full storm structure in one shot — but be sure to protect it. Even if you are miles from the storm, there may be precipitation. Keep your camera under an awning or shoot from inside your vehicle to stay dry.
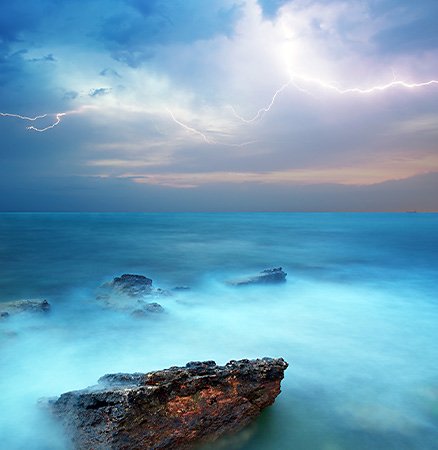
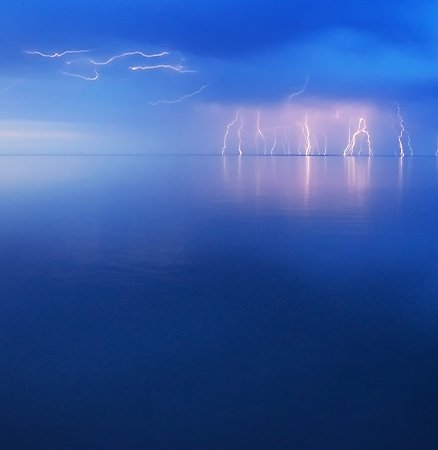
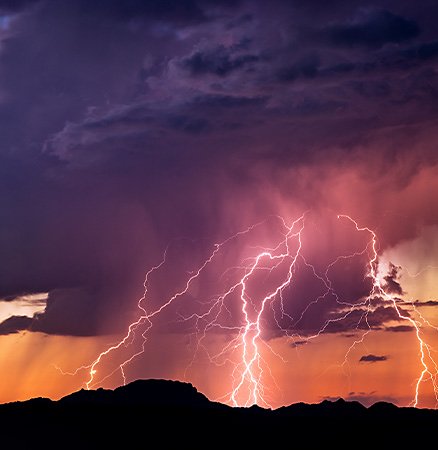
Camera settings for getting your lightning shots.
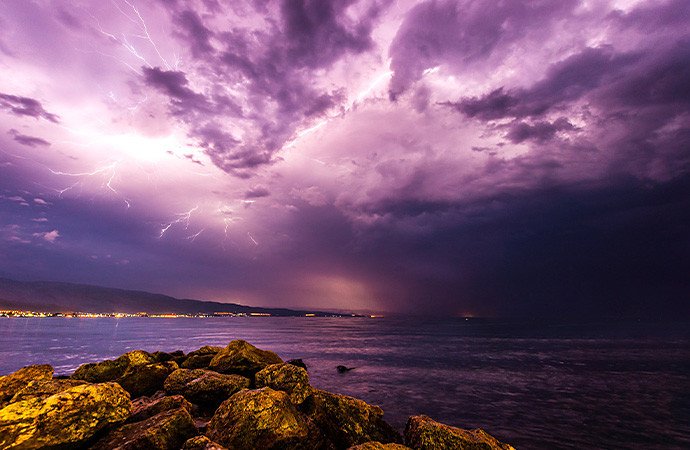
Your ideal settings for shooting lightning will depend on the amount of ambient light and how close you are to the storm. “Some bolts are super bright and will blow out your frame, and others aren’t. You’ll need to adjust accordingly,” says Reed. “It’s a constant flux of adjusting the exposure.” If your goal is to capture as many lightning bolts as possible, longer exposures are key. A shorter exposure (aided by a lightning trigger) is best for capturing a single bolt of lightning.
Start with the steps below, and then experiment to optimize your storm photography.
- Turn off lens stabilization and autofocus.
When shooting on a tripod, start by turning off lens stabilization. Most storms will be too dark for autofocus to be helpful, so you’ll want to rely on manual focus. To help with clarity, focus the camera on a light in the distance before you start shooting.
- Set a long exposure in the evening.
Remember, longer exposures (anything longer than 1/60 of a second) increase your chances of capturing lightning. Experiment by setting the longest exposure possible without overexposing the image — unless you’re shooting during the day.
- Narrow your aperture.
During the day, narrowing your aperture can help you shoot a longer exposure even in the sunlight. Try taking a test shot and then adjusting as necessary based on your results. Continue to narrow the aperture as the lightning gets closer and closer.
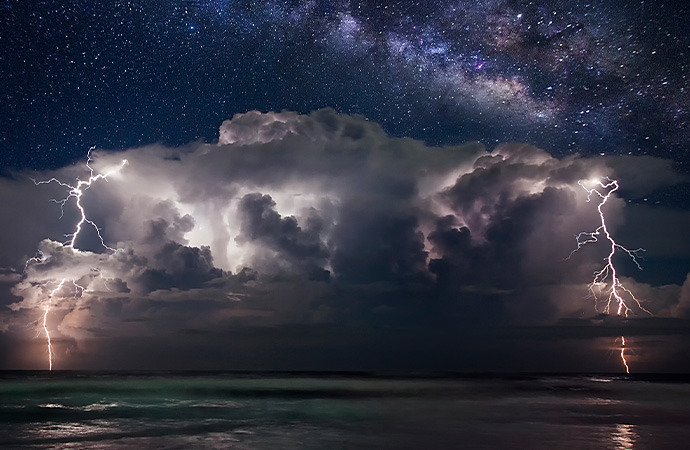
Photography by Jason Weingart.
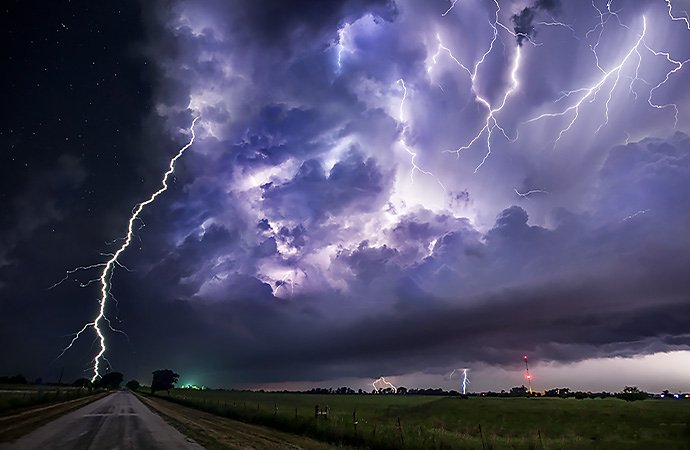
Photography by Jason Weingart.
How to edit lightning photos in Adobe Photoshop Lightroom.
Follow these tips to bring out the best in your storm images and lightning shots using Lightroom.

Set the white balance. Shoot in RAW mode, then adjust the white balance once the image is imported into Lightroom to offset undesirable tints or discoloration.

Tweak exposure, highlights, and shadows. Bump the exposure one way or the other if it seems off. Pull highlights down to recover blown-out areas of lightning.

Set your white and black points. Improve the contrast of your image without losing any of the detail in the highlights or shadows. Do this by adjusting the tonal scale and setting the white and black points.

Use the Texture, Clarity, and Dehaze tools. Bring out the drama in the sky with the Texture slider. Use the Clarity slider and Dehaze tool to sharpen your image.

Increase the vibrancy. Use the vibrancy slider to add saturation to the midtones of your image and enhance the color in the sky, as well as landscapes and cityscapes behind your storm.

Make a lightning composite.
If you have multiple good shots of lightning from the same exact angle, you can create a composite image showing all the bolts at once. Open Adobe Photoshop and stack your images on top of one another as separate layers. Then, set the blending mode for each layer as “lighten.” This causes the brightest parts of each layer — the lightning — to remain visible.
Storm photography celebrates how our complex atmosphere expresses light and color. And it’s important to document the changes in our weather. But before you start photographing storms, educate yourself on the risks and consult the experts so you can stay safe. “Know your subject,” says Reed. “That’s part of being respectful of nature.” And be prepared to be surprised. “There’s always a chance you’re going to see something you’ve never seen before. It’s exhilarating, especially if it’s a good storm and you remember to take the lens cap off.”
Contributors
You might also be interested in…
Discover how this pillar of the exposure triangle can be adjusted to affect your depth of field.
Enhancing the beauty of photographs.
Balance the contrast, shadow, temperature, and clarity of your photos with these photo enhancing techniques.
اكتشف كيف تساعد سرعة الغالق في التقاط لقطات واضحة أو لحظات مليئة بالحركة.
شاهد العالم من زاوية جديدة مع التصوير الفوتوغرافي الجوي.
حقق النجاح بالتصوير الفوتوغرافي الجوي مستعينًا بنصائح التصوير من طائرة أو طائرة دون طيار.
