Introduction
In this video you will learn how to use profiles in Lightroom CC to enhance your photos.
You can follow along with any RAW image or you can download the two sample files from the Adobe page for this tutorial.
Once you have imported the files, you will see them in the photo grid.
Select this image and click on the Edit icon.
This photo is an unedited RAW file.
A RAW file is an image that has not been processed.
Understanding profiles and the benefits of RAW files
It contains the complete lossless data from your camera sensor.
One of the many advantages of working with RAW images in Lightroom CC is that you can assign a profile.
A profile is a set of nondestructive instructions that determine how the data in the RAW file is rendered.
In other words: The profile determines how the information in a RAW file is converted into the colors and tones that you see on screen.
There are two main types of profiles.
RAW only profiles, which you can use to create a neutral starting point for all your edits.
These profiles only work on RAW images and Creative profiles which you can use to create a stylistic effect.
These profiles will work on non-RAW images like JPEGs.
Let's start by applying a profile
Choosing RAW profiles for a strong editing foundation
to build a strong foundation for all your adjustments.
Click on the Profile panel to expand it.
When you upload a color RAW image into Lightroom CC it will automatically apply Adobe Color.
Adobe Color is a profile designed to be a good starting point for all color images regardless of the subject matter.
Although this is a great profile you can find a better suited profile for your specific image.
Click on the Browse button.
This is where you will find all the profiles that are available to you.
The RAW only profiles are here in between these lines.
And the Creative category is under this line starting with the Artistic group.
On top you have the Favorites group, which can contain profiles from either category.
Click on Adobe Raw to expand the group. when you hover over any profile you will see a live preview of how it will affect your photo.
It's important to note that even though color and luminosity appear to change profiles are not making any changes to the editing controls.
They are only changing how the color information is interpreted.
The best profile for your photo depends on your subject matter and the final look that you're going for.
Selecting the right profile for different subjects
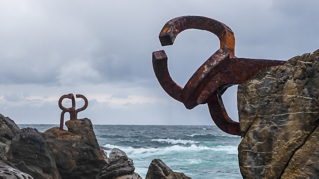
If you have a landscape photo, then consider starting with Adobe Landscape.
It makes the blue and earth tones in your photo more vibrant.
Notice how much more vibrant the sky, water and trees look with this profile.
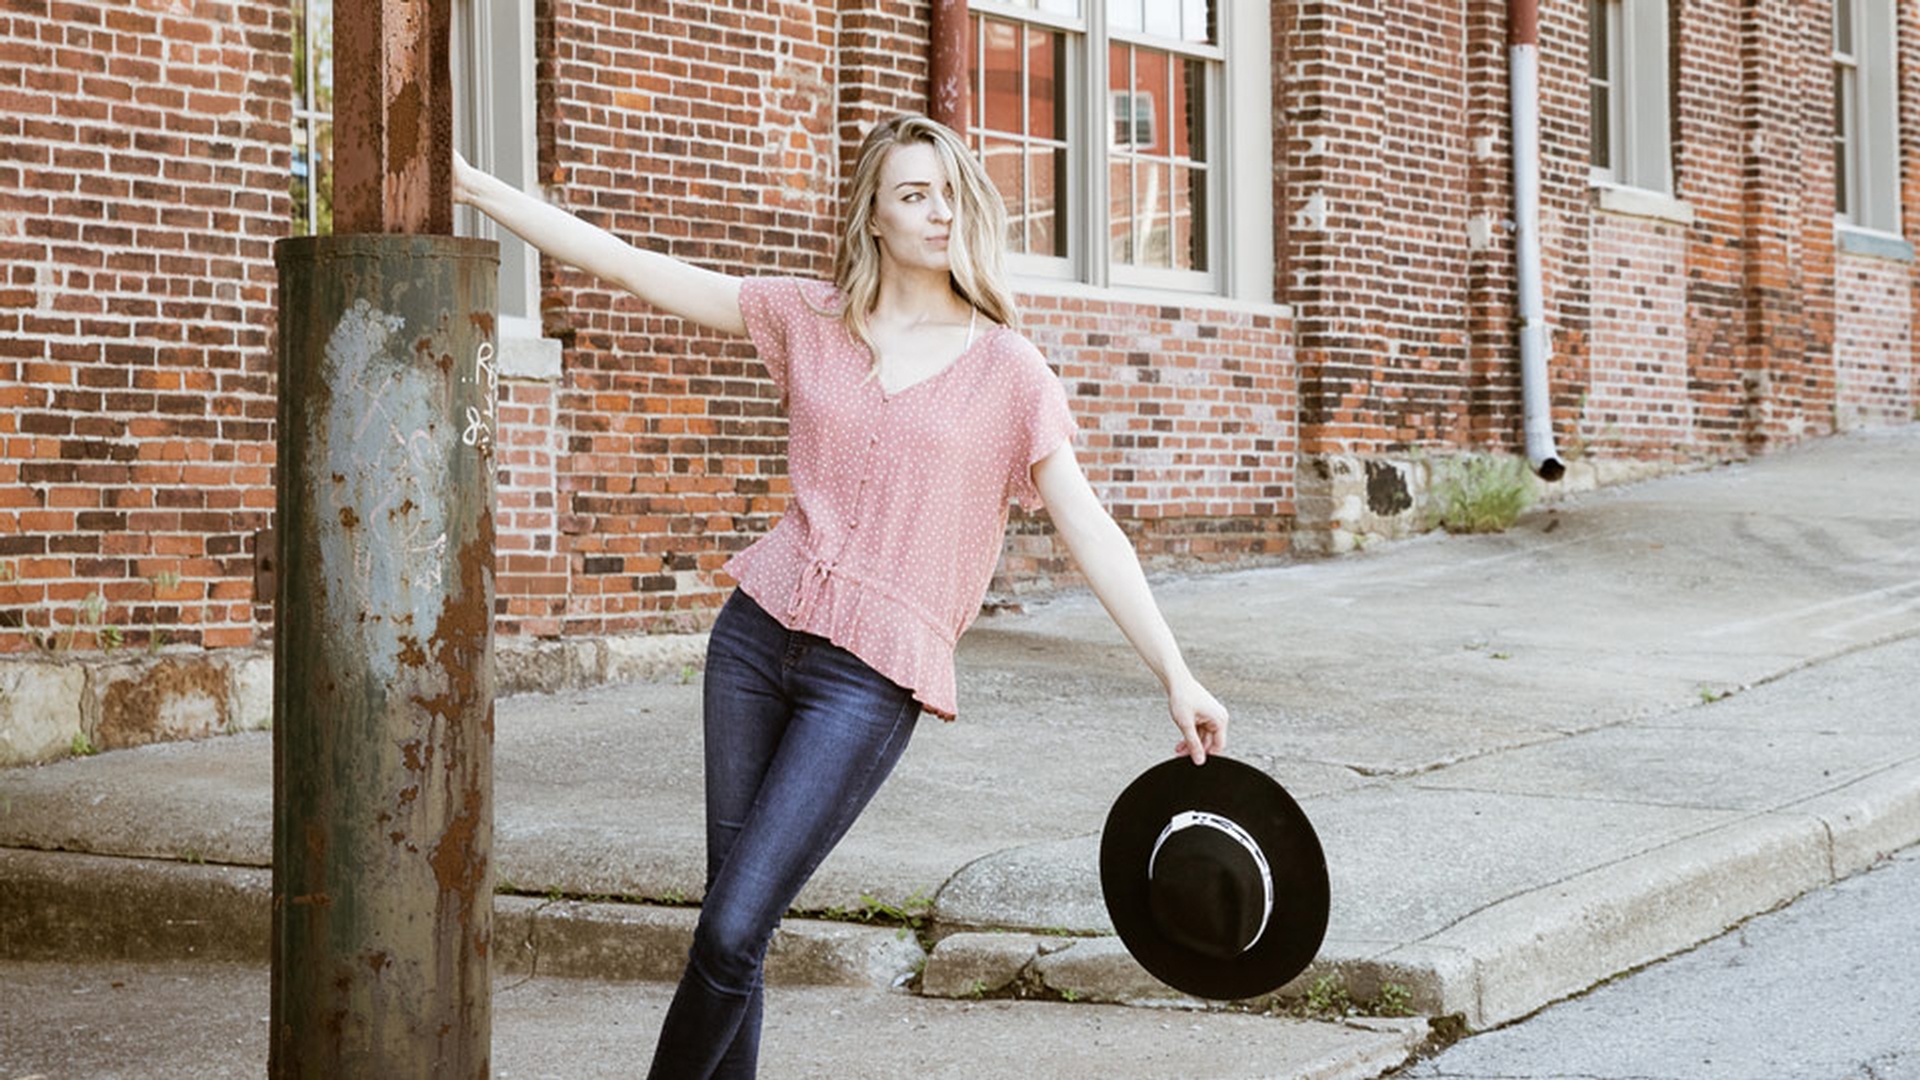
If you have a portrait then start with Adobe Portrait.
It gives skin tones less contrast and saturation.
This profile is probably not the best choice for this image although Adobe Landscape looks great and it creates an excellent starting point for an image like this one it does not fit the look that I have in mind for this image.
I would like a punchy saturated look.
And that is exactly what Adobe Vivid provides.
So, I'll select it by clicking on it.
I could also apply this profile to all similar images to bring a standard look and feel regardless of what camera took the photo.
At this point you can start making any adjustments that you like to enhance your image.
Let's look at the Creative profiles now.
Applying creative profiles for stylistic effects
Go back into the grid view by clicking on the green icon or pressing the G key and select this photo.
Then click on the Edit icon, click on the Browse button.
For this image we will work with Creative profiles.
Remember that you can apply Creative profiles to JPEGs as well.
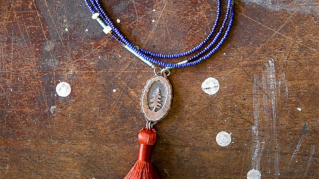
If you want to make a black and white photo you can of course use the Adobe Monochrome profile.
It offers a great starting point for all black and white photos but for black and white images Lightroom CC gives you more options.
Instead let's use the profiles in the Creative category.
Click on the B&W group to reveal more options for creating black and white images.
You can hover over these profiles to see which one more closely resembles the look that you have in mind for your image.
I like B&W 07.
I'll click on it to apply it to my photo.
Adjusting profile intensity and finishing the look
When you apply a Creative profile, you will see an Amount slider directly under it Drag it to the left to lessen the effect that the profile creates.
Or you can drag it to the right to increase the effect.
I like the default settings.
So, I'll double click on the slider to reset the amount.
This can be your final look, or you can use it as a starting point.
Then you can fine tune the image with the light and color panels.
Remember that you can always change your mind.
For example, you could decide to instead create a grungy effect, close the B&W group, then open the Modern group and select Modern 03. then move the Amount slider to 200.
Again, this could be your final image or a starting point for further adjustments.
And now that you understand the power of profiles I encourage you to try them out with your own images.