What is lens aperture?
Learn how aperture affects your photos and how understanding f-stop settings is a foundational skill for great photography.
Aperture controls the amount of light that enters your camera.
The way that photos are created is reliant on an “exposure triangle” controlled by three major settings. Shutter speed controls how fast or slow your shutter closes, affecting the time of your exposure and helping you freeze motion properly. ISO is used to indicate the light sensitivity of film or adjust the light sensitivity of a digital camera’s sensor, and photographers adjust it based on their surroundings. Lastly,
Aperture is the adjustable lens opening that controls the amount of light allowed into the camera. Learning to properly adjust these three settings based on your location and subject is essential for capturing good exposures.
Aperture in photography: definitions and understanding.
The best photographers know how to work with light – and your camera’s aperture puts that power in your hands. By taking control of the aperture settings, you tell the sensors on your camera how much light you want to let in, giving your images a sense of depth and reality. Let’s discover more about aperture settings in photography, find out what f-stops are and learn how to use aperture to adjust the depth of field.
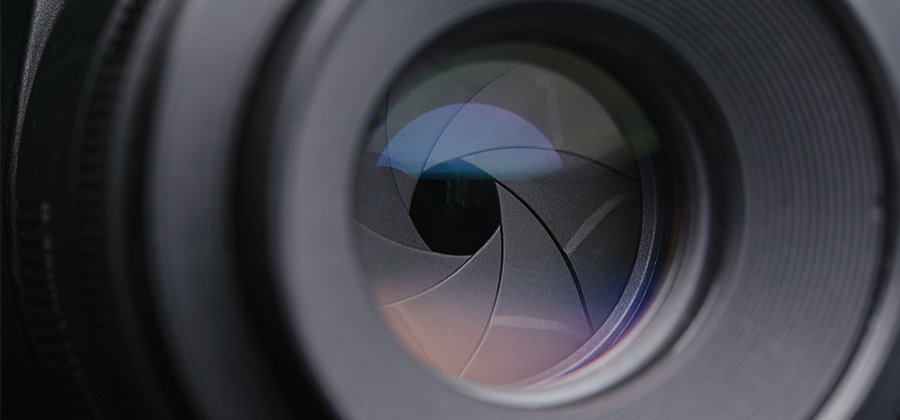
What is aperture?
Aperture in photography is the section of the camera that can be adjusted to let in more or less light. A small aperture lets in less light and leads to a darker image, while a larger one can flood the sensors with light.
But aperture can do so much more – adding depth by blurring backgrounds or creating super-sharp landscape images. There are three factors impacting the amount of light your camera is exposed to when taking a photo:
- Shutter speed – how long the camera’s shutters are open
- ISO – how sensitive the ‘film’ is to light
- Aperture – the size of the hole where light comes in
In SLR and DSLR cameras, the aperture is an actual physical opening in the lens. This means you can buy lenses with different aperture ranges. On your smartphone, the camera aperture is fixed, using software to add blur and depth of field.
The importance of f-stops
F-stops – sometimes called f-numbers – are a measure of how large the opening of the aperture is. They are determined by the ratio of the aperture’s diameter to the focal length of a lens. The higher the f-number, the smaller the aperture opening.
The smaller the f-stop, the larger the aperture.
They run from f/1.4 (largest opening and most light let through) to f/32 (smallest opening and least light coming through). Most cameras start at f/2.8 or f/4.
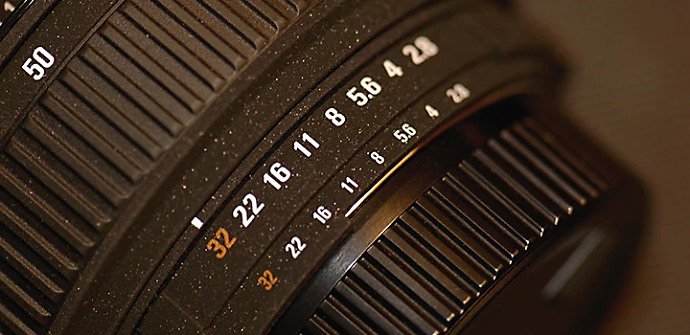
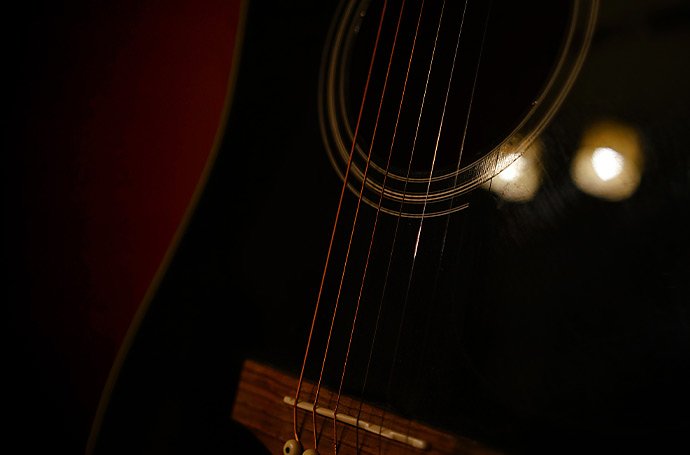
The maximum aperture on your camera is usually written on the edge of the lens. Often, it is displayed without the f-number. For instance, when the maximum aperture is 2.8, it may appear as ‘1:2.8’. This signals that the lens can maintain the maximum aperture of f/2.8 throughout the full zoom range.
F-stops don’t run in fixed numbers – instead, they follow this pattern:
F-stops with the largest opening
f/1.4 – lets in most light but only included on professional or semi-professional cameras
f/2.0 – again, most mainstream cameras don’t start at this level
f/2.8 – often the lowest f-stop on most cameras and useful for low light conditions
f/4.0 – a good choice for travel and nature photography
f/5.6 – the middle ground, good for photos of cities, buildings and landscapes – where there’s no single point of focus
f/8.0 – at this level you start to notice changes in depth of field with added background blur
f/11.0 – the size aperture starts to provide a nice depth of field, and can be used for macro photography
f/16.0 – the smallest aperture on many cameras
f/22.0 – only go this small if you are more experienced, as sharpness levels can start to suffer
F-stops with the smallest opening.
As you go down the chart, each f-stop lets in half as much light. For example, the f/8.0 setting allows in half the light of f/5.6. These numbers are essentially fractions. So, an f/8.0 is an eighth, while f/2.0 is half. Thinking in these terms can help get your head around why the larger numbers mean smaller apertures – eighths are smaller than half.
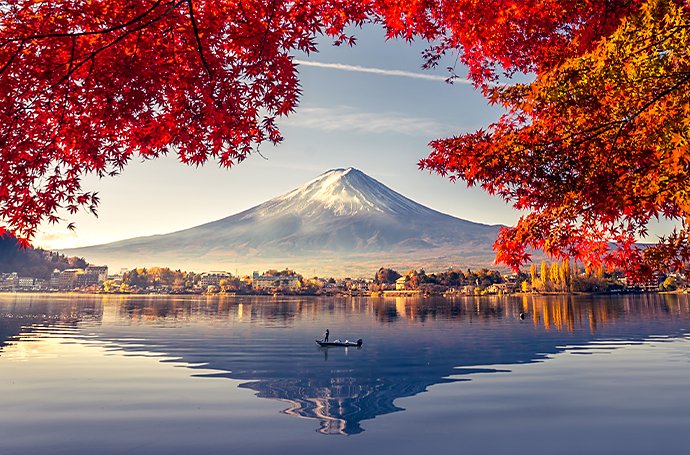
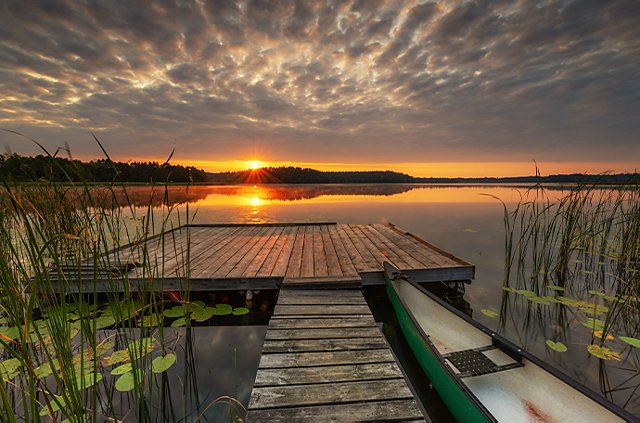
Both the foreground leaves and background mountains are in focus due to the low f-stop.

The model’s face is sharp but background blurred as a large f-stop has provided depth of field:
Usually, you’d choose a small f-stop in low light conditions to pick out detail. If you’re outside on a bright day, a larger f-number could prevent images from becoming washed out.
“If your f-stop is larger — your aperture is smaller — you’ll need a longer shutter speed to compensate for that. Be mindful about keeping your camera steady. The shutter is open for longer — it’s taking that much longer to capture the photo — and during that time, if there’s any movement of or in the camera — that’ll result in motion blur.”
Photographer Ivy Chen
Aperture and depth of field.
While the level of light let in is a key aspect of aperture, how aperture affects depth of field is also important. Depth of field is the range between the nearest and furthest objects in focus within a picture.
Shallow depth of field – Use a wide aperture (or low f-number) to blur the background and help the photo’s in-focus subject pop. This effect, commonly known as the bokeh effect, is great for portraits or food photography.
Larger depth of field – Use a smaller aperture (or large f-number) to keep a greater amount of the frame in focus. This is perfect for group shots or scenic landscapes.
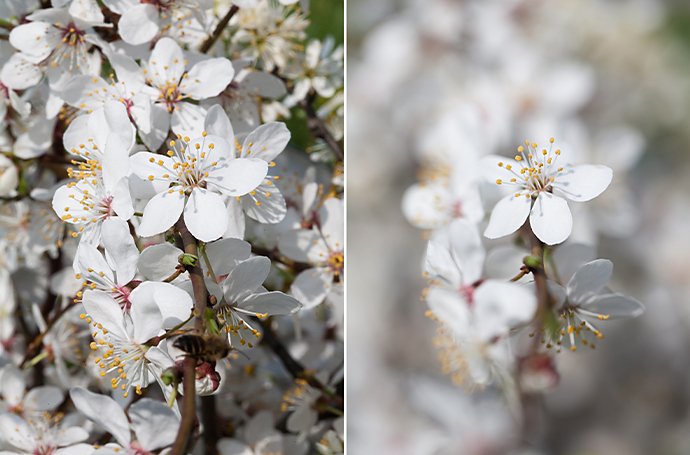
Here is the same photo with different aperture settings to adjust the depth of field:
Remember that opening the aperture lets in more light, so you might need to reduce the shutter speed if you want a shallow depth of field in bright conditions. Likewise, if you want to take a low light landscape shot, you’ll need a relatively open aperture with slow shutter speed and a tripod to reduce blur.
Aperture and exposure.
The three main settings (ISO, aperture and shutter speed) all impact how much light is let into your camera. Another way of talking about this is the exposure – or, as it’s sometimes called, the ‘exposure triangle’.
The brightness of an image shows how exposed it was to light. Too much light can lead to an overexposed image. This could be because the:
- Aperture was too wide
- Shutter speed too long
- ISO setting too high

An overexposed image:
Images that are too dark are underexposed, due to the:
- Aperture being too small
- Shutter speed too short
- ISO setting too low
An underexposed image
Of course, images can be intentionally overexposed or underexposed to achieve a surreal effect.
Setting apertures on your camera
You can set the aperture on most cameras easily.
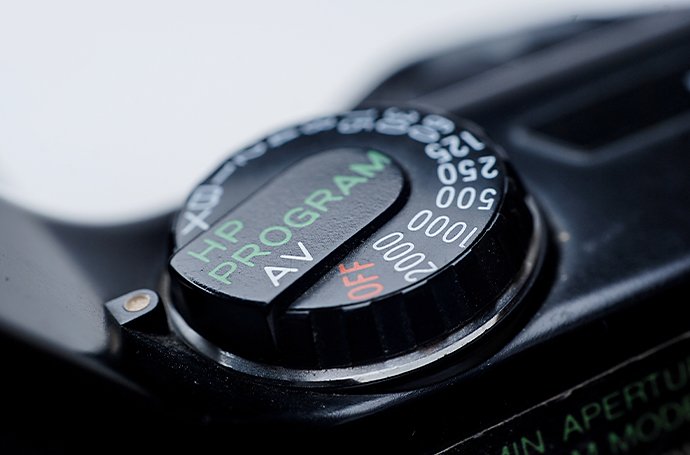
1. Select the Aperture Priority mode – usually signified with an A or Av. This allows you to choose the aperture size, but the shutter speed and ISO will be automatically selected.
2. Next use an A or Av button – sometimes with an x/- next to it, to show that you are ready to adjust the aperture settings.
3. Use the control or command dial – scroll through the f-numbers.
4. Adjust to your preferred setting – this should show up on the screen as an f-number.
5. Check photo – adjust to make sure you’re getting the best image.
You can set Aperture Priority mode by switching to Av or A:
For more control, choose Manual mode – usually an M. This allows you to choose aperture size, ISO and shutter speed. Follow the steps above but simply select M instead of A or Av.
Which aperture setting is best?
The ideal aperture setting depends on the type of image you want and the shooting conditions. We’ve listed a few common subjects and suggested an aperture range for them. But remember that light conditions, movement of the subject and other settings also impact the end result.

Lightroom vs Photoshop: which is best for you?
Discover the key differences between the apps so you can make the right choice and find the right plan.
Portrait
For the classic portrait look, you’ll want the face and features to be sharp and the background blurred. Choose a wide aperture – around f/4 to f/5.6.

Landscape
To get everything crystal clear, from the foreground to the horizon, choose a small aperture – f/11 to f/16.
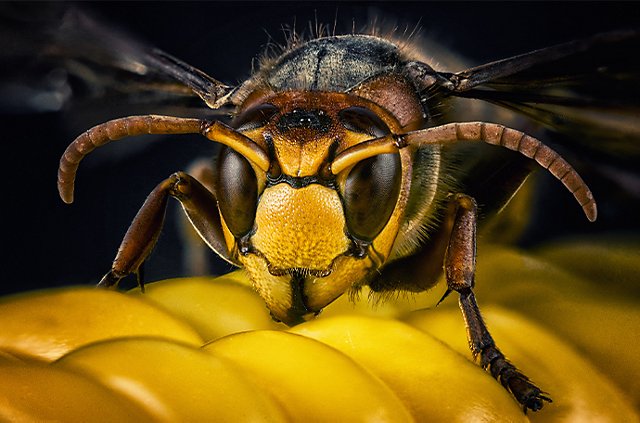
Macro/Close-ups
To capture the bokeh look, go with a wide aperture (f/5.6). Add in a low ISO number and fast shutter speed for great pictures. You can use f/11 to f/16 and still get a good depth of field on close-ups.
Night
You’ll need more light coming in, so go for a wide aperture (f/5.6). This will create a shallow depth of field but it’s less noticeable in darker photos. Combine with a long shutter speed and a tripod for the best results.

Using aperture – a video walkthrough.
Can I adjust aperture afterwards?
If further adjustments are needed in post-production, that’s where editing comes in. Depth of field can be adjusted afterwards, and if you don’t quite achieve the bokeh effect you want, you can blur a background to pop your subject in Lightroom.
No matter what your goals in photography, a good understanding of aperture will improve the quality of every photo you take.
What does the F in f-stop mean?
The F in f-stop stands for focal length. Focal length is the distance between the sensors and the point where the light rays converge. It’s usually displayed in millimetres.
What is lens diffraction?
Diffraction is when images become less sharp at narrow aperture (high f-stops around f/16 and above). This is because the narrow aperture causes light waves to essentially interfere with one another.
What is chromatic aberration?
This is when images appear to have a coloured fringe around them. This happens when the colours are incorrectly bent by the lens due to factors like type of lens, focal length or aperture setting. It is usually seen on white images against dark backgrounds that are towards the edge of the image. Some of this can be fixed in Lightroom and Photoshop, or you can adjust your aperture to compensate.
Aperture dos and don’ts from the experts.
Our experts provide some tips and tricks on how to use aperture and get the best from your photos.
Do
- Use a smaller aperture for group shots or scenic landscapes.
- Use Aperture Priority mode over Manual when you need to capture a bunch of fast shots in a consistently lit environment with no time to adjust your settings.
- Take note when editing photos of the shutter speed your camera selected when using aperture-priority mode, for future reference.
- Try using the manual focus on the lens to adjust aperture settings.
- Remember you can blur objects to provide a foreground frame as well as a background.
- Take lots of photos and use editing tools to correct or enhance them.
Don’t
- Be afraid to experiment with different settings in different conditions.
- Forget that in Manual mode you’ll need to select both ISO and shutter speed settings as well.
- Forget your tripod in low light conditions, to prevent motion blur.
Contributors
Ivy Chen – a Seattle-based photographer and videographer
Dominic Duchesneau – director and editor of short format stories
Van Jensen – graphic novel author and magazine editor
Do more with Adobe Photoshop Lightroom.
Edit photos easily with Lightroom presets, Super Resolution, easily share photos from any device and access your projects anywhere with cloud photo storage management.
You might also be interested in…

How to use and break, the rule of thirds.
Improve your photo composition skills to capture more stunning images.

Discover how to capture all the scheduled and candid moments of the big day.

A good headshot tells a story. Here’s what you need to know to hone your skill in this field.
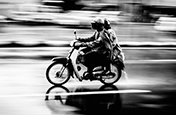
Learn to capture motion with panning photography.
Discover how to show a subject in motion on a blurred background in still photography.
Get Photoshop Lightroom.
Edit, organise, store and share photos from anywhere.
7 days free, then £9.98/mo.