Dive into water photography.
From mighty waves to tiny streams, explore how photographers who capture water photos need to be as flexible and fluid as their liquid subject.
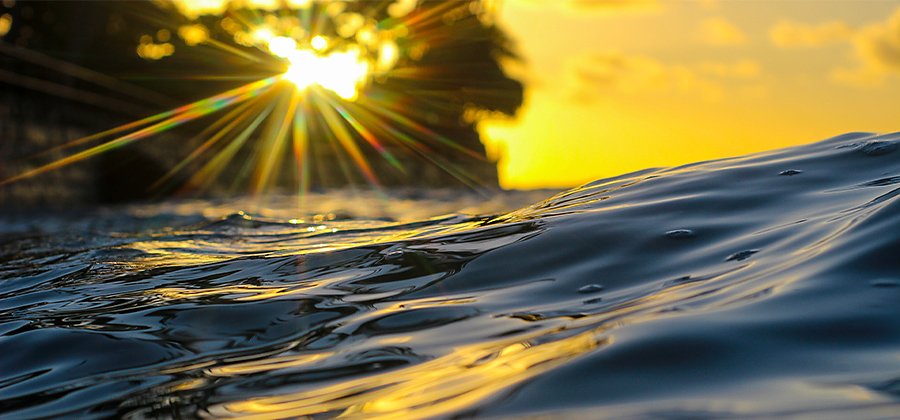
Image by Giancarlo Beroldo
What is water photography?
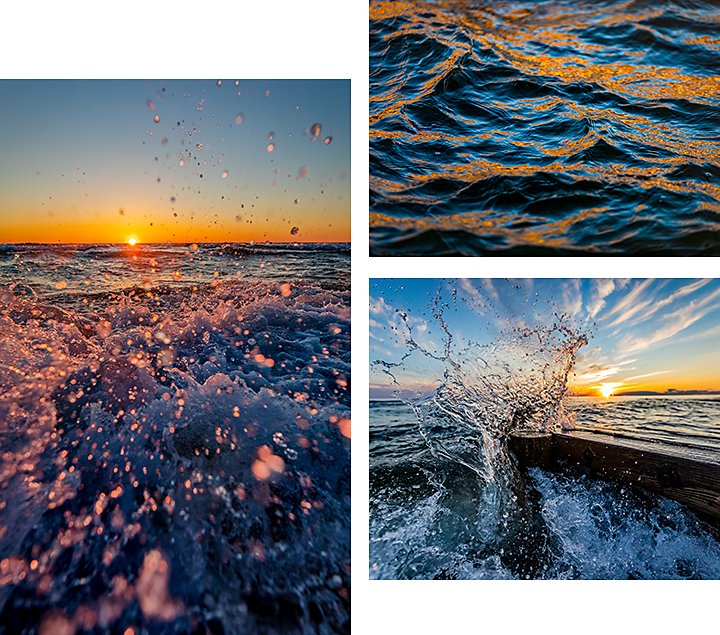
Water photography refers to any photo that emphasizes water as the main visual element. That can include landscape photography of an ocean, long exposure photos of silky waterfalls, and even shots of particularly photogenic puddles. The goal of water photography is to capture the way water moves and how it interacts with light.
Images by Aubry Healy
"It’s about showing the movement of water,” says photographer Aubry Healy. “You always want to see something moving. Taking photos of water is speeding it up or slowing it down. It’s stopping time.”
Here are a few things you’ll need to know to capture great photos of raging rivers, falling raindrops, and more.
How to shoot water.
Water has no single shape, speed, or look. Because it’s a substance that can shift to fill any space, it’s not only about discovering different angles to shoot it from. It’s also about focusing on the specific characteristics of water in the moment. To shoot water, a photographer needs to be malleable, just like their subject matter.
Research location, lighting, and weather conditions to prepare for different water photography subjects. Landscape photographers who snap pictures of a winding river at sunrise need different gear than photographers who capture water droplets flying from the surf when a wave crests. If you need to get into the water to get the shot you want, this research will ensure you bring along the right tools.
Lighting at water photoshoots.
Direct sunlight can pose a problem for photographers, and that’s especially true if you’re taking pictures of water. Overhead sunlight may reflect off the water and cause glare. If you want to snap a sun-drenched ocean vista, skip midday and plan to shoot during sunrise or sunset, known as the golden hour. The soft lighting of golden hour illuminates a scene without causing any issues with reflected light. If you want to shoot a popular beach at golden hour, consider going at dawn.

Image by Giancarlo Beroldo
But even with planning and research, you can’t control lighting, weather, or water conditions. Be prepared to change plans on the fly when the environment doesn’t cooperate. “You have to enjoy swimming, going out, and being in the water,” says photographer Giancarlo Beroldo. “There are so many days when you go out and get skunked.” Each day that doesn’t turn out right still offers an experience you can build on next time.
Set up your camera for water photography.
Water can move lightning fast or very slowly. The right settings for water photography will change depending on whether you’re photographing the ocean on a calm day or a cascading waterfall surrounded by countless water drops. Before you take pictures of water, decide what you want the final product to look like.
Landscape photos of water usually require a smaller aperture to get the deep depth of field that makes every feature in the photo, from a nearby rock to a distant cloud, look crisp and well defined.
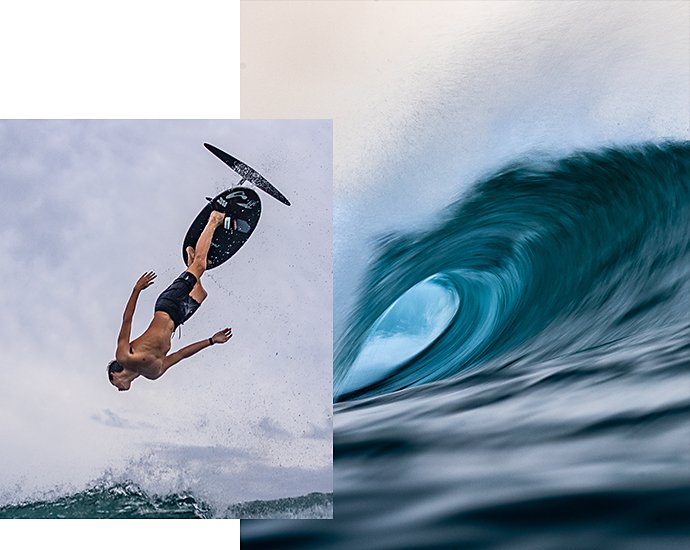
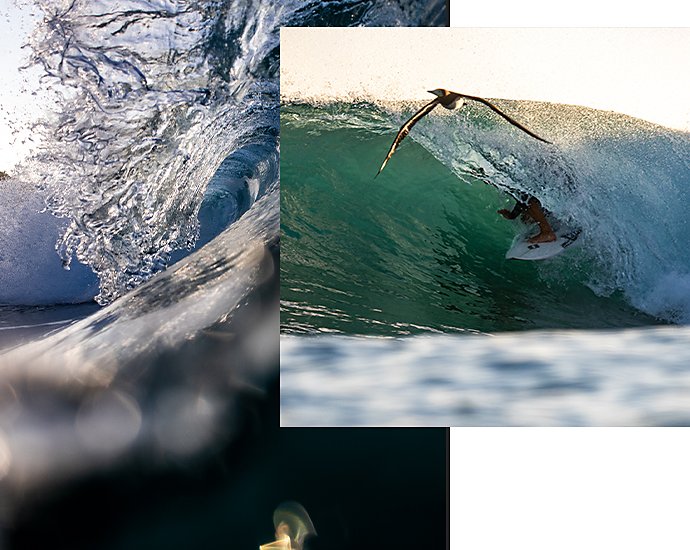
For crystal-clear pictures of moving subjects like waves, waterskiers, or WaveRunners, you need to freeze motion. A fast shutter speed helps you get a good shot of that surfer just exiting the tube. With the shutter open for less time, you need your camera sensor to be more sensitive to the light it lets in. So try using a higher ISO to get a better exposure with fast shutter speed shots.
Gear up for getting wet.
If you want to take pictures of water, you (and your gear) are almost certainly going to get wet. It’s important to have the right equipment to protect both you and your camera.
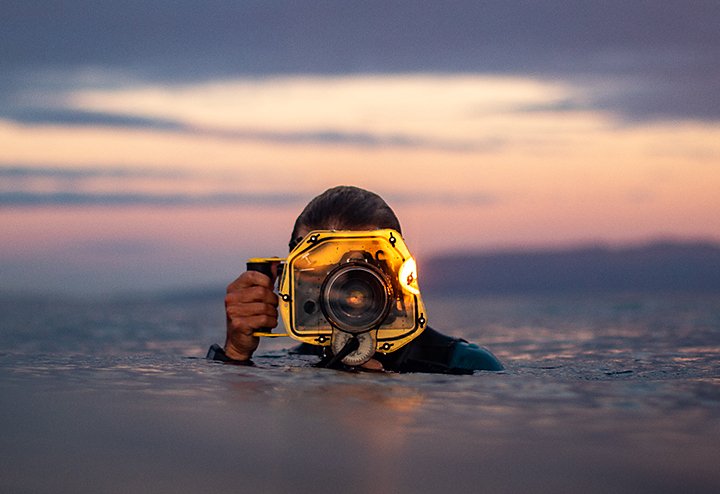
Image by Mae Sebastian
Camera housing
If you plan to take your camera in the water, make sure to use waterproof housing. A good housing not only protects your camera from splashes and spills, but it’s also essential for underwater photography. Once your camera is protected from water, you can go nearly anywhere with it.
The type of housing you use depends on what kind of lens you want to shoot with. “Are you going to shoot with a prime lens, or are you going to bring something that can zoom?” says Beroldo. “It’s more expensive to get a housing for a zoom.”
Since there’s less light at sunrise or sunset, pictures of ocean vistas during these times usually require longer exposures. A tripod keeps your camera steady while you take long exposure shots, as any movement can lead to out-of-focus images. Stability is especially important in these shots when your shutter is open for longer durations. Even the touch of a finger on the camera body can create too much motion — but putting the shutter on delay or using a remote shutter release to prevent camera shake can help. “I always do a two-second timer when I’m doing a long exposure,” says Healy.
ND filter or polarizing filter
Even if you avoid shooting at midday, sometimes glare on the surface of water is inevitable. A neutral density filter (also known as an ND filter) can help diminish increased light on the water. An ND filter reduces the intensity of light while still preserving color — an essential feature for any photographer who shoots outdoors. A polarizing filter, or circular polarizer, works in a similar way, but focuses on removing glare.
Muck boots
Sometimes getting the right shot requires you to venture into the cold surf of the ocean at high tide or to wade into the algae-filled shallows of a wide and wandering river. Waterproof boots help you stay dry so you can concentrate on taking photos instead of being distracted by cold feet.
Some water photography requires you to dive into the deep end, literally — and swim with a camera in hand. When that happens, it’s only your legs that keep you afloat. Diving fins can help you keep your head above water when your hands are occupied.
“When you’re out in the water, you’re 100% reliant on what your lower body’s doing,” says Beroldo, who often finds himself holding his camera with two hands while staying afloat with his fin-clad feet. Seek out fins that attach to your leg with a tether line. That way, if one comes off, you won’t lose it forever.
If you want to photograph people hanging ten or catching waves, you may have to swim out among the surfers. With your eyes on a subject, you might not see another rider behind you. That’s why you should wear a helmet in case a stray surfboard comes your way.
When you shoot in a body of water where there may be surfers, swimmers, fishers, or boats, it’s also important to stay visible. Reflective clothing or gear can help you get noticed. “Not everything on your body should be dark colors like blue or black,” Beroldo explains, as these colors can blend into the water. “My camera housings are red and yellow.”
Images by Giancarlo Beroldo
Water, water everywhere.
The potential subject matter of water photography is as vast as the ocean. Start by getting your feet wet with different types of water shots. Try shooting close-up macro photography of oil and water, a seascape, river rapids, or even a slow-moving creek.
Once you’ve captured your water photos, keep them organized and edit them to perfection in Adobe Photoshop Lightroom. Use editing tools to adjust hue, change saturation, apply filter-like Lightroom presets, and more.
No matter how your water shots evolve, Lightroom can help you ride whatever creative current you choose to follow.
Contributors
Do more with Adobe Photoshop Lightroom.
Edit photos easily with Lightroom presets, Super Resolution, easily share photos from any device, and access your projects anywhere with cloud photo storage management.
You might also be interested in…
Point your camera at the Milky Way.
Explore Milky Way photography with practical advice from professional photographers.
Go places with travel photography.
Make the most of your travel photos with these tips from professional travel photographers.
Tips for capturing nature photos of all kinds.
Explore the possibilities of nature photography, from animals in motion to sprawling landscapes.
Night Photography.
Low light doesn’t have to equal low quality with these tips for successful nighttime photos.
Gói Lightroom
Chỉnh sửa, sắp xếp, lưu trữ và chia sẻ ảnh từ mọi nơi.
7 ngày miễn phí, sau đó là US$9.99/tháng.
Nhiếp ảnh
Tận hưởng Lightroom, Lightroom Classic, Photoshop và 20 GB dung lượng lưu trữ đám mây. 7 ngày miễn phí, sau đó là US$9.99/tháng.
All Apps
Get all 20+ creative desktop and mobile apps.
7 days free, then US$57.99/tháng.
