|
|
Create a symbol library
In this tutorial you will create a library of symbols from which you will create the following instances: two weather maps of the United States, one weather map of the state of Texas, and various weather-related icons to place on the weather maps. You will use the FreeHand Clipart Viewer to choose art for the maps and weather icons. Then, you will convert the map and weather icon art to symbols, place instances of the map and weather icon symbols in a document, and update many instances of one weather symbol at once.
This tutorial uses clip art from the FreeHand Clipart library. The Clipart library is on the FreeHand installation CD. Before you begin, locate the FreeHand installation CD. If you prefer, or if you no longer have the FreeHand installation CD, you can use art you already have, or that you create specifically for this tutorial. |
|
|
|
|
|
|
|
| 2 |
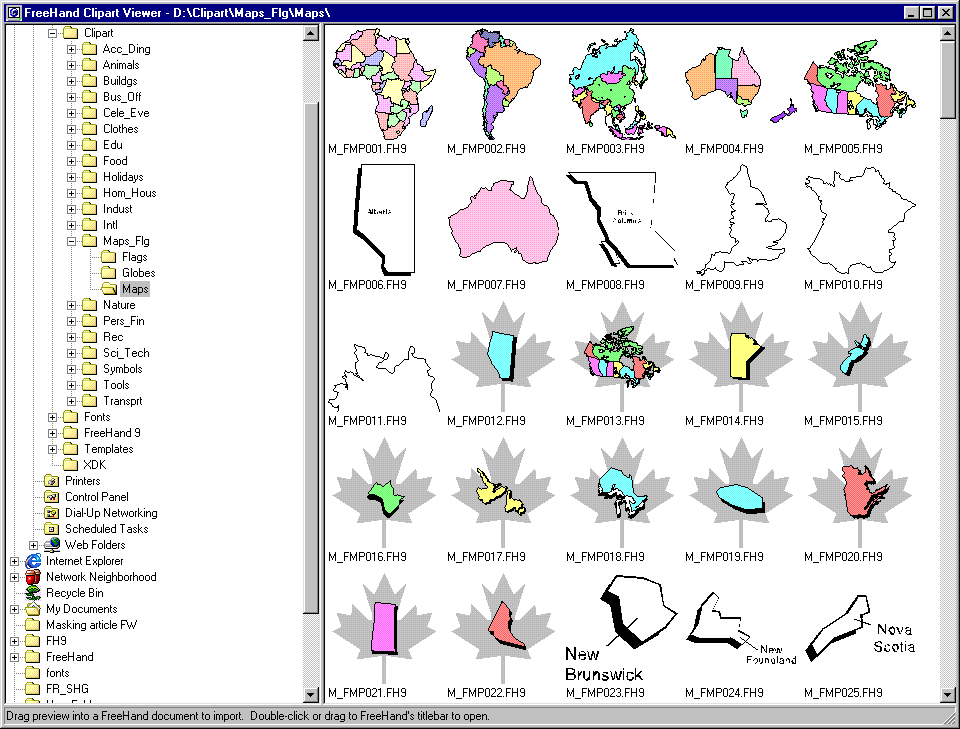
Scroll through the clip art and find M_FMP155.FH9 |
|
|
|
|
|
|
|
|
|
|
|
|
|
|
| 8 |
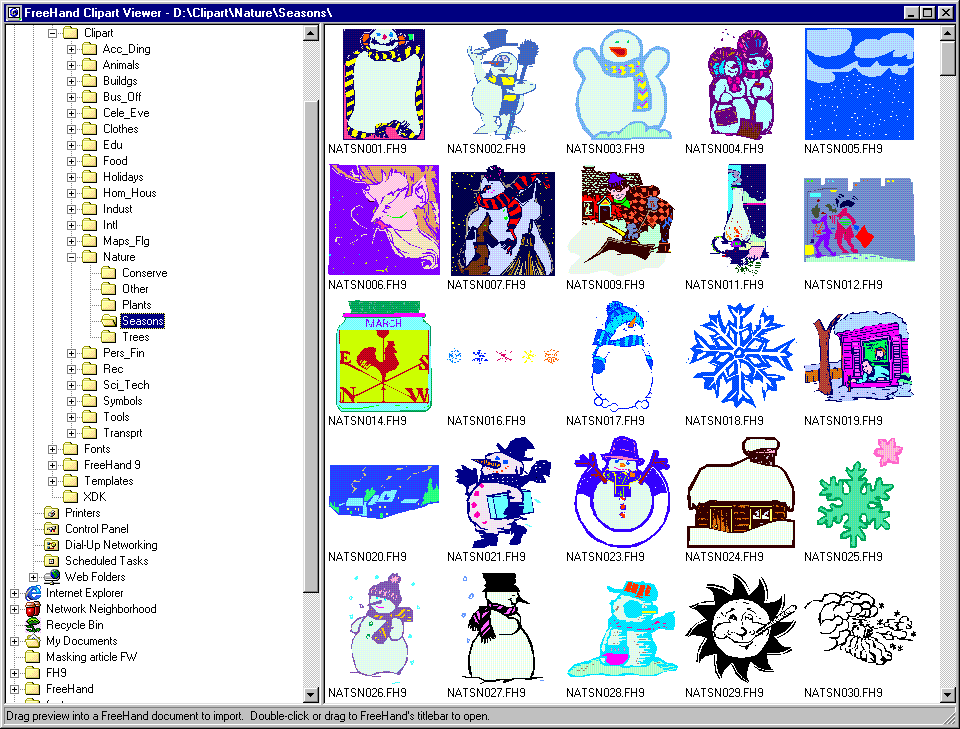
Drag NATSN059.FH9 to the open FreeHand document. |
| 9 |
Repeat steps 7 and 8 for the files NATSN202, NATSN215, NATSN327, and NATSN533.
 |
| 10 |
Choose File > Save As. |
| 11 |
In the Save As dialog box on Windows or the Save dialog box on Macintosh,navigate to where you want to save the document, name the file, and click Save As. |
|
|
Create symbols from the clip art
| 1 |
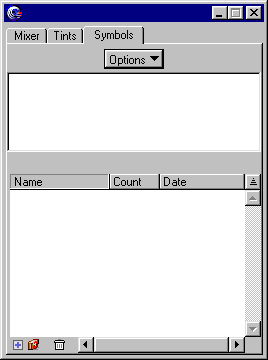
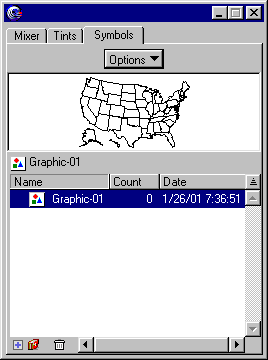
Choose Windows > Panels > Symbols to open the Symbols panel.
 |
|
|
| 2 |
Using the Pointer tool, drag a selection marquee around the entire map of the United States. |
| 3 |
Choose Modify > Group to group the states into one object. |
| 4 |
Resize the object to the desired size before converting it to a symbol. This lets you quickly drag out instances of the desired size rather than having to manually resize each one. |
| 5 |
Drag the map to the bottom pane of the Symbols panel to convert it to a symbol. The new symbol is named Graphic-01, and a preview of it appears in the top pane of the Symbols panel.
 |
| 6 |
In the Options pop-up menu, choose Rename, and name the symbol US map. |
| 7 |
Click in the document to place the pointer back into the document and press Delete to delete the original object from the document. |
| 8 |
Select the state of Texas object, resize it as desired, and drag it to the bottom pane of the Symbols panel. This object is already grouped. |
| 9 |
Rename the symbol Texas and delete the original object. |
| 10 |
Repeat steps 7 and 8 for each of the remaining objects, renaming the symbols Snow, Thunderstorms, Partial Sun, Sunny, and Cloudy. |
| 11 |
Choose File > Save to save the file. |
|
|
Place instances throughout the document
| 1 |
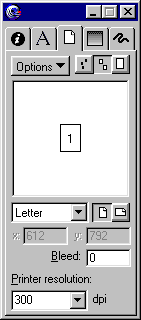
Choose Windows > Inspectors > Document to open the Document inspector.
 |
|
|
| 2 |
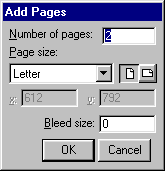
In the Document inspector, click the Options pop-up menu and choose Add Pages. |
| 3 |
In the Number of Pages text box, type 2. Click OK.
 |
|
|
| 4 |
Using the page selector buttons or Go to Page pop-up menu on the Status toolbar at the bottom of the Document window, turn to page 1. |
| 5 |
Drag the US map symbol from the bottom pane of the Symbols panel to the first page of the document to add an instance of the symbol to the document. |
| 6 |
Turn to page 2 and drag another instance of the US map symbol from the bottom pane of the Symbols panel to the second page of the document.
 |
|
|
| 7 |
Turn to page 3 and drag an instance of the Texas symbol to it. |
| 8 |
Return to page 1 and drag instances of each of the weather symbols onto the US map instance. Arrange them as desired. |
| 9 |
Repeat step 8 for the maps on pages 2 and 3. |
| 10 |
Choose File > Save to save the file. |
|
|
Release an instance from its symbol and change it
| 1 |
Turn to page 2 and select the instance of US map. |
| 2 |
Choose Modify > Symbol > Release Instance to break the link between the instance and its symbol so you can edit it. |
| 3 |
Choose Modify > Ungroup to ungroup the instance. |
| 4 |
Select the Texas state object in the US map. |
| 5 |
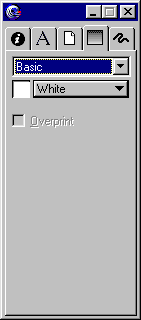
Choose Windows > Inspectors > Fill to open the Fill inspector.
 |
|
|
|
Note: If the Fill inspector is already open, choosing this command hides it. Choose the command again to display it. |
| 6 |
From the Fill inspector, choose the color Yellow. |
| 7 |
Choose File > Save to save the file. |
|
|
Update many instances at once
| 1 |
Select one of the instances of Partial Sun in the document. |
| 2 |
Drag the instance to the bottom pane of the Symbols panel and drop it on the Cloudy symbol. |
| 3 |
Click Replace. All the instances of Cloudy change to Partial Sun. |
| 4 |
Either undo the replacement, or save the file with the replacement: |
 |
To undo the replacement, choose Edit > Undo Replace Symbol. |
|
To save the file, Choose File > Save. |
|
|
|
|
|
|