


Creating a video for YouTube has never been easier.
Draw attention to your YouTube channel with stunning videos made in Adobe Express, right in your browser. Whether you’re filming an intro or outro video, product review, or tutorial, Adobe Express has everything you need to edit content and tie it all together into a captivating video. Cut, crop, and trim video clips. Apply your logo, brand fonts, and color schemes to stand out. With the Adobe Express all-in-one online editor, you have everything you need to make stand-out videos that shine. No experience required.

How to create a video for YouTube.

Download and share online.
Send a share link and invite team members to co-edit your video project in real-time. When you’re done editing, you’ll be able to download your video watermark-free to publish on YouTube and beyond.
Brand it.
Upload your logo, brand fonts, and color schemes to your video so your audience recognizes who you are at first glance. Drop in a royalty-free Adobe Stock soundtrack to your intros or outros or upload your own audio in seconds. Add text, icons, shapes, and more, then animate in a flash for a dynamic viewing experience.
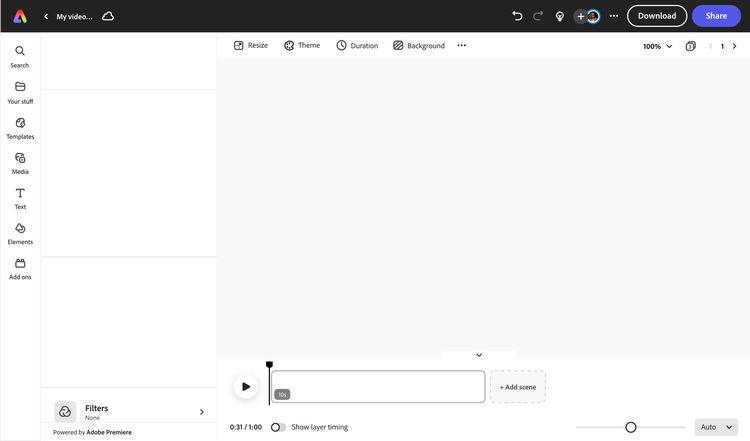
Try out video editing tools.
Cut, split, trim, and crop video clips to your heart’s content with our easy-to-use online video editor. Tap on a video clip to speed up or slow down a scene. Drag-and-drop clips to rearrange in your timeline. No experience required.
Choose a template or start from scratch.
Search for free YouTube video templates that match your aesthetic. Find one for your YouTube intros, outros, workout tutorials, vlogs, and so much more in Adobe Express. You can even search by theme or occasion. Start from scratch if you’d like.
Open Adobe Express.
Upload your own media or select YouTube video to get started.
Shorten videos effortlessly.
Cut out unnecessary footage with the online trimming tool for free.
Resize for more reach.
Reach audiences near and far when you resize your video and share across your social channels.
Bring videos to life with animation.
Level up your video content by adding attention-grabbing animation to any icon, shape, text, graphic, & video.
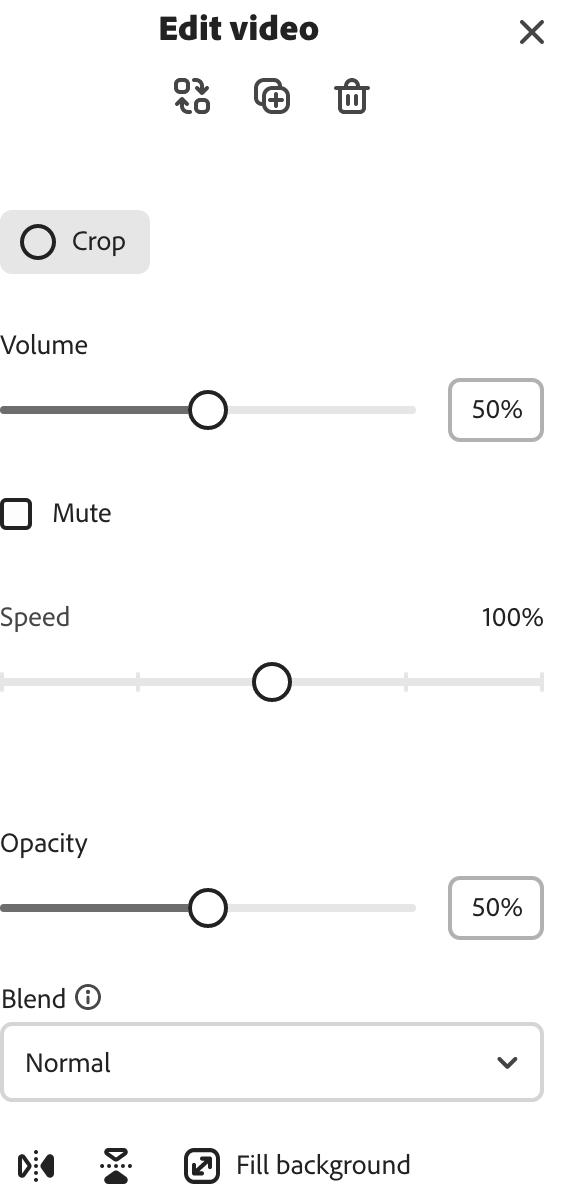
Adjust video clip speed.
Tap on any video clip and adjust the playback speed to slow things down or speed them up.
Co-edit with team members.
Share your link to invite others to edit, comment, and view your project in real-time.
Save videos & share online.
Create and share as many videos as you’d like.
Schedule your content.
Never miss a date when you plan & publish content using the Adobe Express Content Scheduler.
Make videos pop with filters.
Add filters or use the Adjustments tab to brighten dark videos or sharpen blurred scenes.
Make professional-looking YouTube videos in your browser.
Build your YouTube channel in one place.
Everything you need to build your channel starts with Adobe Express. Create banners, thumbnails, videos and more.
Thousands of stock images, videos, and music.
Never run out of images or video assets. Fully customize your videos with royalty-free, high-quality stock videos, icons, images, GIFs, soundtracks & more.
Start editing with free, customizable video templates.
Start inspired with free, fully customizable YouTube video templates. Add in your own media anytime.
Make eye-catching videos for YouTube in minutes.
With Adobe Express, you’ll have full control of the look and feel of your video content and YouTube channel. Create a stunning channel that’ll turn your viewers into subscribers with free, fully customizable video templates, banners, icons, and more. Upload your clips to the online editor, then cut, split, and trim to remove the fluff. It’s free and easy to make standout video content in minutes.


Craft stunning content with simple video editing tools.
Adobe Express takes out all the guesswork of video editing so you can create stunning content faster. Upload your footage and easily split it into several scenes to rearrange. Add a whole new level of depth to your video by animating any icon, text, or graphic. Set the mood with a script-like font for a romantic style or use a bubble font for a playful one. All the tools you need to make a great YouTube video, watermark-free, are at your fingertips.
Frequently asked questions.
Can I make videos for free in Adobe Express?
Adobe Express is free for everyone of all skill levels to start creating stunning video content. Whether you’re an experienced video editor or a beginner, our easy-to-use online editor can help you quickly and easily make visual content just the way you like it.
How do I add music to my video for YouTube?
To add music to your videos, select Media at the left of the online editor. Click the Audio tab to browse hundreds of royalty-free Adobe Stock soundtracks to add to your videos for free or hit the + button to upload your own audio. You can even record your own voiceover if you’d like.
Can students make videos in Adobe Express?
Yes, both students and educators are free to use Adobe Express. We encourage everyone to use the online editor for any visual project. Kickstart creativity in the classroom with the all-in-one free video maker. You’ll be able to build anything you need for the classroom, from slideshow videos, tutorials, teacher appreciation videos, and more.
How do I save my video for YouTube once I’m finished editing?
The good news is that any work you create in Adobe Express is auto-saved for you on the browser, so you never have to worry about losing your project. To save a video to your own device, select the “Download” button at the top right of your screen on the Adobe Express webpage, then choose your desired file type.
Do I need prior video editing experience to use Adobe Express?
No prior video editing or creative skills are necessary to make a video in Adobe Express. In fact, we give you all the video editing tools you need, simplified, so you can start creating a visual project today. Start with tons of free YouTube video templates at your fingertips.


