Illustrator CC has some really powerful and fun ways to transform artwork freely.
In this video, you'll explore the Puppet Warp Tool, as well as the Free Transform Tool to finish the artwork for these two postcards.
With Illustrator CC open, you can open this practice file for this tutorial to follow along.
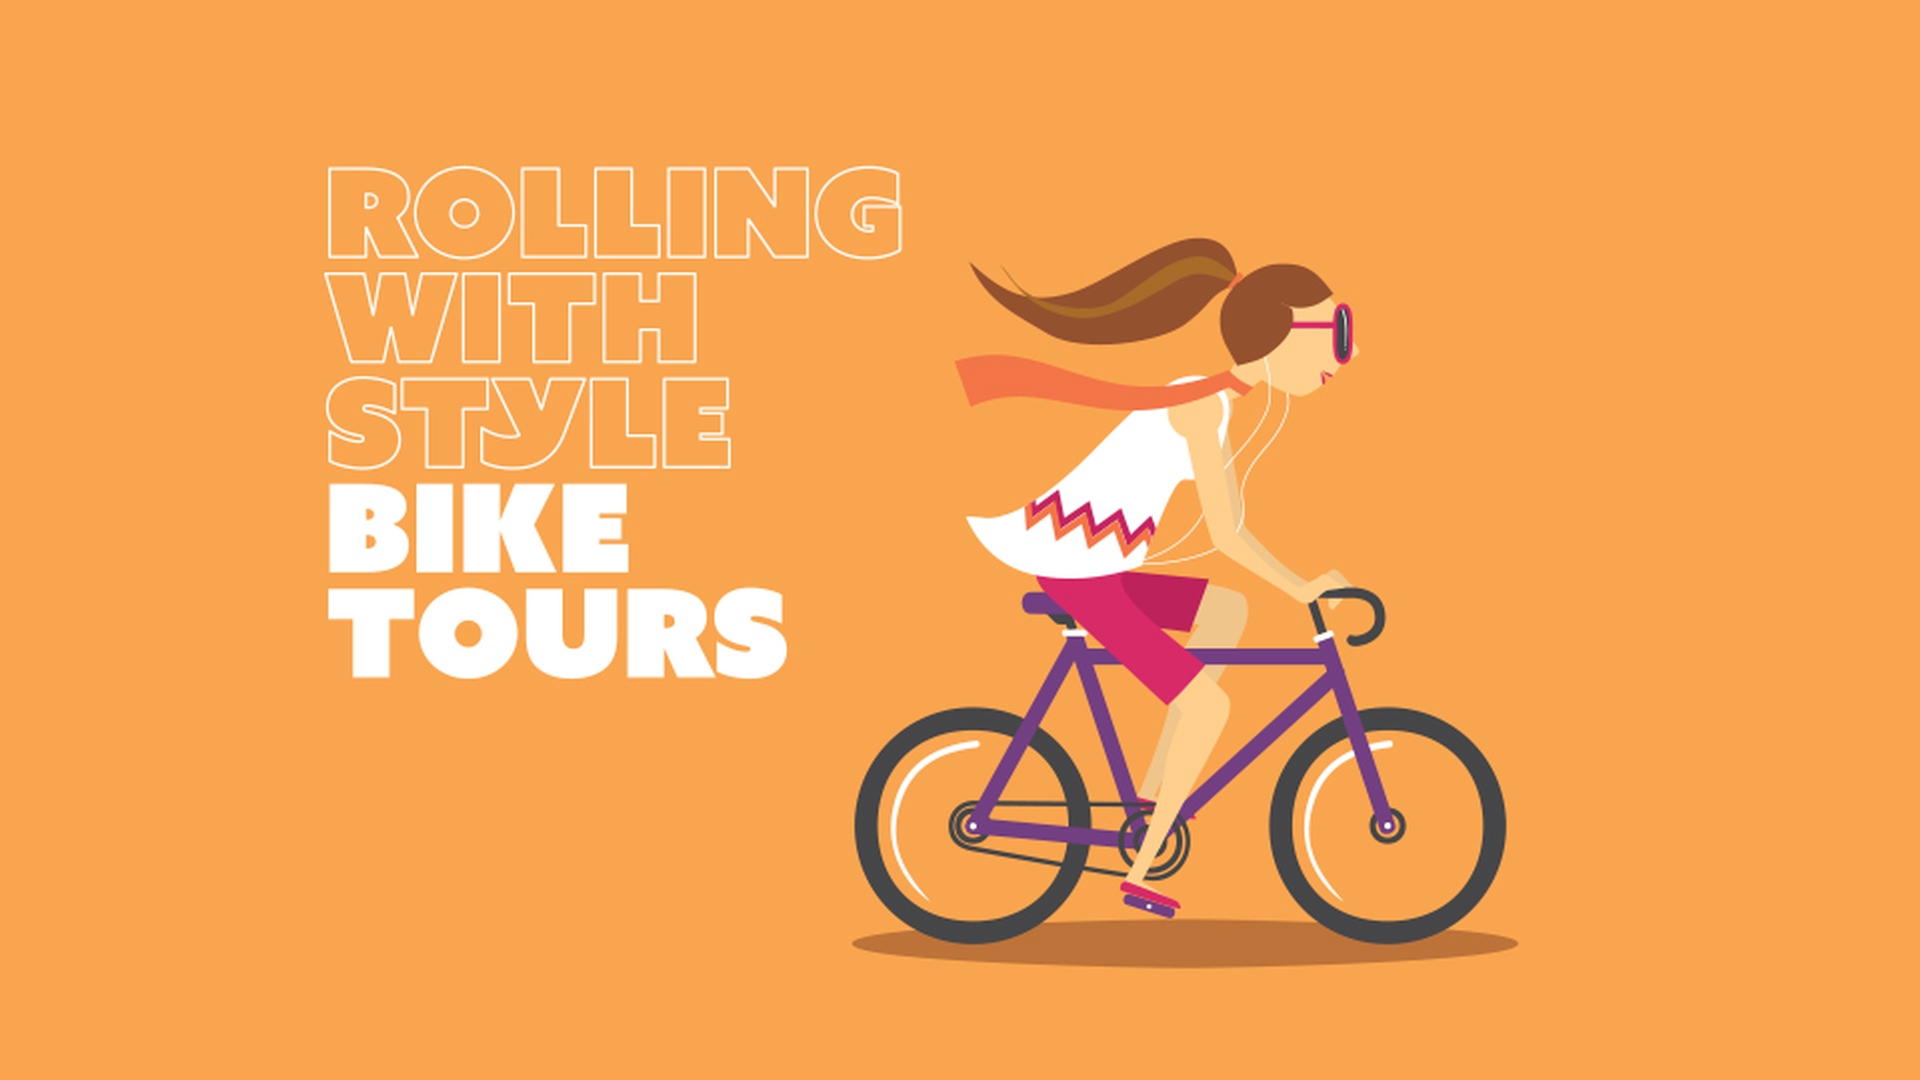
If you look at the scarf the woman is wearing, it might look better if it had some movement to it because she's riding into the wind.
To do that, you can twist and distort artwork you select using the Puppet Warp Tool.
With the Selection Tool selected, click the orange scarf she's wearing on the left artboard here.
So that you can zoom into it a bit, choose View, Zoom In several times.
Now you won't find the Puppet Warp Tool or the Free Transform Tool you're going to use later in the Tools Panel on the left by default.
But you can add it.
To see other tools you can use, click Edit Toolbar down here.
Scroll down in the list and find the Free Transform Tool.
Once you find it down here, drag the tool onto the Toolbar on the left to add it.
When you see a line and a plus next to the pointer, release to add the tool.
Now drag the Puppet Warp Tool on top of the Free Transform Tool.
When you see a highlight around the tool and a plus next to the pointer, release to add it as well.
You can then press the Escape key to hide the extra tools.
With the Puppet Warp Tool selected, notice the circles on the artwork, - these are called pins - and the mesh that covers it.
Illustrator CC automatically adds these pins in places so that you can move, rotate or pin parts of the artwork to keep it still.
To make the artwork easier to see as you distort it, you can turn this mesh off.
Over in the Properties Panel, deselect the Mesh option.
Come out to the artwork and move the pointer into the middle of the scarf.
When you see a plus show up next to it, click to add a new pin.
Drag that pin to see the effect on the scarf.
The other pins right now are actually keeping that part of the artwork in place.
Now you can also rotate pins to rotate the artwork.
Click this pin on the end of the scarf to select it and with the pointer over the pin, you'll see a dashed circle.
Move the pointer over that circle and drag to rotate the artwork.
Try moving and rotating a few of these pins.
You can even select an existing pin and press Backspace or Delete to remove it.
You can also select multiple pins by pressing the Shift key and clicking them.
Now, you'll finish the design for a postcard to the right of this one.
So, to view the other postcard, come down here and choose 2 from the artboard navigation menu.
You'll make this rectangle and dash line into a road that vanishes in perspective using the Free Transform Tool.
So, to select the grey rectangle, select the Selection Tool and click to select it.
Press on the Puppet Warp Tool in the Tools Panel and select the Free Transform Tool.
After selecting the tool, the Free Transform widget should be showing, you can see it here.
This gives you some options for the Free Transform Tool.
Now the Free Transform option selected by default makes it so the tool can rotate, scale, shear and more.
Select the Perspective Distort option and you can now distort the artwork in perspective.
Move the pointer over the upper left corner and drag to the right then release.
Now to shear the road so it goes off at an angle to the right, select the Free Transform option in the widget, move the pointer over the top point and when you see this icon, drag it to the right.
For a little practice, you can transform this dashed line to match the road.
To select it, select the Selection Tool and click to select the dashed white line.
To zoom in a little bit to the top of the artwork, select the Zoom Tool over there in the Tools Panel and click on the top a few times.
Select the Free Transform Tool in the Tools Panel, then select the Perspective Distort option in the Free Transform widget.
Move the pointer over the upper left corner and drag to the right a little.
Now to see all the artwork again, choose View, Fit Artboard in Window.
To shear this line so it goes to the right and follows the road, select the Free Transform option in the widget.
And so that the white lines won't align to the road as you drag, choose View, Smart Guides to turn them off.
Move the pointer over the top point here and when you see this icon, drag to the right and try to get it in the middle of the grey road.
That looks pretty good.
To make sure that nothing is selected, choose Select, Deselect.
And to see everything you've created, choose View, Fit All in Window.
Transforming artwork using the Puppet Warp or the Free Transform Tools among others is a really easy way to do some pretty amazing transformations.
Feel free to practice transforming other artwork in this file using either of these tools.


