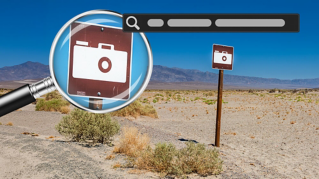
Introduction
[Glyn Dewis]: Lightroom is well known for its ability to store images in the cloud, and so making them accessible across desktop, mobile, and web.
But did you also know that Lightroom can work with images stored locally on your hard drive, giving you even more control over your workflow?
Hi, I'm Glyn Dewis, and I'm a photographer, educator, and author, and in this tutorial, I'm going to show you how you can work with images in Lightroom that are stored on your hard drive, how you can make use of cloud-based features, and also choose where you ultimately store your images - be that on your hard drive, the cloud, or both.
Set up a folder structure for local files
Here on my hard drive is a folder that I have called LR Photos, short for Lightroom Photos.
And if I open it up, you can see that there are a number of other folders that I have inside, and each contains image files.
And this folder structure is how I like to have my photographs organized.
And you'll have your own way that you prefer.
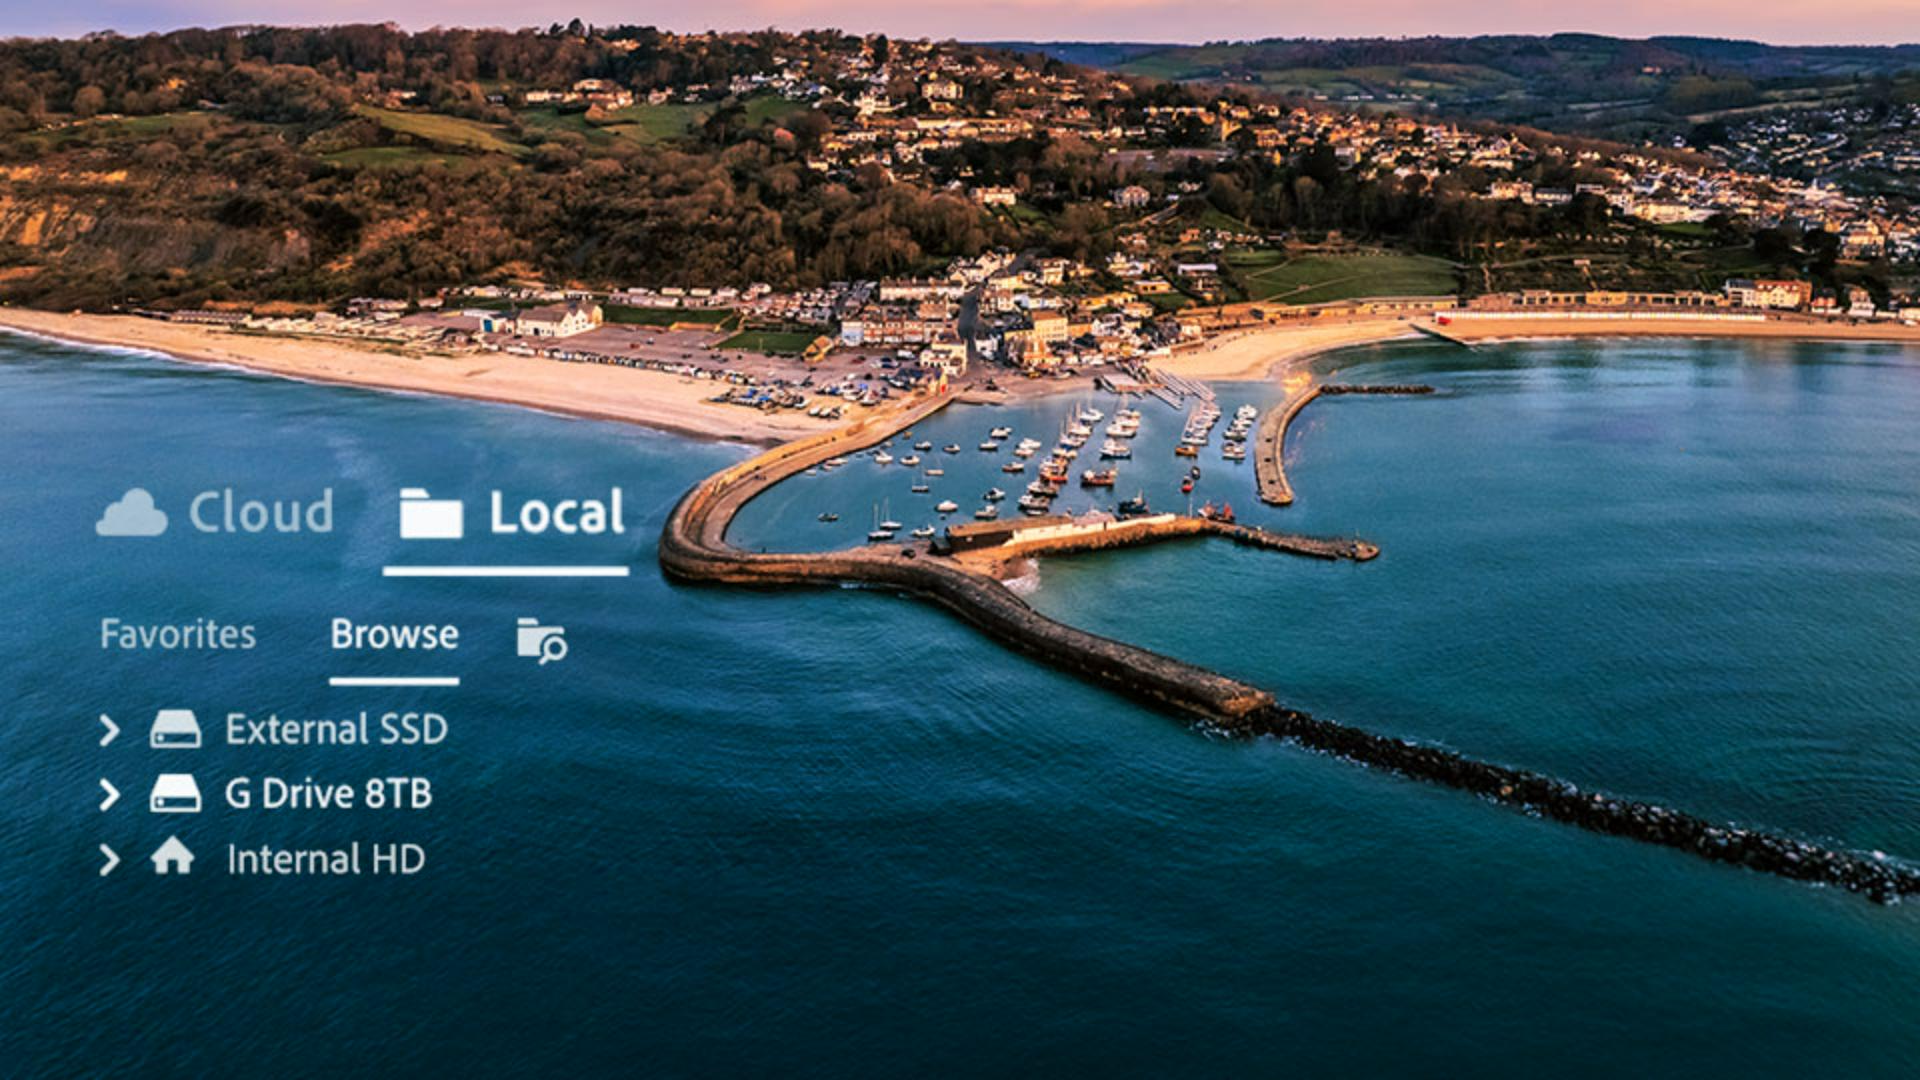
If I now go to Lightroom, you can see here I'm currently in the Cloud tab, but if I click on the Local tab, we can see my hard drives.
If I open up my External hard drive here, we see that folder called LR Photos.
And when I open it up, we see all the same folders that I have on my hard drive.
Designate local folders as favorites
We also have a Favorite section where we can have instant access to folders of images we regularly use.
You can see a Star icon here alongside the LR Photos folder indicating this is a folder I have made a favorite, and if I go to the Favorites tab - here it is.
To make a folder of images a favorite, simply click on the three dots that appear when you hover over a folder name and choose Add as Favorite or simply click on the Star icon.
To remove it from being a favorite, again, click on the three dots, but this time choose Remove from Favorites or click on the Star icon.
Copy local photos to the cloud to access sharing features
Now that I have access to my image files, there's an image I want to apply some edits to here in a folder I have named Drone - and it's this image here.
I'll click on the Edit section over on the right-hand side of the screen.
Now you'll notice that as I'm working on this image, which remember is on my hard drive, in the top right-hand corner here we have a button that says Copy 1 Photo to Cloud and next to it a dropdown menu, giving us more options such as creating a new album or indeed adding this image into albums that currently exist in the cloud.
Why would you want to do this?
Firstly, it might be that you would like the image viewable across the Lightroom mobile and Lightroom web so that you always have access to it.
Also, if you copy it to the cloud, you would then be able to make use of the sharing options.
Let me show you what I mean.
Now I'll just copy this photo to the cloud as it is without adding it into a new or existing album.
So I click on Copy 1 Photo to Cloud.
Now that's done, I'll go to the Cloud tab and here it is, along with other images I currently have in the cloud, which are only a few.
All my thousands of other files are on my hard drive, but now with this image, when I go to the Share icon, there are extra options available for me to share this image with other people.
Now this image is shared in the cloud, this also means I can view it in Lightroom web and in Lightroom mobile.
If I no longer want the image stored in the cloud, I can simply click on it and then press Delete on my keyboard and then Delete.
Using Recommended Presets with local photos
Now I'll go back to my Local storage to where I was editing this image, and then carry on with some edits.
I'll go to the Presets section over on the right-hand side, and in here, in addition to the Premium and Yours presets, which are ones that you've created, we have Recommended presets and these I use a lot, but you'll see it says Disabled for local images.
This is because these presets are shared by the Lightroom community and are constantly being added to, and so they're only available in the cloud.
Let me show you.
I'll copy this photo to the cloud and then go to the Cloud tab.
I'll open the image and then go to the Presets.
And now we see that the Recommended presets are available to use.
Let's say I'll go with this one here, which looks great.
And of course, I could also adjust these settings if I liked.
The edits I'm doing on this image in the cloud are completely separate from the original image on my hard drive.
I'm actually now working on a copy, meaning my original is still on my hard drive, untouched - edited to the point that it was before I copied it onto the cloud.
If I click back to Local, you can see it here.
Back in Cloud though,
Archive edited cloud photos back to local storage
if I then finish editing this image, I have choices.
I can either keep it on the cloud or - and this is what I like to do - is to save the edited image onto my hard drive.
To do this, I can either go to the Edit menu and choose Archive 1 Photo Locally..., or right-click on the image and from the menu choose Archive 1 Photo Locally...
Then I can choose where to save it, so I'll choose the Drone folder.
I click Archive and we see the image is no longer in the cloud.
But I then go to the Local tab and here it is in the Drone folder on my hard drive.
Choose between cloud, local, or hybrid workflows
If you haven't already, go and set up some of your own favorite folders that you can access instantly and try copying an image to the cloud, applying some edits, and then archiving it back onto your hard drive.
But what I really love about this feature more than anything else, though, is that it lets you use Lightroom in a way that is best for you, whether that's using cloud storage, local storage, or a combination of both, meaning you'd have a backup of your images on Adobe's cloud servers, as well as having them stored locally.
Enjoy!