Introduction
Hello everyone.
Welcome back, I am Hallease, a filmmaker and storyteller.
In the previous video, I showed you how to create a new project and import your footage.
Assembling a rough cut in the Timeline
Now it's time to assemble your clips into a rough version of the story you want to tell.
This is often called a rough cut.
The main goal is getting your clips onto the Timeline and in the right order, so that your story flows from beginning through the middle and finishes at the end.
One easy way to check the order of your clips
Checking clip order using the playhead and thumbnails
is to drag the Playhead along the Time Ruler at the top of the Timeline panel.
This way you can see if the clips are in the right order.
Another way to get a glimpse of what's in a clip is to adjust the height of the video tracks in the Timeline panel.
This will show thumbnails for each clip, and you can easily see if any are out of order.
To adjust the height, grab the handle of the scroll bars on the right-hand side of the Timeline.
Now that we can see all the thumbnails, I think we're missing a clip of dripping espresso.
Because we'll only need a few seconds of the espresso dripping, we can add it to our sequence by using in and out points.
Selecting clip sections with in and out points
Let's walk through it together.
First, double click on the clip in the Project panel, so it opens in the Source monitor.
Then use the Playhead to scrub through the clip until you find where you want the clip to start, and press I on your keyboard.
Then move the Playhead again until you find where you want the clip to end and press O.
Now if you look at the Source monitor Time Ruler, you'll see the section is highlighted between two blue brackets.
Now you can drag the clip from the middle of the Source monitor and drop it into the Timeline.
If I just drop the clip where I want it to go, watch what happens.
By default, the new clip will replace or overwrite
Inserting versus overwriting clips in a sequence
whatever content is under it.
This might be what you want, especially if you're trying different camera angles and takes.
But let's say I want to insert this clip between two clips in my sequence.
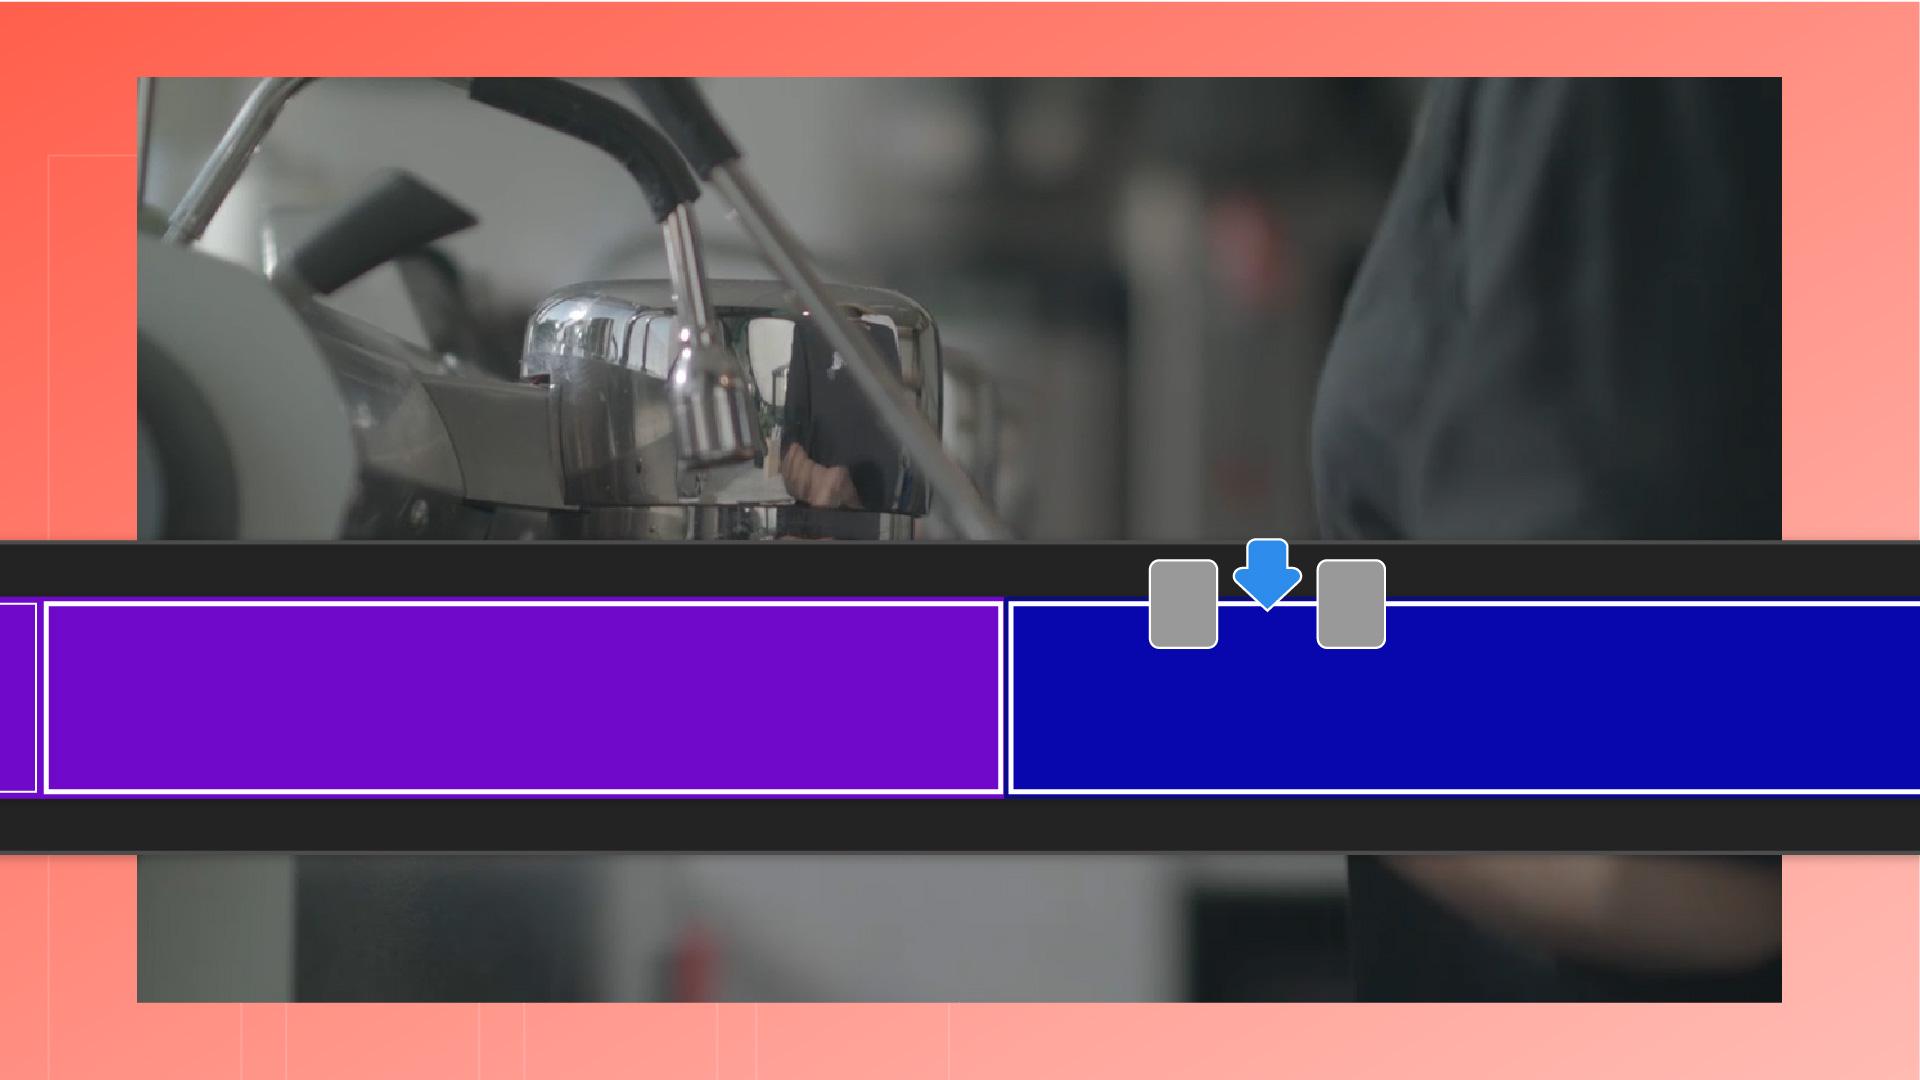
To do that, I can drag the clip into the sequence while holding down the Command key on a Mac or the Ctrl key on Windows to perform the insert edit.
The new clip will push all the other clips down the Timeline and add the new clip where I drop it.
So let's review.
You can verify your clips are in the right order by moving the Playhead through the sequence, or by increasing the height of the clips to see the thumbnails.
Adding in and out points allows you to select and add only the parts of a clip you want to include in your sequence.
And dropping a clip into the middle of your sequence will overwrite any footage that is already there.
But holding down Command or Control while dragging will allow you to add the clip, moving the footage that follows down the Timeline.
In the next video, I'm going to walk you through fine tuning your rough cut.
I'll see you over there and happy editing!