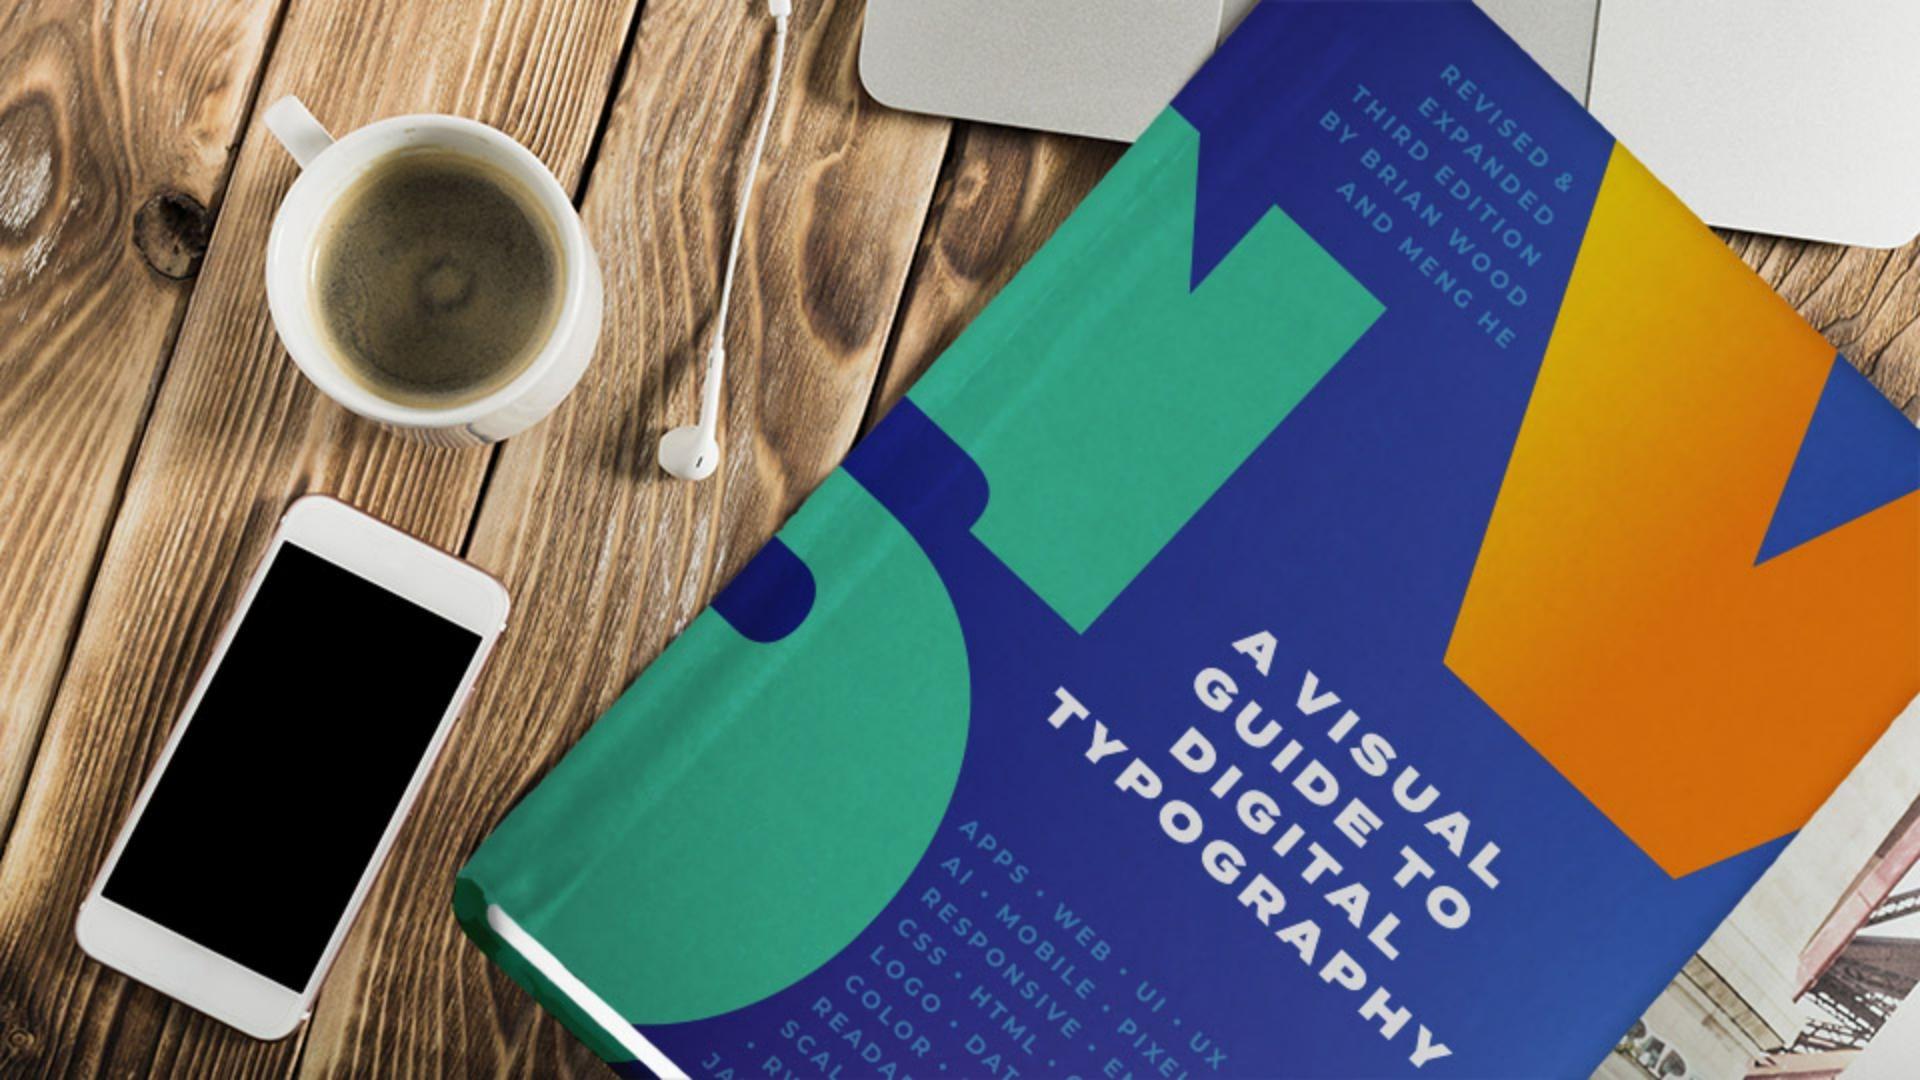
Introduction
When it comes to books, an eye-catching design can make the difference when marketing it.
In this InDesign tutorial, you'll use typography to craft a cover design.
You'll focus on formatting text, wrapping text around content, and converting text into shapes.
After opening the document, you'll probably see this Missing Fonts dialog box.
That means at least one font was used in the document, that isn't active on your system.
Now to fix this, with Adobe Fonts enabled, you can activate the Adobe Fonts.
So, with the fonts selected, click Activate.
If Adobe Fonts aren't enabled, you can click Find fonts..., select the Missing fonts one at a time, and choose a replacement for each.
Once the fonts are activated, click Close.
Creating and formatting large typographic elements
To start, you'll add another of these large letters to use as a design element.
So, select the Type Tool in the Toolbar, and click and drag to create a large text frame, then type a capital S.
Now to make it much larger and change the formatting, press the Escape key to select the text frame.
To change the Font Family, click the Font Family menu in the Properties panel.
You can choose a font you have for this tutorial, or with Adobe Fonts active, click Find More to see a list of Adobe Fonts you can use.
Now to scroll in the font list, we want to use a font called Discourse Wide Heavy, so type, d i s Once you find the font, click this little Cloud icon to activate it, then click OK.
Once activated, you can use it in your projects.
To show just the fonts you've activated, click the Show Activated Fonts option here, then choose Discourse Wide Heavy to apply to the S.
To make the letter S much larger, you're going to change the font Size, so select the font Size here, and type in 660, then press Return or Enter to make it much larger.
If you can't see the letter anymore, it might not fit in the text frame.
If that's the case, drag a corner of the frame until you see it.
Now to change the color of the letter,
Styling text with color and positioning
click the Fill color in the Properties panel, and to change the text, choose Text from the Apply To: menu here, then select this green color.
Now to finish it, you're going to drag it into place, so drag it down here.
This is how these other letters were created as well.
Now this text and this text would look more interesting if it didn't cross, over these large letters here and here.
Converting text to outlines for design use
So, you can apply text wrap to the large letters and text won't be able to overlap them anymore.
In order to make it so the text can wrap around the letter, and not the frame that it's in.
You'll convert the letter to a shape using the create outlines command.
So, with the letter selected, choose Type, Create Outlines.
The letter is now editable as a shape.
Now you'll apply text wrap to all of the large letters.
Applying text wrap around shapes
So, press the Shift key, click the other two large letters to select all three.
To apply text wrap, you'll use the Text Wrap panel.
So, choose Window, Text Wrap.
In the panel that appears, turn on the Wrap around object shape option, here.
This wraps the text around the letter, not the box around it.
Notice how the text is really close to the letters.
To move it away, you can increase the Offset value here, by clicking the up arrow.
Refining layout and spacing for final design
If you want to you can reposition some of the elements so they look a little better.
Using some easy yet powerful text formatting options, you can create a compelling design for almost anything you create.
Why don't you try creating your own book cover design, using just a few of the things you learned in this tutorial.