If you've ever wanted to share any of your graphics, motion graphics, title designs basically any composition you've created in After Effects, on Vimeo you can do so directly through Adobe Media Encoder.
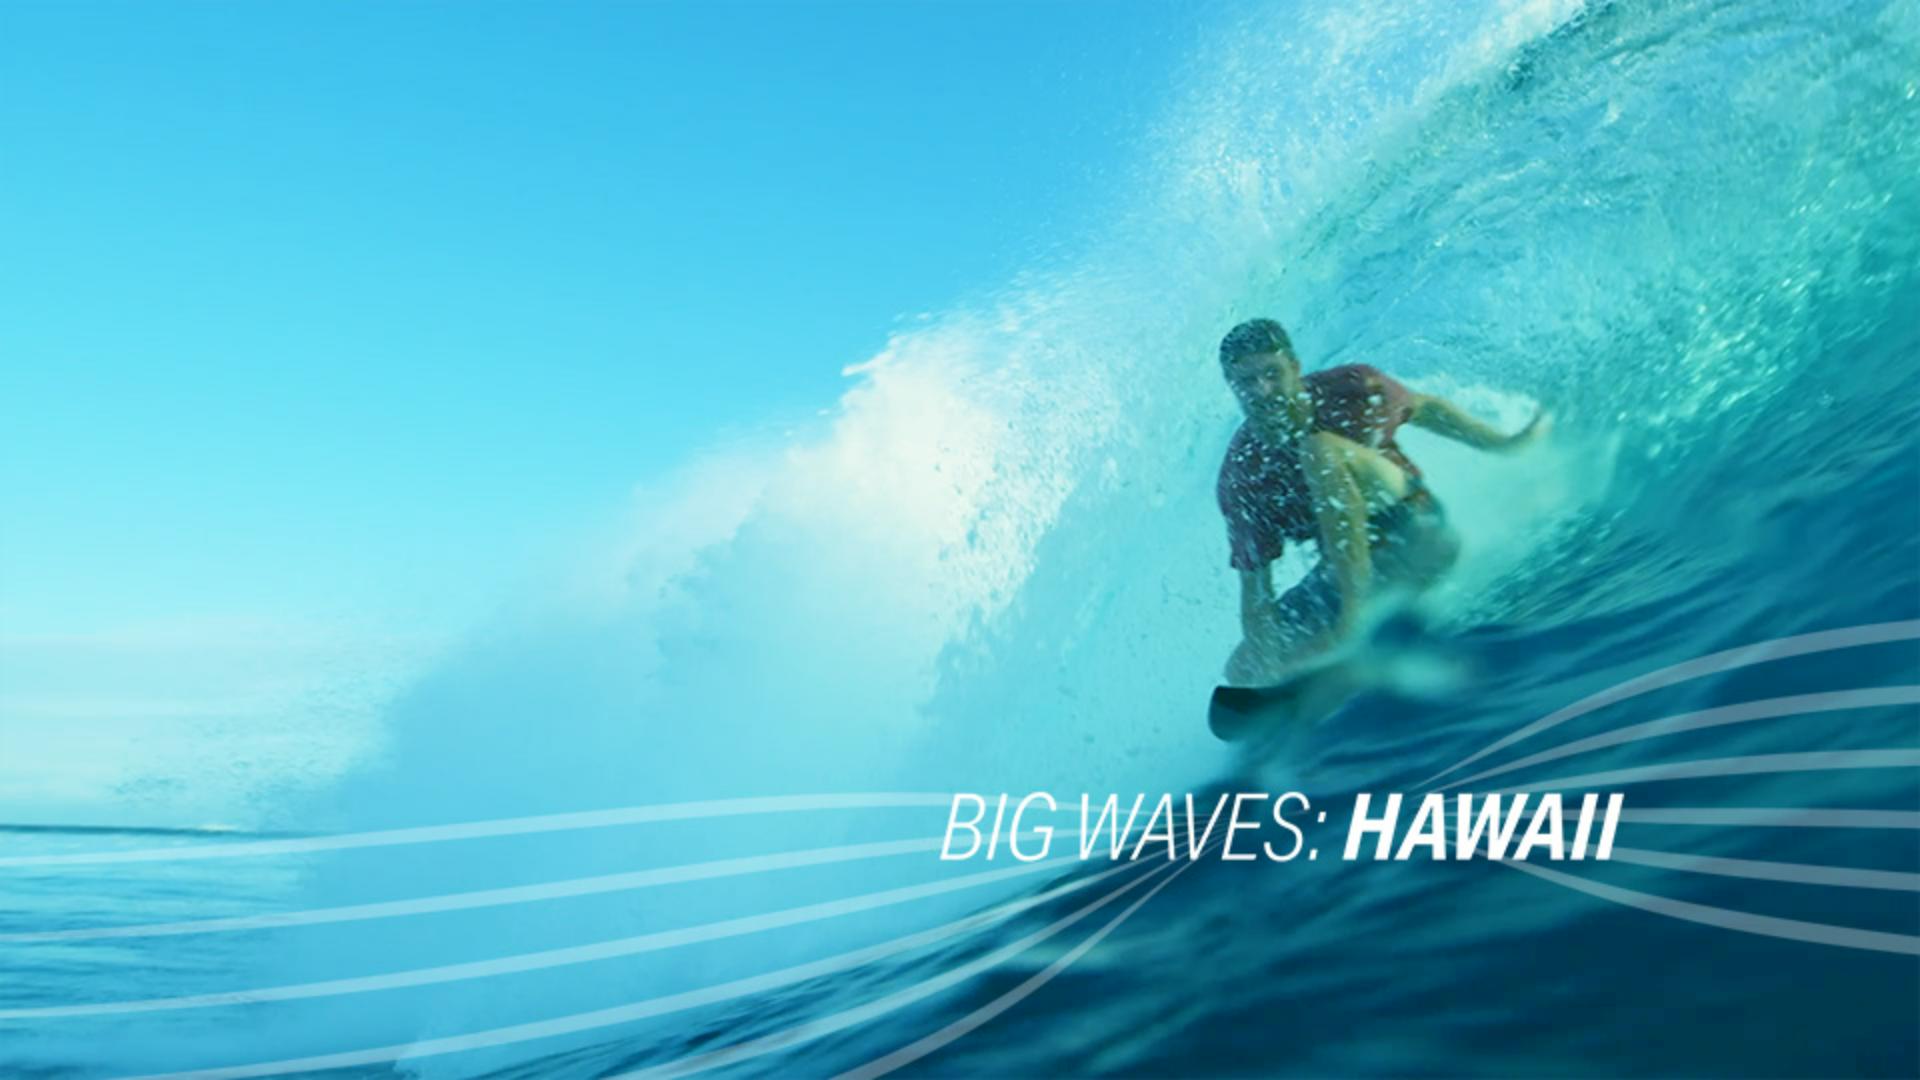
So let's start by looking at our After Effects project and double clicking on the Big Waves composition in the project panel to make it active in the timeline.
I'll actually move my current time indicator back to frame 0 and press the space bar so we can actually preview the animation.
Notice it's not much of an animation, it's more of an edit with some graphics over top, but this would be something that I would go ahead and share on my Vimeo page.
So to do that, I'll press the space bar to stop playback and I'll go up under Composition and choose Add to Adobe Media Encoder Queue.
So whenever you load something into the queue, it will remember whatever settings you used last time and attempt to apply those settings to your new file.
So I'm gonna go here in my Preset Browser and I'll type vimeo and here you can see I've got all different settings.
Now the project I'm working on is 1080p, so I'll drag the Vimeo 1080p preset right up here on the preset, now let go.
And I can go to my output file path and I'll sure enough just use the desktop.
And you can see the Vimeo preset is actually an H.264 file.
So to generate my export, I'll go ahead and click the Play button in the upper right and it's gonna take a hot second and I'll get a preview down here, in the lower right area of Media Encoder.
So in about 12 seconds, you'll be able to see that this file was now created and has been saved to the desktop.
So I'll just click on the Output File name and then double click on the file itself to open it up in QuickTime player so we can preview what we're going to upload to Vimeo.


