How to make motion blur photography.
Capture movement and add creative flair to your shot with motion blur. Get tips and advice on how to nail your next motion blur photo.
What is motion blur?
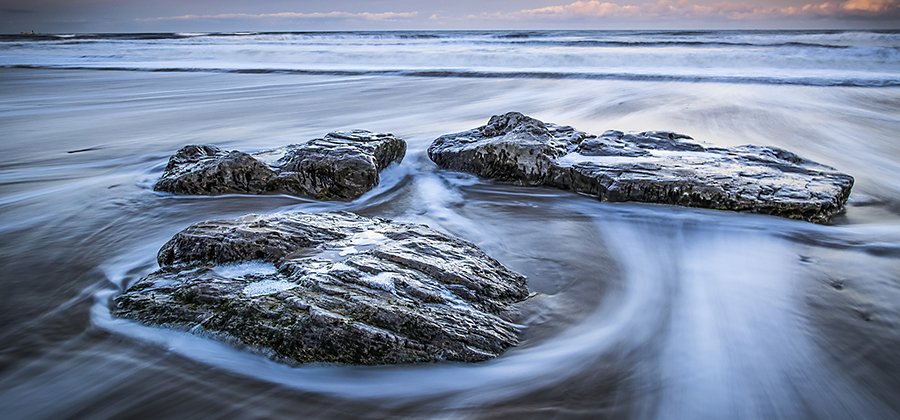
Motion blur is a long exposure photography technique that lets you convey the feeling of movement or action in a still image. “It gives us the ability to see things in a way that we can’t on our own,” says photographer Chris Sidla.
Whereas some action shots freeze a moving subject with fast shutter speeds, motion blur uses slow shutter speeds for long exposure photos that blur the point of movement.
Whether you want to create a sense of speed with taillights streaking down a highway at night or capture the abstract look of people crossing a busy intersection, motion blur lets you see a scene in a way that lets you express a new perspective on reality.
Tell a story with a bit of blur.
There’s no single correct application for motion blur. Rather, “it’s a storytelling technique,” as photographer Chris Low says. “You can use it to elicit emotion or some kind of connection. My experience with motion blur has been mainly with sports photography.” Automotive photography, busy city scenes, and conceptual shoots are other popular examples of motion blur.
Sidla uses motion blur in landscape photography, particularly when he photographs waterfalls or the ocean. “It helps smooth out the water as it goes over the cliff, or waves on a beach,” says Sidla. “I have a lot of friends who shoot star trails, which allows you to capture the rotation of the universe around us.”
In most cases, motion blur doesn’t blur the entire frame — either the subject or the background will be in focus while the other is blurry. No matter what kind of look you want, rest assured it doesn’t take a lot of special gear or complex techniques to master motion blur. You just need a camera, a bit of know-how, and time for trial and error.
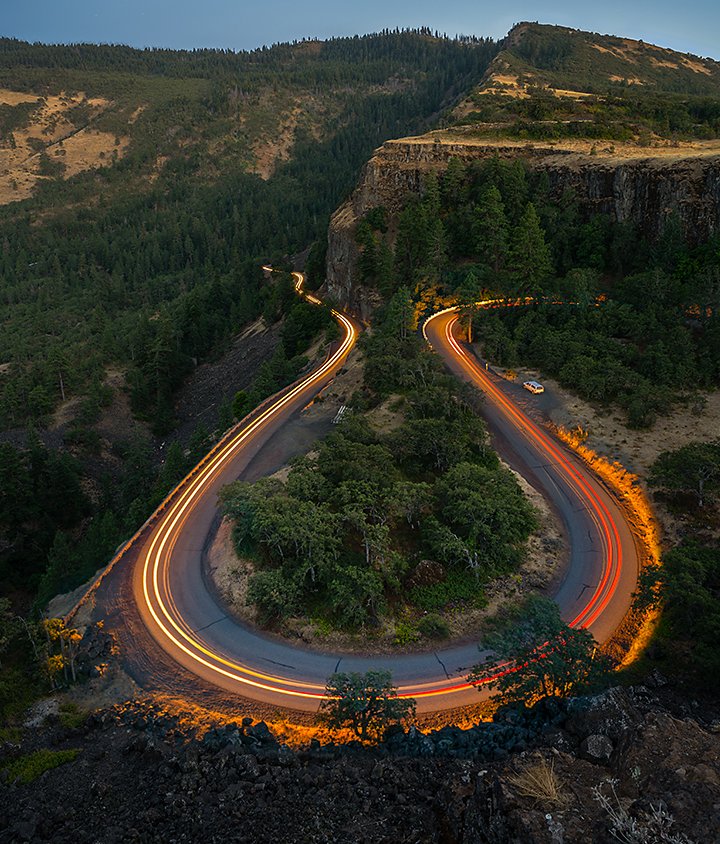
Image by Chris Sidla
Camera settings to capture motion blur.
Motion blur is all about shutter speed and how it interacts with light. You create the blur with a slow shutter speed. The slower your shutter speed (sometimes called a long shutter speed), the more light gets to your camera sensor. Because your shutter is open longer, more visual information is captured, which can include the blur of motion. This can also be helpful in low-light scenarios, but most of the time you’ll need to adjust your other settings to limit the amount of light in your frame to compensate for the potential of overexposing a long exposure image.
For the most control, shoot in manual mode. You can work with almost any DSLR or film camera, as long as you can adjust your exposure triangle of shutter speed, aperture, and ISO. If you don’t want to go full manual, shutter priority mode lets you choose your shutter speed, and the camera will balance the other settings around your choice.
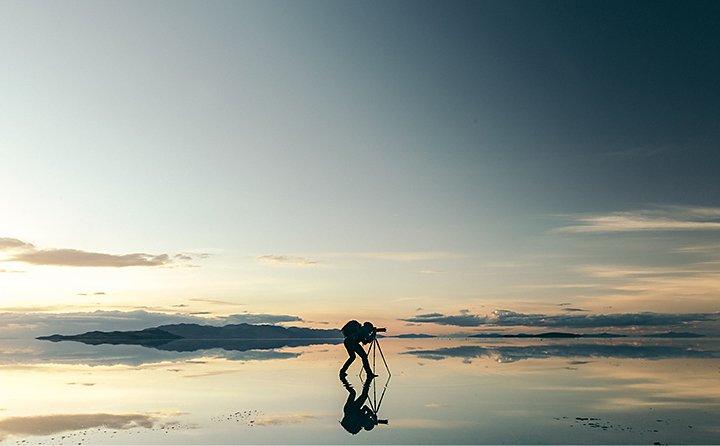
Slow down your shutter speed.
Whereas fast shutter speeds such as 1/1000 of a second will freeze moving objects, a slow shutter speed will give you the blur you’re looking for. Longer shutter speeds can be anywhere from 1/60 of a second to 30 minutes, depending on how much blur you want, how fast your subject moves, and how much available light there is.
Choose the right aperture.
In most daylight situations, you’ll want a higher f-stop, which means less light gets through a smaller aperture opening. But if you work in low light, a larger aperture could work to your advantage. Once you know how long you need your shutter open to capture the motion you want, you can adjust your aperture to properly expose the photo.
Decrease your ISO.
Your ISO setting is your camera’s sensitivity to light. In order to let in less light, you’ll want a lower ISO. A lower ISO will also help your photo from becoming too grainy. Shoot as close to ISO 100 as you can, but don’t be afraid to crank it up to 800 or 1600 if you’re working in the dark and need more light.
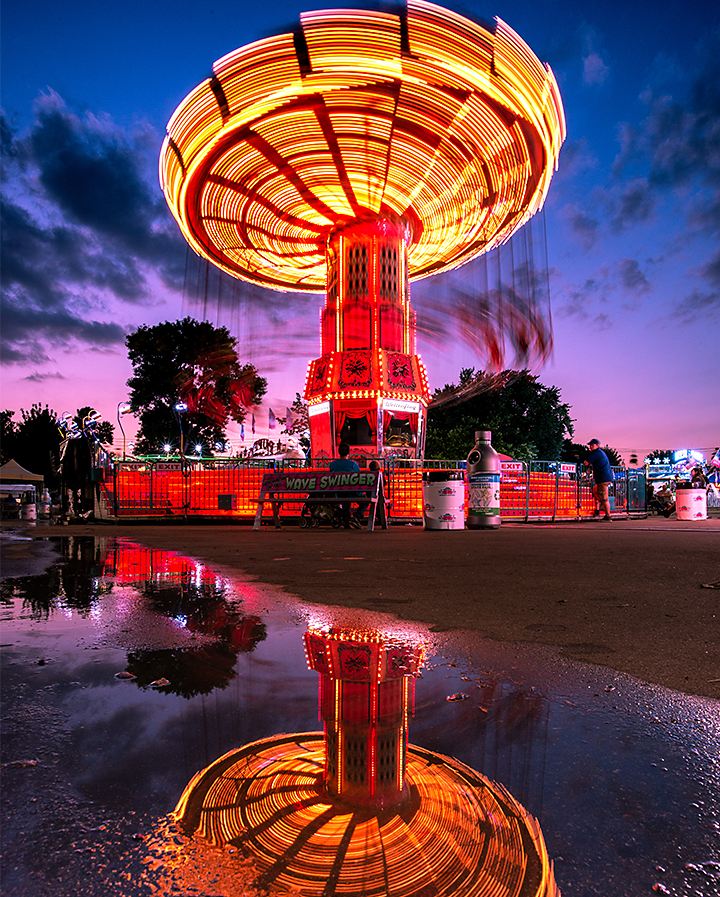
Image by Chris Sidla
Trial and error is key.
With motion blur, you’ll likely need a lot of trial and error no matter your experience level as a photographer. To speed it up, “plan as much as you can. Decide what you want in focus and how much blur you want beforehand. And don’t be afraid to reshoot,” says Low.
“You really want to have well-composed shots when you use motion blur,” adds Sidla. “Otherwise it can just look like a shaky hand.”
Your aperture, shutter speed, and ISO work together to balance your longer exposure time, so expect to take a lot of shots before you figure out what’s going to work best for your situation. “You have to take every instance on its own and decide what is going to work for that scenario,” says Low.
Tips for capturing motion blur.
Consider the time of day.
“Shoot in early hours of the day or the late hours of the night for the best chance to get your shot in-camera,” advises Sidla. The golden hour — just before sunset and after sunrise — is ideal for photography for many reasons, but when it comes to motion blur it helps keep your ambient light levels low.
Pick up a neutral density filter.
A neutral density filter (ND) gives you more usable hours of the day in which you can photograph motion blur. ND filters are often used in landscape photography to decrease the amount of light that hits your sensor, so you can shoot with a slower shutter speed or wider aperture and not blow out the exposure in the daylight. Getting an ND filter is “the number one thing I wish I had done sooner,” according to Sidla.
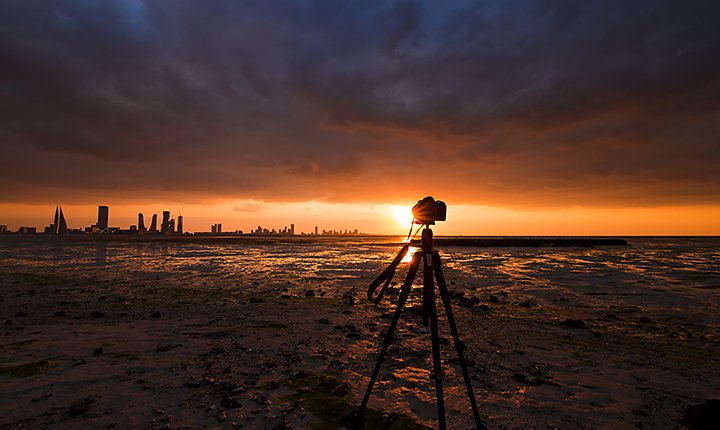
Use a tripod to combat camera shake.
If your camera has IBIS (in-body image stabilization), it may be possible to hand-hold your camera without too much unwanted camera movement. But a tripod will keep your composition steady, which can be especially hard to do by hand if you use a larger telephoto or zoom lens.
Try your hand at panning photography.
Panning is another way to depict motion in a shot. Rather than steady your shot with a tripod and blur an object in motion, use the panning technique to move your camera with the subject and freeze it in focus against a blurred background.
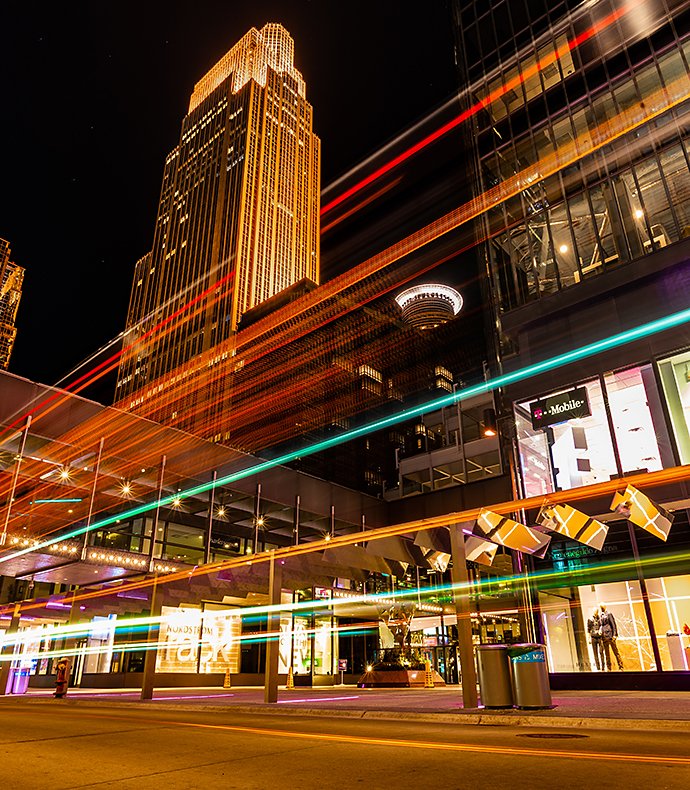
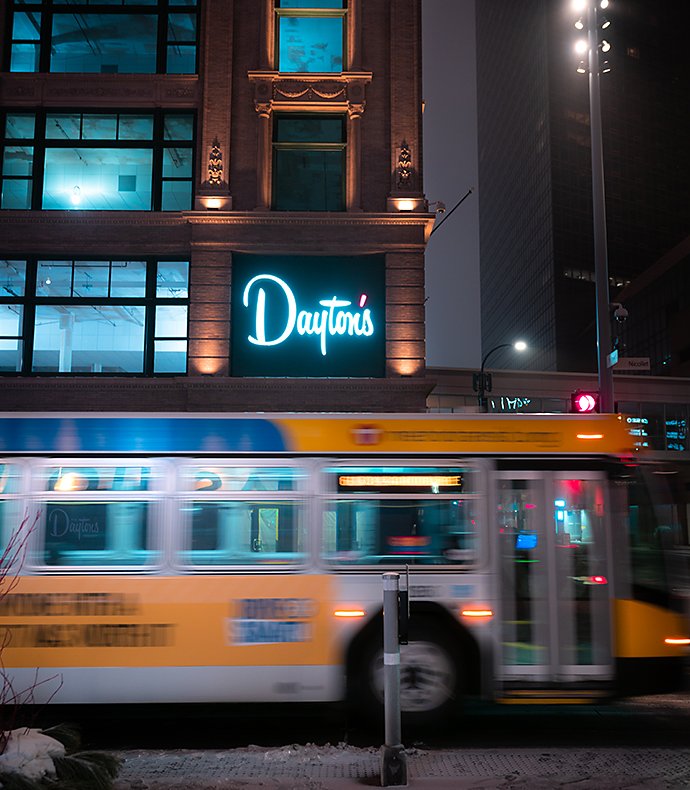
Images by Chris Sidla
Put your skills in motion.
“Nail your shot in-camera as much as possible, and use the tools you have in post-production to enhance what you’ve already done,” advises Low. This way, you won’t be tempted to rely too heavily on editing to make your shot great.
While you can retouch your final image in both Adobe Photoshop and Photoshop Lightroom, if you need to enhance the effect further, you can recreate a motion blur effect in Photoshop. Explore this tutorial to learn how.
“The best way to get better at any form of photography is to just go out and try it,” says Sidla. “Try and fail, but don’t get discouraged. Use every failure as an opportunity to get better.”
Especially with techniques like motion blur, happy accidents are more common than you might think. Don’t be afraid to experiment, get creative with your composition, and be open to opportunities as they arise.
“Get those reps in. It’s all about practice and the work you put in,” says Low. “You can expect photography to give you what you put into it.”
Contributors
Do more with Adobe Photoshop Lightroom.
Edit photos easily with Lightroom presets, Super Resolution, easily share photos from any device and access your projects anywhere with cloud photo storage management.
You might also be interested in…
Point your camera at the Milky Way.
Explore Milky Way photography with practical advice from professional photographers.
Discover how adjusting shutter speed can help you capture clean shots or motion-filled moments.
Night Photography.
Low light doesn’t have to equal low quality with these tips for successful nighttime photos.
How to add bokeh backgrounds to your photographs.
Learn more about the beautiful blur effect that can give your photos a striking look.
