PHOTOGRAPHY
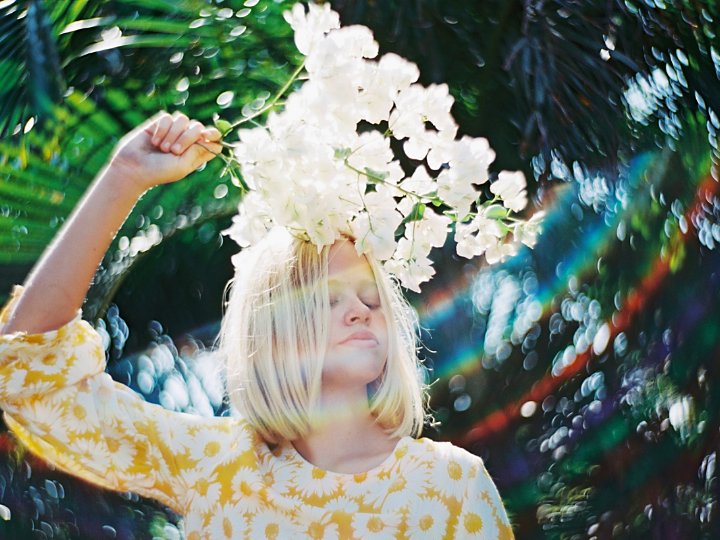
Bring whimsy and wonder to your photos with rainbow lens flares.
Lens flare is a cool feature to add to your photographs. Learn to manipulate and control the rainbows that sparkle and bounce off your camera lens.
What is a rainbow lens flare?
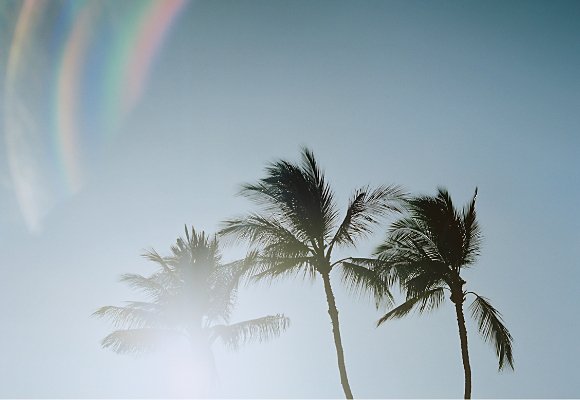
- Rainbow lens flares occur when light enters your camera lens at an angle that, often due to imperfections in the glass of the lens, creates multicolored rainbow-like points of light.
- These flares can add a nice visual touch or otherworldly feeling to your images.
- You can create these individual points or spots of light in camera or with an editing tool like Adobe Photoshop.
All about rainbow lens flares.
When you’re outside taking photos, you can get a surprise lens flare that scatters rainbows across your viewfinder. Many digital camera viewfinders won’t pick up these and you might not even notice they’re there until you start editing your photos.
What causes these rainbow lens flares? It comes down to scattering. Camera lenses are not perfect in their manufacture and even the most expensive lenses can be vulnerable to scattered light, which is when exceptionally bright light or sun rays sneak in through material imperfections to create bokeh effects and lens flares. This is sometimes called a light leak. Sometimes these can negatively affect your shot, but that’s not always the case. Rainbows and rainbow lights can also add delight and beauty you weren’t expecting.
The best way to start toying with rainbows is to deliberately seek out lens flares in your imagery.
How to capture rainbows with your camera.
To start finding nice lens flare opportunities and, by extension, other light effects like rainbows, you need to go where the light is.


Get outside and shoot into the sun.
Capturing a lens flare is a combination of luck and proper camera positioning. A sunny day is the best place to experiment. Don’t endanger your vision by pointing your camera directly at the sun and looking through the viewfinder, but try taking a photo with the sun in the corner of the frame. Alternatively, you can seek out shiny surfaces like glass or reflective metals and play around with taking photos of those.
If you have one, use a lens with a wide aperture. This will let in more light and give you plenty of flares. “Lenses with f-stops of 1.2, 1.4, 1.8 and 2.8 will give you unique flares — light is bouncing off that lens everywhere and with wider lenses, you see a star streak, which is pretty special,” says filmmaker Joshua Martin.
Starting outdoors with the intense light of the sun will start to familiarise you with your camera and what it can do, as well as how each of your lenses will respond to sunlight. From there, you can start seeing which angles generate the most rainbow artefacts to go along with your flares.
Find those bright lights indoors.
You can also create rainbow lens flares indoors — you just need harsh lighting. While overhead lights might occasionally do the trick, you’re going to typically need a powerful light source with lots of light rays to make flares happen inside. The sun can once again be your ally. By positioning yourself near a good window with strong sunlight coming through, you’ve set yourself up for plenty of compelling opportunities.
On top of this, by playing with smoke, pollen, dust and other particles (either by adding them yourself or finding a dusty room), you increase your chances of capturing additional artefacts, which are small distortions caused by the particles floating through the air and interacting with the light.
Upgrade your gear.
If you’re looking to take matters into your own hands, rather than trying to work with nature or an interior space, another option for creating different types of flares, streaks and rainbows is available in filters. There are adjustable and screw-on filters for many camera lenses that increase the likelihood of streaks, flares and rainbows showing up in your photos. Some are even adjustable prisms that can create kaleidoscopic effects.
How to add rainbow colours in post-production.
Because there are many factors out of your control when you’re trying to capture a rainbow flare in-camera, many photographers choose to enhance their photos in an app like Adobe Photoshop. There are several ways you can work with editing software to make your photos glow with the full spectrum of colour.
Overlay effects and gradients.
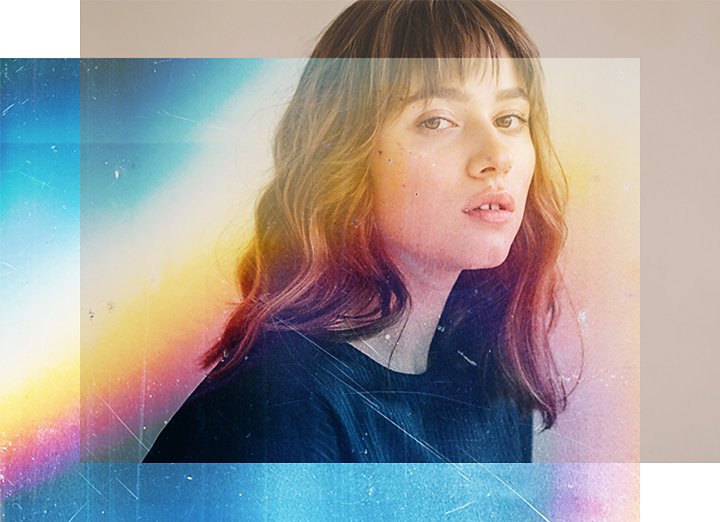
Using brush tools, photo overlays, colour swatches, blur effects and lens flare overlays, you can easily create individual rainbow flares that look natural and add artistic flare to an image. With these tools, you can adjust everything from opacity to the colour spectrum of your rainbow. If you want something unusual, creating an abstract rainbow is easy with these tools.
The first place you’ll start is by creating a blending overlay that filters out certain levels of colour and light, which is the first step to detailed blending work. And if you’re looking to do things in a faster, less involved way, the gradient tool includes a rainbow preset that’s ready-made to add straight into one of your photos.

Integrate stock assets.
If you can’t quite get the rainbows you want, get help from photo professionals. Using a stock photo and template library like Adobe Stock, you’ll gain access to hundreds of rainbow photographs that you can then superimpose over your own work. You can use blending tools within Photoshop to cleanly incorporate the image into your own — whether it’s a photo of a blue sky or a black background.
Whether you’re capturing the rainbow lens flares yourself or adding them in post, Photoshop has the tools and customisation options to help you to bring any artistic visions of sunbursts to life. Learn more about the different ways you can apply photo editing techniques to your graphic design and photographic work.
Contributor
Share this article
Not sure which apps are best for you?
Not sure which apps are best for you?
Take a minute. We'll help you to figure it out.
Take a minute. We'll help you to figure it out.