Introduction
Hey, I'm Jess, and I use shapes all day as a Motion Designer and Director.
Creating shapes with the Shape Tool
In this video, we'll create shapes using the After Effects Shape Tool and demystify their properties.
The Shape Tool can be found in the Toolbar in the upper left above the Project panel.
If you click and hold the Shape Tool, you'll see a number of different shapes to choose from.
Hover over the shape you want to create and release the mouse to select it.
First, let's select the Ellipse Tool.
To create a shape, click and drag in the Composition Viewer.
I'm going to draw the ellipse over the stem to the left.
While dragging the shape, hold Shift to make a circle.
This gives the shape the same width and height.
Hold Ctrl to draw the shape outwards from where you clicked.
Release the mouse when you're happy with the shape.
We can change the fill and stroke of the shape
Customizing fill and stroke settings
in the Toolbar menu at the top here.
Click on the word Fill or Stroke to adjust their fill type.
Let's click on Fill and make this a Linear Gradient.
You can also change the Blending Mode and Opacity here if you wish.
Click on the Color swatch to adjust the color.
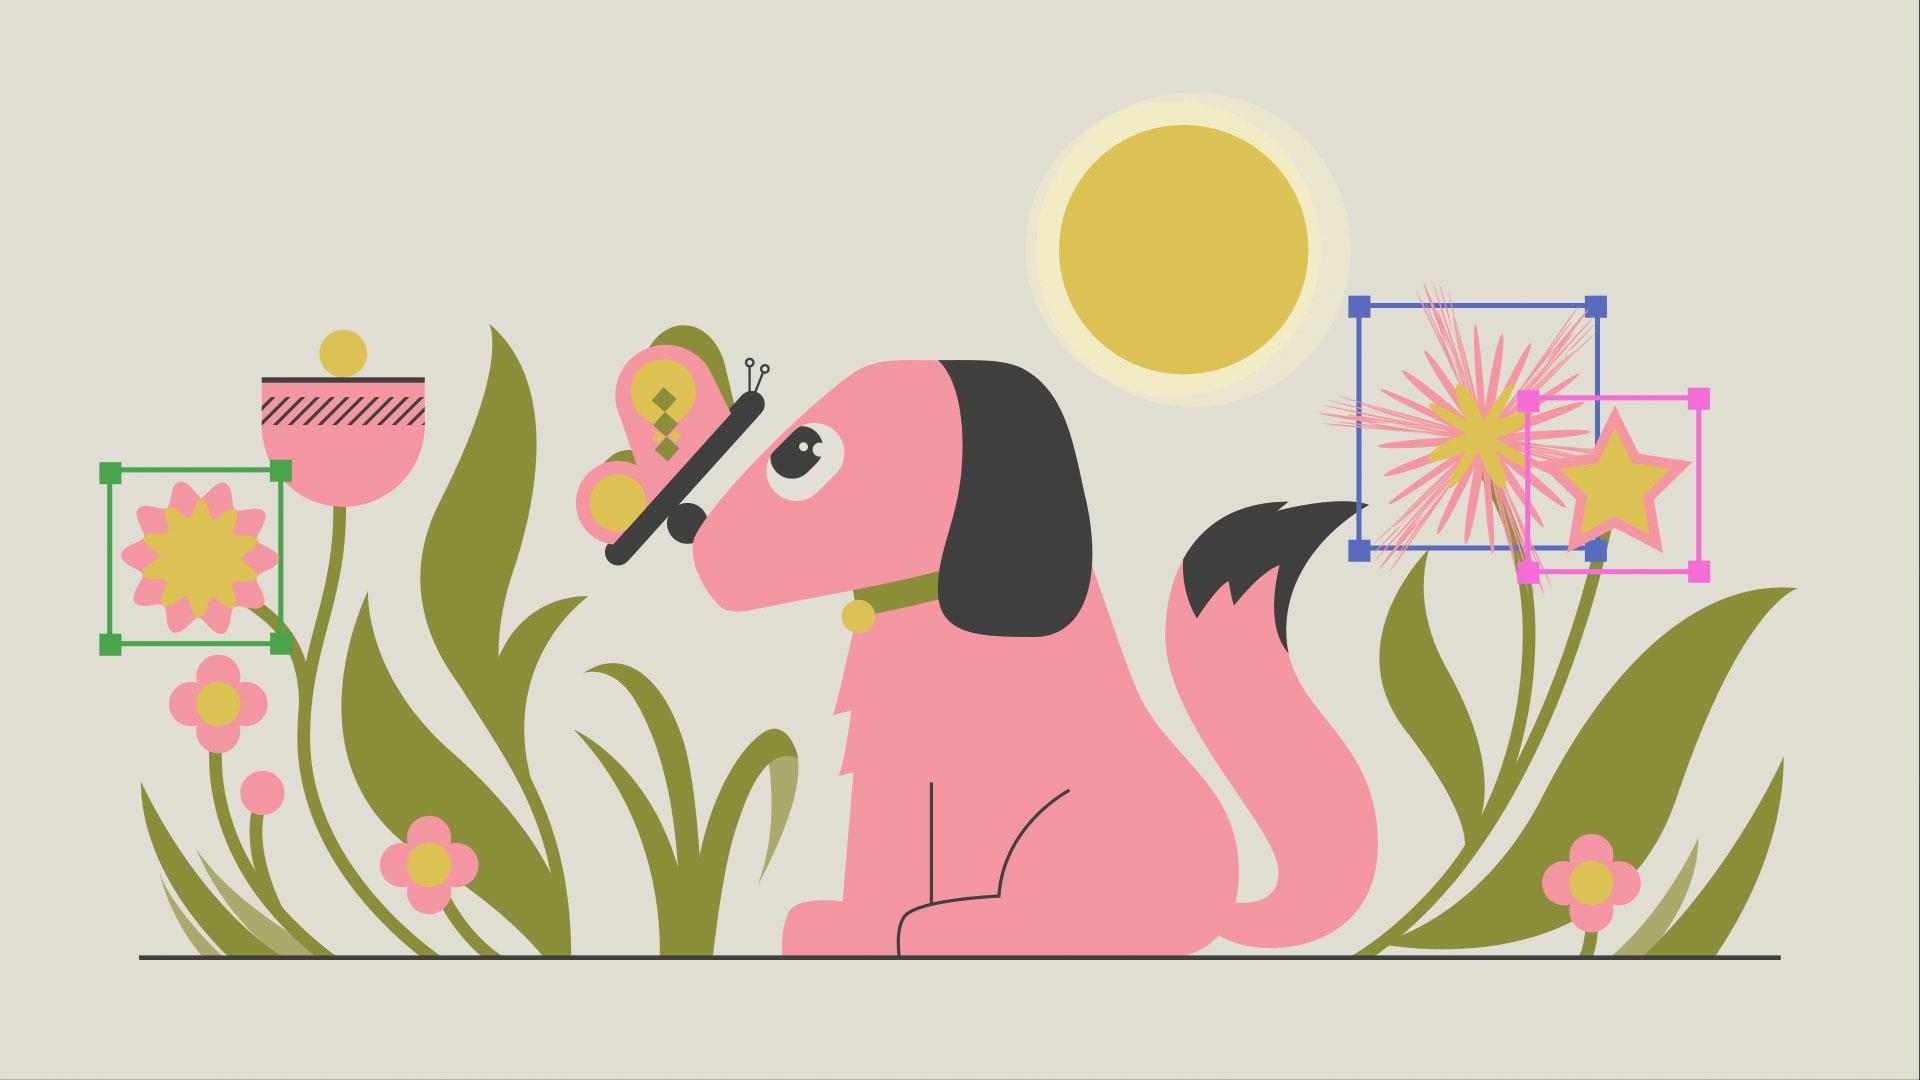
Next, we'll draw a second shape, a polygon, on the same layer as the ellipse.
Select Shape Layer 1 in the Timeline and select the Polygon Shape Tool.
Take a look to the right of the tools at the Star and Checkerboard icon.
To create a new shape, make sure the Star icon is selected.
The other option will create a mask on the selected layer.
Click and drag in the Composition Viewer to create the polygon.
Dragging the mouse around will adjust the size and rotation of the polygon.
Release to complete the shape.
Understanding shape path properties
There are a number of properties within these shapes we can change.
First, let's look under Shape Layer 1 in the Timeline panel.
There are two shape groups under Contents.
To open up the properties of each shape, click on the little arrow to the left, opening Ellipse Path 1 will reveal Size and Position controls.
Opening the properties for Polystar Path 1 reveals a different set of controls specific to the Polystar shape.
Each shape will have a slightly different set of properties.
Next to Type, we can click on the dropdown to change the shape from Polygon to Star.
Now the shape has Inner Radius and Roundness properties to adjust.
We can hide these properties in the Timeline panel by clicking the arrow again.
Fill and Stroke properties are also available in the Timeline.
You'll also notice there are three different Transform groups.
The Transform properties grouped with the shape
Using transform controls at the shape and layer level
such as Transform Polystar 1, will only affect the individual shape.
As I tweak the properties, you can see the star moved independently from the circle.
Open up the Transform properties at the bottom of this layer in the Timeline.
Adjusting the properties here will affect the entire layer.
Since both the ellipse and the star are on this layer together, they're both scaling and rotating around the layer anchor point, which is this target looking icon in the center.
We can also use the Properties panel to the right to make adjustments.
If you're having trouble finding this panel, navigate to the Menu bar at the top, go to Window and select Properties.
At the top of this panel are the Layer Transform properties that affect all shapes on this layer.
Next, select the shape you want to change in Layer Contents.
Click on Polystar 1.
Now we can see and make adjustments to the properties and transformations for this particular shape.
The Properties panel is quick to access and a little easier to digest than the Timeline panel, but both work great.
Try them out and decide what works best for you.
There are a couple of Stroke properties accessible in the Timeline panel that aren't in the Properties panel.
You can create a dashed line, taper the stroke, and you can even add a wave.
Within the Timeline panel, you also have greater control of the start and end points of gradients.
Let's dig into the Flower shape that was already here
Adding and organizing shape modifiers
and discover some additional properties we can play with.
Within this layer, we have a Rectangle, a Polystar, Twist, and Pucker & Bloat.
Where do Twist and Pucker & Bloat come from?
Well, to the right of the Contents on the shape layer, there's an arrow and the word Add.
Click on the arrow, and there are a number of different modifiers in this last section.
You can stack and mix these to get different results.
The order in which they are applied is from top to bottom, and will impact the results.
Watch what happens when I move Twist below Pucker & Bloat.
If we don't want the transformations to affect the rectangle in the center of our flower, we can select and group Polystar, Pucker & Bloat and Twist with the shortcut Ctrl G.
Now these transformations only affect the shapes within the same group.
Shape layers are robust.
There are so many properties to discover and stack.
I encourage you to play around with them more to deepen your understanding.
Thanks for your time.


