Introduction
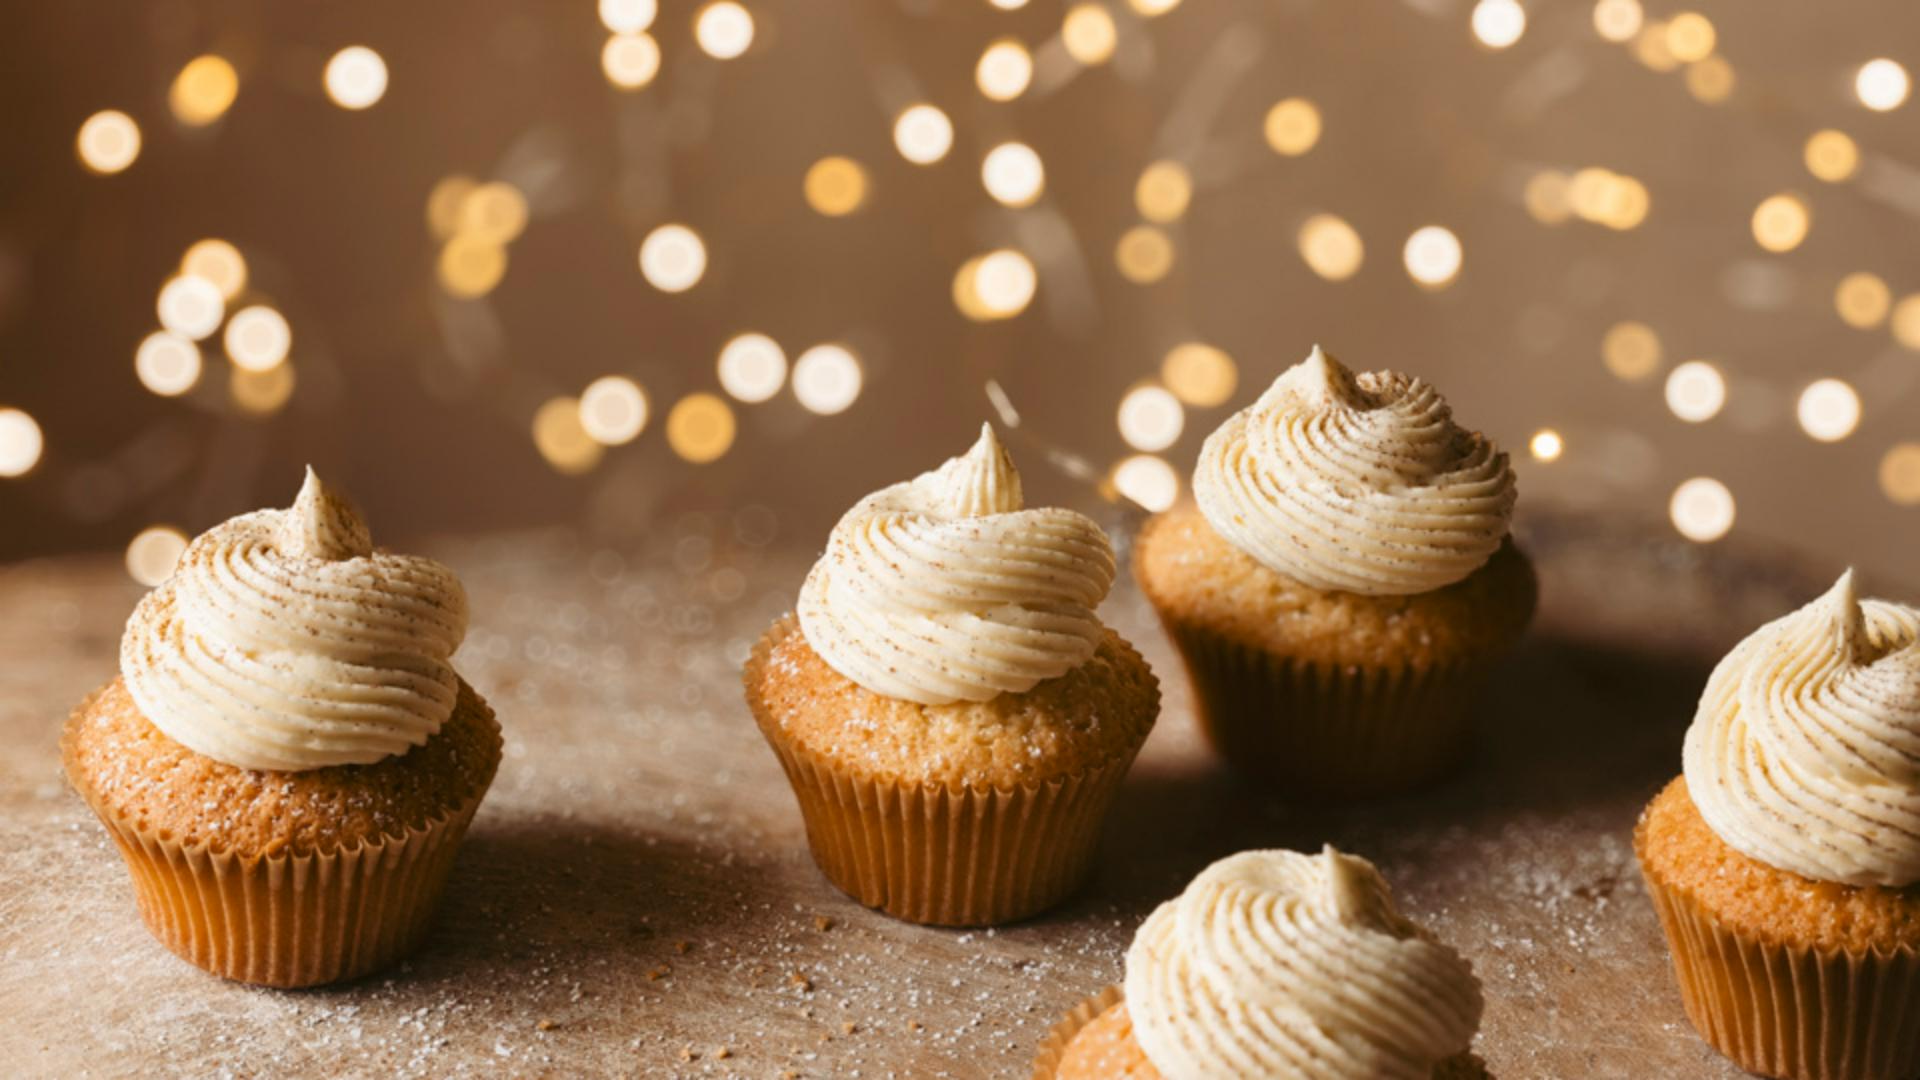
For some photos, having a background that is out of focus can really improve an image.
Lightroom's Lens Blur feature lets you create interesting blurring effects after the photo is taken.
Hi, my name is Bea Lubas, I'm a food and lifestyle photographer.
I'm also a Lightroom ambassador and the author of the book How to Photograph Food.
Let's see how you can use the Lens Blur feature to add a creative blur to your images.
The Lens Blur feature is at the bottom of the Edit panel.
Applying lens blur and adjusting blur strength
To start using it, I'm going to tick on Apply.
I can change the Blur Amount with a slider.
When I move it to the right, it makes the effect stronger, when I move it to the left, it makes the effect more subtle.
Here I want to go with something stronger.
Next, let's take a look at the Focus Range.
Controlling focus range and visualizing depth
There is a rectangle in the Focus Range bar, and when I move it to the left and then to the right, I can see how the areas in focus and out of focus change in my image.
When I double click on that rectangle, it resets it back.
I can also expand that rectangle to expand the area of focus, or I can contract it to contract this area of focus.
Here I'm actually going to contract it to make the background look even more blurred out.
I will, however, expand it on the left side to make the cupcake in the foreground look less blurred out.
I'm going to tick on Visualize Depth, and now I can see different color overlays in my image.
Warm or yellow covers the area that has a near focal range, cool or blue covers the area that has a far focal range.
Now when I click on that rectangle, it'll show me some areas in white.
What is white is what is in focus.
When I move this rectangle, it now visualizes in-focus and out of focus areas in my image.
I do notice that some parts of the cupcakes are out of focus.
So I'm going to untick Visualize Depth and go to the Refinement next.
In Refinement, I'm going to select Focus,
Refining focus and blur with brushes
and here I can change the Brush Size, Feather, Flow, I'll turn on the Auto Mask which is helpful if I was brushing near the edges.
I'm going to go to the cupcake on the left first, I'm going to zoom in on the top of that cupcake.
To do that, I'm holding the Spacebar and then click.
I'm going to make the brush bigger by using the right bracket key, and then I'm going to brush over this area to bring some of the details back.
To zoom out, I'm holding the Spacebar and click again.
I'm going to go back to the Refinement, click on the + icon to create a new focus brush, and then I'm going to go to this cupcake which is slightly further back, I'm going to make my brush smaller using the left bracket key, and then I'm going to brush over the bottom of the cream to make it look less blurred out.
I'm not done with my refinements just yet.
I'm going to go back to the Refinement, select Blur this time, and then go to this cupcake in front, and then brush at the front of that cupcake.
This is way too strong to what I wanted to achieve, so I'm going to go to the Amount slider and reduce the amount of blur I have just added to make it look more natural.
Shaping bokeh and balancing highlights
This looks pretty good, so next, let's take a look at the Bokeh shapes and how I can transform those lights in the background.
As I click through the different Bokeh shapes, notice how it alters the shape of the bright lights in the background.
Here I really like the one in the middle.
Some of the lights at the back look quite bright, so I'm going to go to the Bokeh Boost slider and then move it all the way to the left to reduce the highlights in those areas.
Reviewing the before and after result
To see a before and after view, click the small Eye icon at the top of the Lens Blur panel.
And this is the before, and this is the after.
Lens Blur is great for enhancing your images by adding a creative blurring effect.
Now that you know how to use this feature, give it a try and see how you can use it to transform your own images.