Introduction
Want to know how to create editable retro text effects in Adobe Illustrator?
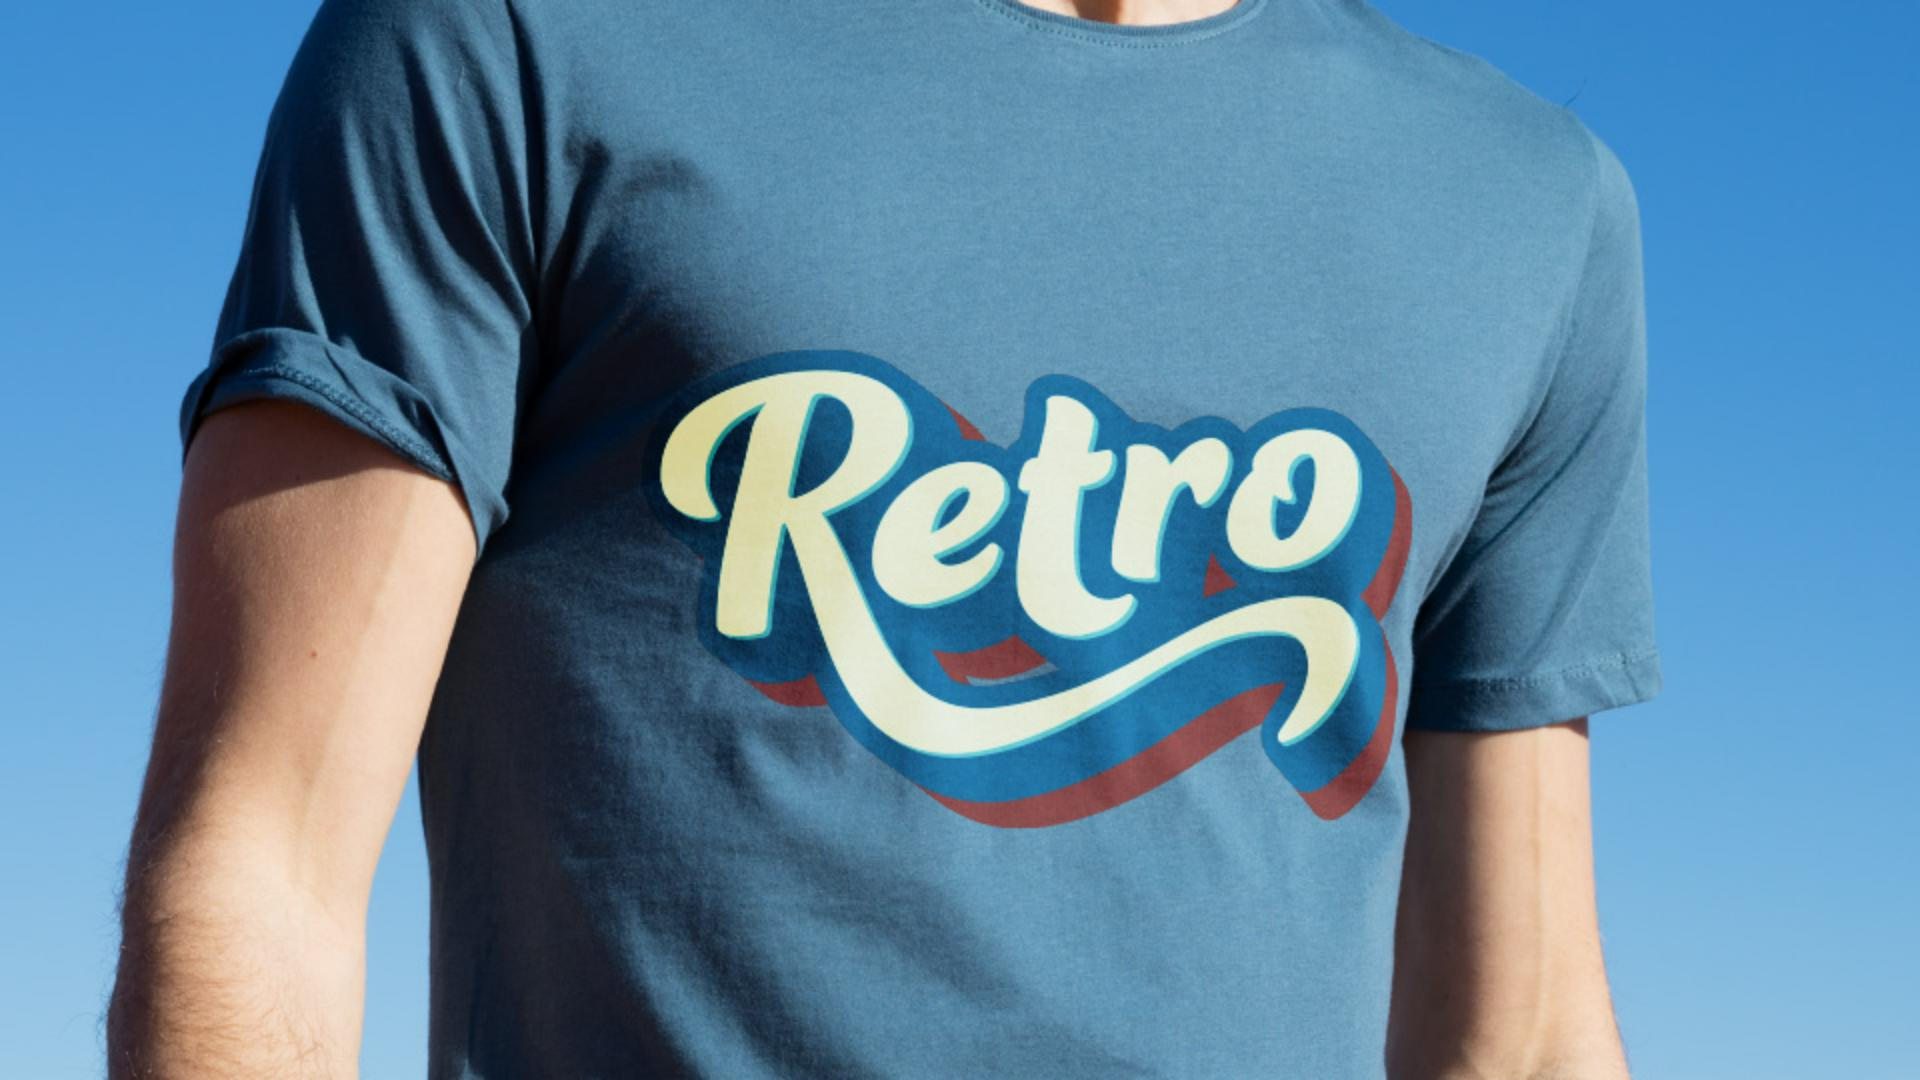
For example, these effects are great for enhancing logos or adding a stylish touch to your clothing prints.
My name is Rob de Winter and I'm an Adobe certified Instructor, Author, and Designer from the Netherlands.
And in the next few minutes, I'll show you how to combine the Type Tool and the Appearance panel to add multiple lines, fills, and effects to your text.
Let's first select the Type Tool.
Setting up retro text with fonts and glyphs
Click on the canvas and type Retro.
Then resize your Type to something like 250 pt.
Select all the characters and choose the font you like.
I choose Ganache from the Find More list.
When you click on the Cloud icon, the font will automatically be activated from Adobe Fonts.
The cool thing is that because this font is an OpenType font, it offers additional style variations for certain characters.
If you want to replace a character on canvas with an alternative glyph, just select it and click the alternate glyph when it's available to replace the character with it.
I'm going to change the R and then also change the "t" to something fancy.
Now select the text object with the Selection Tool.
Selecting the text with the Selection Tool is important because otherwise Illustrator won't let you add additional strokes and fills, and that's what we want to do.
Using the appearance panel for multiple fills and strokes
Then go to Window, Appearance to open the Appearance panel.
In this panel we can add multiple strokes, fills, and effects and stick them on top of each other.
Add a new fill by clicking the Add New Fill button and choose a color.
Then add a new stroke by clicking the Add New Stroke button.
Choose a color and then change the Stroke Weight to 30 pt.
Well, this doesn't look right, but fortunately in the Appearance panel we can drag the Stroke below the Fill color.
Basically, this just behaves like layers.
This already looks much better.
Let's now add a transform effect
Creating layered 3D effects with transform
only to the stroke to simulate a 3D effect.
Make sure to select the Stroke row, click the Effects button, go to Distort & Transform and click Transform...
Set the Horizontal and Vertical Move to 1 px to move the stroke 1 px to the right and 1 px down.
Then set Copies to 20 to create 20 copies of the stroke, moving 1 px to the right and 1 px down each time.
This looks like a cool 3D effect.
Now click OK.
Now duplicate the stroke by clicking the + button.
Select the button Stroke and change the color to red.
We don't see the stroke yet because it's exactly underneath the blue stroke.
So to make it visible again and make a new 3D effect from the red line, click the Transform effect just below the Stroke color, Double the amount of Copies to 40 and click OK.
Adding depth and shadows while keeping text editable
Now let's add an additional blue fill color to create the illusion of an additional shadow.
To do this, first select the Fill color and click the + button again to duplicate the fill.
Then select the button, duplicate this fill and change the color to blue.
Again, click the fx button, go to Distort & Transform and click Transform...
Let's set Horizontal and Vertical Move to 1 px again and then set copies to 3.
I think this looks great.
So let's click OK again.
The cool thing about using the Appearance panel for additional strokes, fills and effects is that the text is still editable.
Double click to edit your text and click in between two characters and hold Alt on Windows or Option on Mac OS and press the left and right arrow keys to adjust the spacing between the two characters.
Now that you know how to use the Type Tool and the Appearance panel to create additional lines and effects to create a retro effect, you can try it with your own text.
Again, my name is Rob de Winter and I look forward to seeing you in the next video.