Introduction
Want to learn how to turn rough sketches into dozens of mascot logo iterations full of rich detail and color?
My name is Sydney Michuda, Creative Director of Super Creative.
And in this tutorial, I'll show you how I've used Illustrator's Generative Shape Fill feature to create interesting mascot options, which I then finish in my own style.
Sketching and preparing shapes for generative shape fill
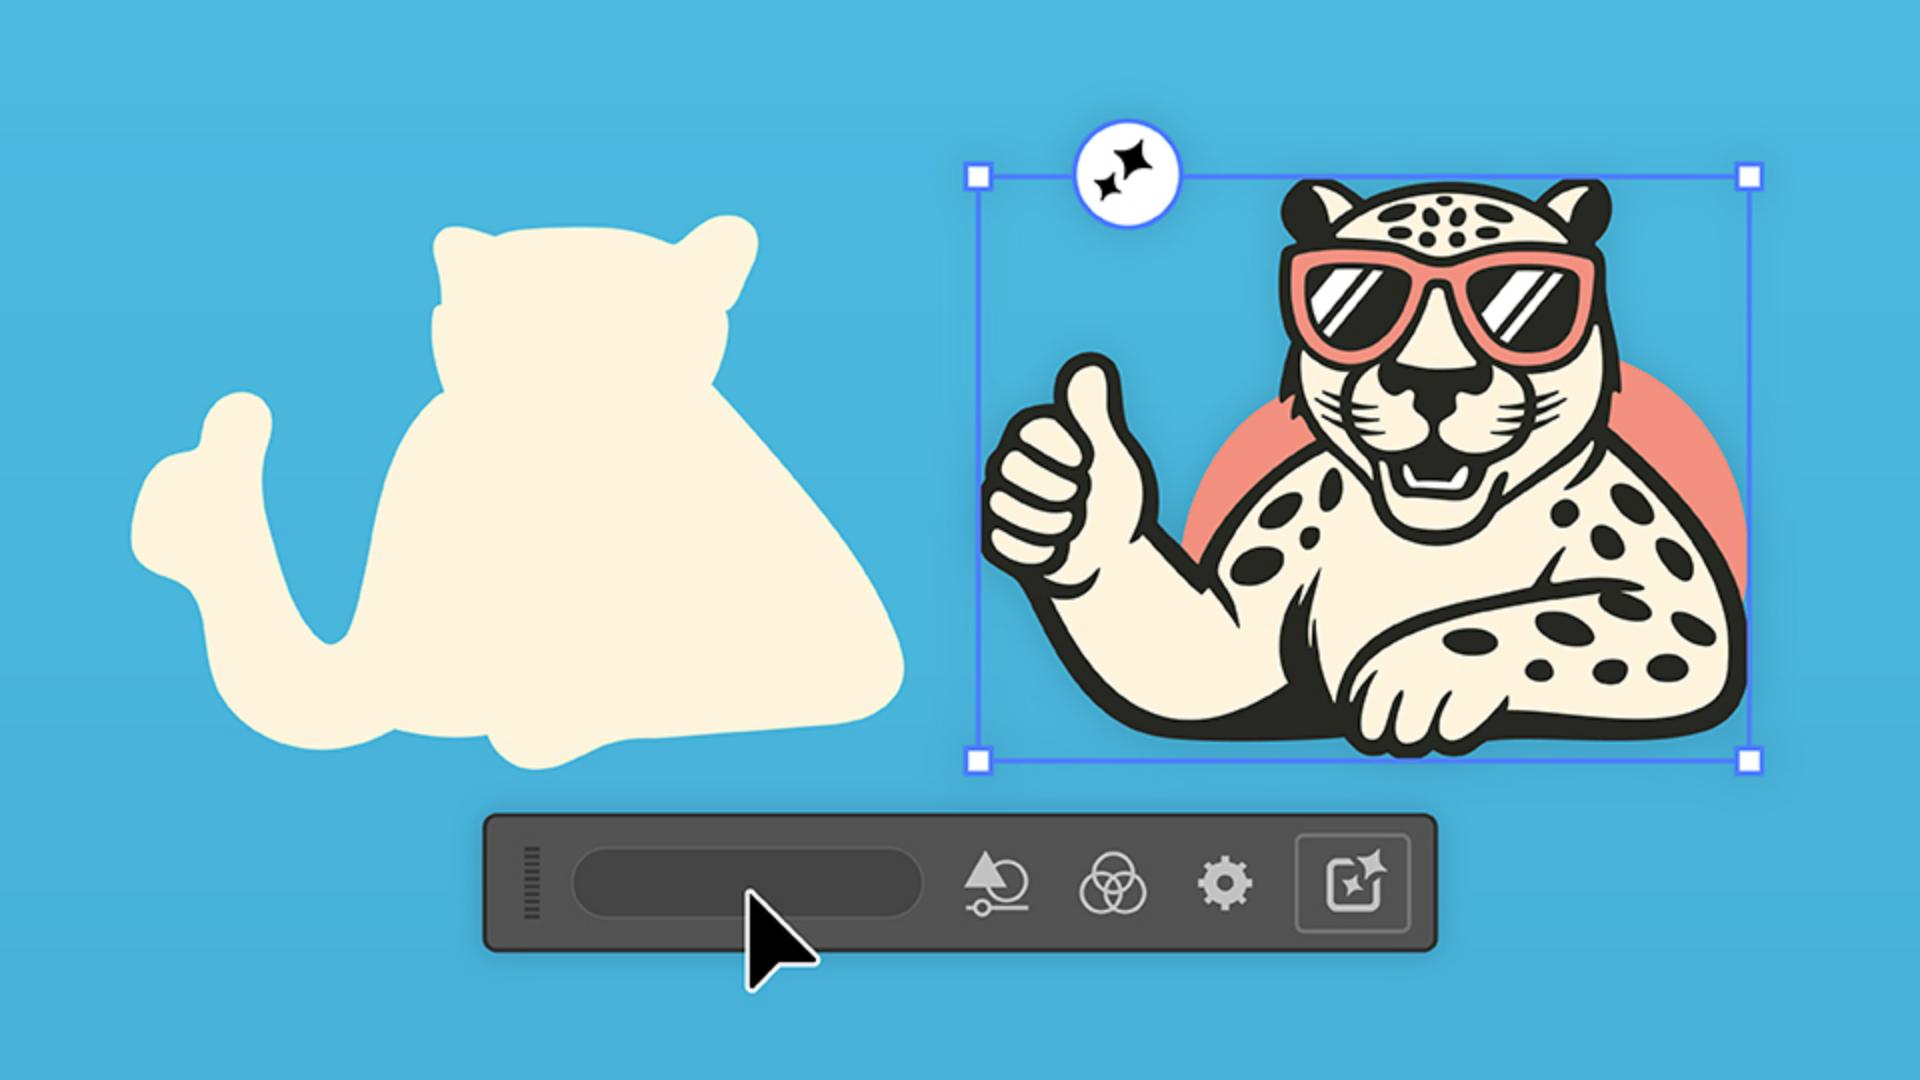
First, make sure you can see your Contextual Task Bar.
With your mascot in mind, use the Brush Tool to draw the general shape of your intended outcome.
This can be an outline or a filled shape.
Group all of the items by clicking Object and Group.
And with the group selected, hit the Generative Shape Fill button.
Start by typing a simple prompt and click Generate
Generating initial mascot variations
to see what it comes up with.
And just like that, we have three editable vector illustrations while keeping our original intact.
These are so fun, but I'd prefer to customize the settings to get this closer to what I'm looking for.
First, I'll adjust the level of Shape Strength and Detail
Refining results with prompts, detail, and effects
because my original was pretty basic.
I'll drag both down a bit, hit Generate and take a look at the results.
Now we have three new options with those adjustments applied.
These look decent, but let's continue to iterate.
I'm going to add more info to the prompt to give our mascot more character.
Let's also increase the Detail slider a touch so it's less cartoon-like.
I'd like to specify a different style, so I'm going to click the Style tab, select Effects and apply the Flat Design effect.
Let's hit Generate and see what we get.
Now our leopard looks a little cooler with the Flat Design effect, but let's keep adjusting.
Applying brand colors and style references
I'd like to use specific brand colors, so I'll paste in the palette.
Open the Swatches window on the right and click New Color Group.
With the duplicated sketch selected, go back to the Contextual Task Bar and click Generative Shape Fill.
Then hit View All Settings.
Now we can see so many different options.
I'm going to deselect the effect and under Color and Tone individually add each of the colors from the new color group.
Hit Generate and let's take a look at our new options.
These guys are looking pretty neat, but I have a more specific style in mind for this mascot.
Let's use a specific reference image.
Paste your reference into the document, select your sketch and hit Generative Shape Fill.
In Settings, select the Style Reference tab and click Choose asset.
Then click the reference image and hit Generate.
Let's see what we get.
Now we have three new options that are exactly what I'm looking for.
I really like the second leopard, so I think we have a winner.
After these quick iterations I have a mascot I like.
Finalizing and customizing the mascot logo
Now I'm going to put my own finishing touches on him and add in some supporting elements.
With a bit of editing, I now have a stunning mascot logo in my own style.
With just some simple prompts and experimentation, Generative Shape Fill helps us create new ideas quicken our workflow, and do it all with our own flair.
Give it a try yourself and share your results.
Again, my name is Sydney Michuda of Super Creative.
Thanks for watching.