Introduction
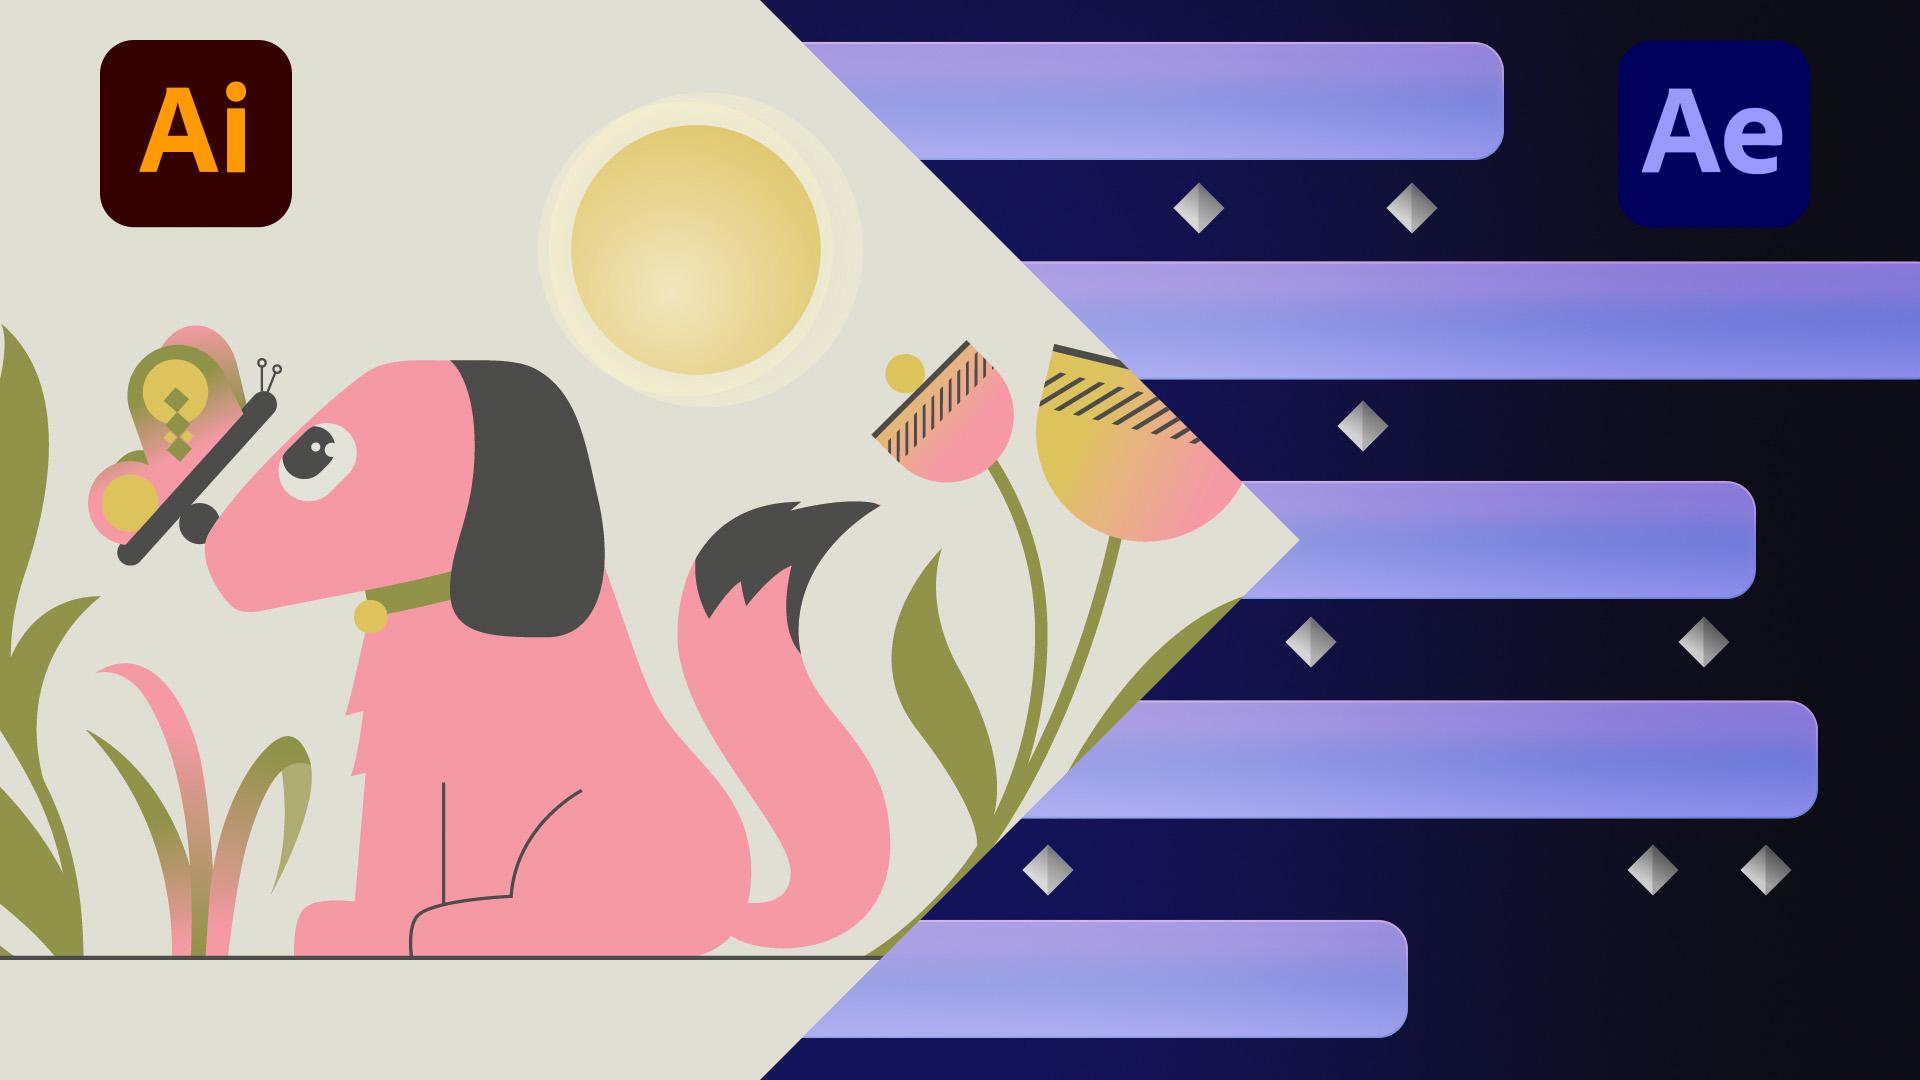
[Jess Libby]: I'll help you get your Illustrator artwork ready, import it into After Effects, and show you how to convert layers to shapes for even more control.
I'm Jess, a motion designer and director specializing in After Effects.
Let's dig in.
Organize your Illustrator project
First, open up the artwork supplied in Illustrator.
Let's make sure the Color Document Mode is set to RGB.
You can see in the file tab that this document is in CMYK.
CMYK colors are used for printing processes.
Printers use a specified mix of cyan, magenta, yellow, and black ink to create a color.
Screens, however, use a mix of red, green, and blue light, which is why using a CMYK color mode doesn't convert accurately in an RGB color space.
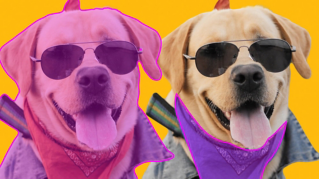
The differences are subtle, but you can see that our RGB file on the right is a little more saturated and vibrant than the CMYK one on the left.
Since our final output is for screens, we should work in RGB.
We can fix this in Illustrator by navigating to File, Document Color Mode, RGB Color.
Anything we want to animate together should be grouped together and on its own layer.
Since I want all the shapes making up this flower to move together, I'll select and group this artwork using the shortcut Ctrl + G.
Take a look at the Layers panel to the right side of the screen.
If you can't find the Layers panel, navigate to Window at the top of your screen, then select Layers.
All this artwork is currently on one layer.
We need to separate our artwork into layers so that we can move individual parts in After Effects.
With Layer 1 selected, click on the Menu button at the top-right corner of the Layers panel and select Release to Layers (Sequence).
Now that we've released the layers, we can Shift-select all of them.
Click and drag them outside Layer 1, and all of our artwork is split into their own layers.
Grouped artwork will stay together on a layer.
We should name the layers to quickly identify the artwork and stay organized.
Just double-click on the layer name and type it in.
Let's speed this process up.
And now we're ready to save.
Navigate to File, Save As...
Rename the file to something new.
I'm going to change this to Dog-Layered.ai, and click Save.
We can leave all of these settings at their defaults and click OK.
Open After Effects and start a new project.
Import your vector artwork
To import our work into After Effects, double-click the Project panel on the left, navigate to the file, and select the dropdown under Import As.
Footage means our artwork will import as a single flat layer.
Let's undo that and import again.
Composition will create a new composition with layered artwork.
Each layer's bounding box will be the size of the Illustrator artboard.
Now I'm going to undo that import as well.
I'll double-click the Project panel to grab that file again, then select Composition - Retain Layer Sizes.
For this example, that's going to work great.
This means each layer's bounding box matches the artwork on that layer.
Now we have a composition in our Project panel and a folder of all of our layers from Illustrator.
Double-click on the imported composition to open it.
You can convert Illustrator layers to shapes to make edits, animate paths, and have even more options.
Right-click this grass Bunch 3 layer, go to Create, and Create Shapes from Vector Layer.
This layer has now been converted to shapes.
The original Illustrator layer is still underneath.
It's hidden by the visibility switch, which is the little Eye icon to the left of the layer.
There are more properties when you twirl open the layer.
We can also make changes to the artwork in Illustrator and update dynamically in After Effects.
Right-click one of the Illustrator layers and go to Open, Edit Original...
The artwork should open in Illustrator.
Click on the grass Bunch 1 to the right and change the color to something different.
Save to the same file with the shortcut Ctrl + S.
Let's go back to After Effects and you'll see that the color has updated.
One benefit of creating artwork in Illustrator
Keep vectors sharp using SVGs
is that you can create vector graphics, allowing you to scale your artwork without losing fidelity.
When I scale this butterfly layer up in After Effects, you'll notice that the artwork becomes soft.
That's because we need to tell After Effects that this is a vector layer.
We can do that by switching on Continuously Rasterize, which is in this column with an icon that looks like a sun.
You may have to hit the Toggle Switches / Modes button at the bottom of the Timeline panel to reveal the switch.
Click the switch to get the artwork sharp again.
Finally, you can also save and import SVG files.
Open up the Dog-Layered.ai file in Illustrator, navigate to Save As..., and select SVG from the File type dropdown.
Back in After Effects, import the SVG.
Double-click on the Project panel, then select the SVG we just saved.
If you choose Footage - just like the Illustrator file - the SVG imports as a flat single file that you can continuously rasterize.
You can right-click and convert to shape layers - just like we did with the Illustrator file layers.
Now if we import it again as a composition, it immediately imports as fully editable shapes.
You can twirl open the layer to access all the shape properties you're already familiar with.
It's all there, editable and ready to animate.
The SVG was imported as a single layer, losing the layer names.
So if you have a complex file with many layers, use the Illustrator file format to maintain better organization.
Vector artwork has always been a natural fit for motion design, and this workflow will get you animating quickly.
Remember to name layers and set your artwork to RGB.
Thanks so much for following along.