Introduction
Ever wish you could remove all the blemishes on a portrait with just one click?
Well, now, thanks to the Retouch Quick Actions in Lightroom mobile, this is a reality.
Hi, Kristina from Shark Pixel here.
And in the next few minutes I'll show you how to use the new AI-enhanced Blemish Removal Tool in Lightroom mobile to remove all of your blemishes on your portraits.
Using Quick Actions & one-click blemish removal
Let's start here in this album I've created in Lightroom.
Tap on the photo you want to use, click the Magic Wand at the bottom left to access the Quick Actions, then click on Retouch.
The first Quick Action we see on the left is Blemishes.
Clicking on this button will tell Lightroom to read the image and its features and see if any blemishes are present.
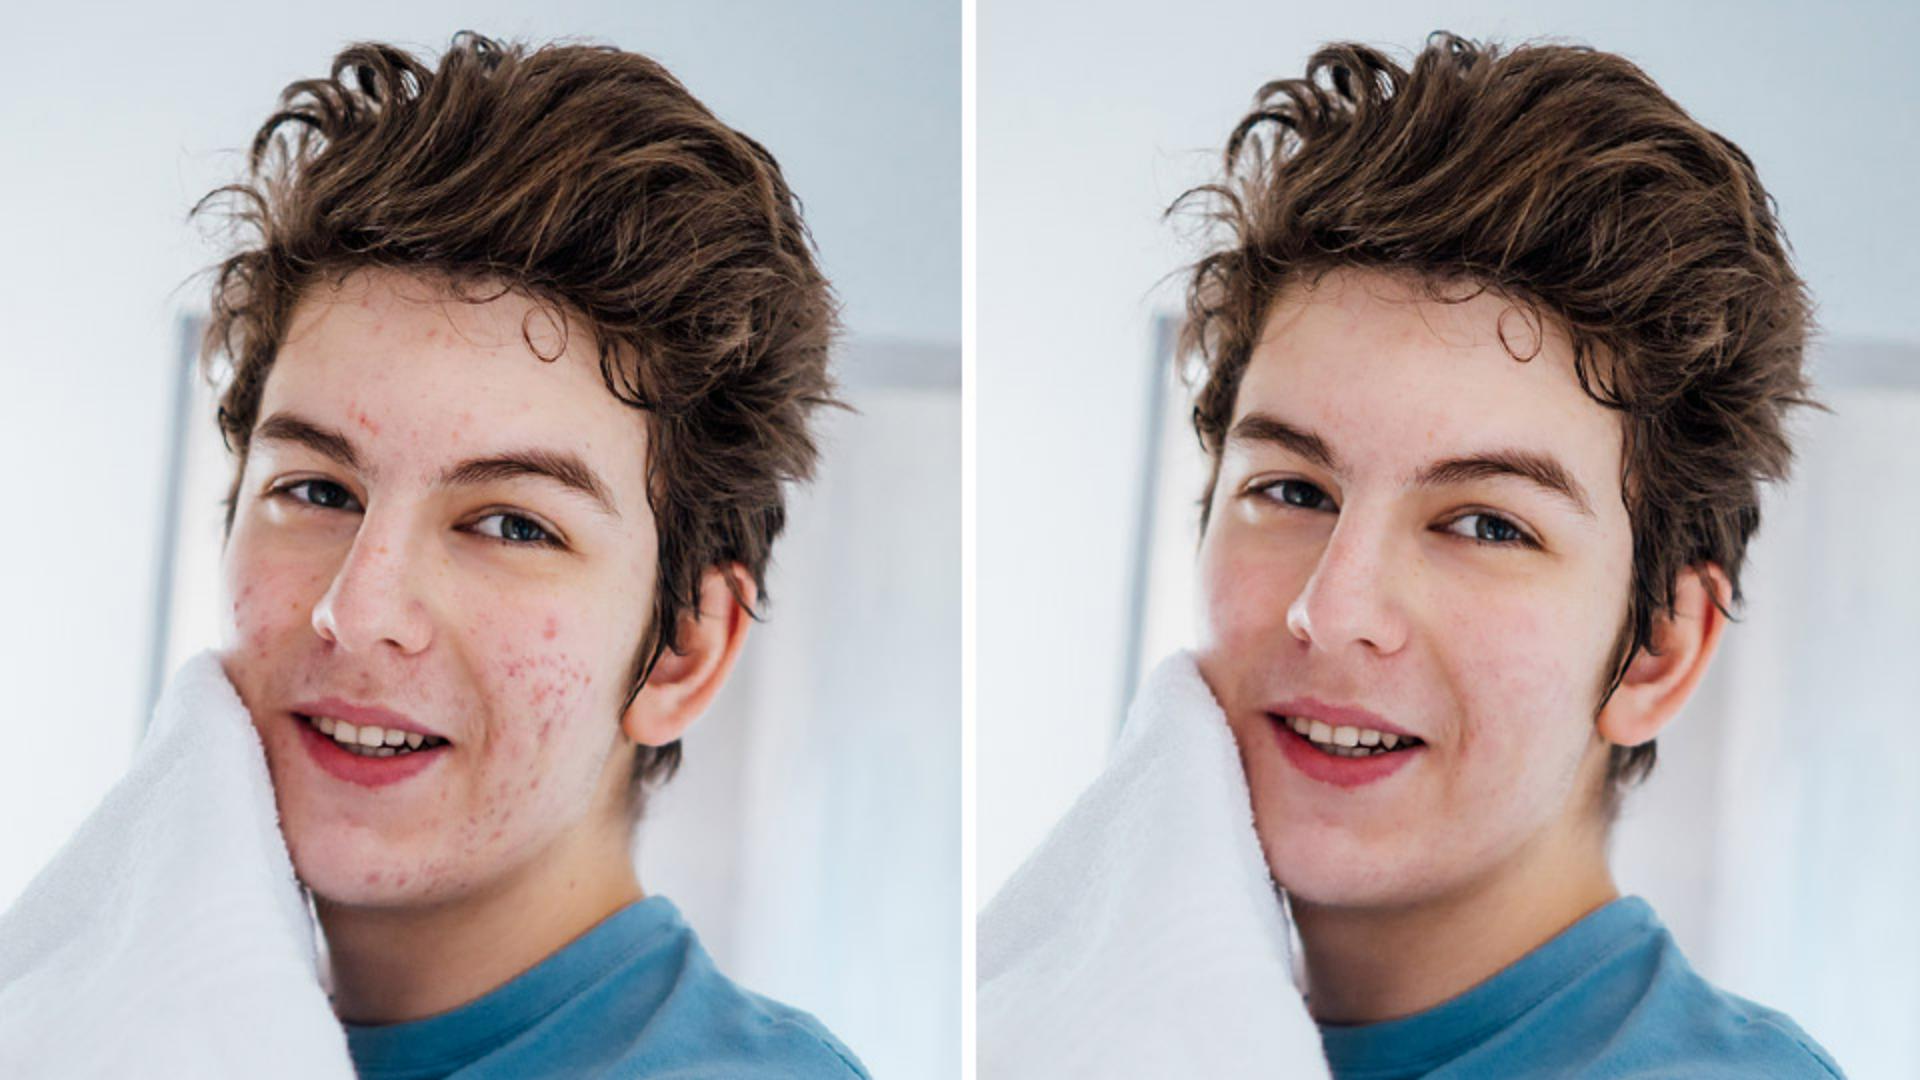
And voilà, your blemishes have been removed not only on the face but on the neck as well.
Tap and hold to see the before and after of what this tool has been able to do in just one click.
Slide the Amount slider to the left, if you want to reveal more blemishes, or all the way to the right to 100%, if you'd like to hide them all.
I really love this feature because as you slide all the way down to the left, you can see that the bigger blemishes are removed first.
And then as we bring it up to the Amount of 100, the smaller blemishes are also removed.
Apply the skin smoothing Quick Action for a polished look
Let's pair this blemish removal with a little bit of skin softening to create a really nice, polished look.
Next to the Blemishes icon, we see our Skin Smoothing slider.
Let's go ahead and pull this up and down to find a really good spot for this portrait.
You can zoom in using two fingers and zooming in on the face to make sure we're appropriately viewing the image.
And then let's increase and decrease the skin smoothing until we find something that we like.
I think that looks about right.
Tap and hold to see our before and our after.
Or you can tap and hold on just the icon itself to see the before and after of just what that item did to your photo.
Once we're happy with the result, let's go ahead and press the Checkmark.
Retouch blemishes on multiple faces in one photo
Now let's go ahead and see what this feature can do on two faces in an image.
Tap on the image of the two girls, then we'll click on our Quick Actions button once more, and we'll click right into Retouch.
Here you'll notice something new.
Above the icons, you'll see a Face Choice section where you can choose All faces, the face on the left, or the face on the right.
Let's select All faces and choose Blemishes.
Lightroom on mobile will analyze the photo and try to find the blemishes.
Let's zoom in on both faces and we'll tap and hold to see how it did.
Looks pretty good.
Use the Fade slider to preserve freckles & natural skin features
Click on our first face - the one on the left - click into Blemishes once more.
And here I want to highlight a new slider that's contextual so it's not always going to show up.
It's called the Fade slider.
The Fade slider controls the visibility of items like freckles and moles.
Those are the kind of items we always want to keep when we're trying to remove blemishes.
Dragging the Fade slider all the way to the left preserves all of the freckles and moles that might be found on the face and taking the Fade slider all the way to the right softens those freckles and moles a little bit to add a little bit more of a polished look.
I'll go ahead and hit the Checkmark and there we go.
Blemish removal is also available in Lightroom on the web
And as an added bonus, I did want to mention that this is a feature that's also available on Lightroom on the web.
You just have to click on your photo, go into your Quick Actions, scroll down to the Retouch section, and turn on Blemishes.
And that's it folks.
Lightroom on mobile just took a previously tedious task and made it effortless with just a couple of clicks.
Amazing, right?
Again, my name is Kristina Sherk.
Thank you so much for watching and I will see you in the next video.