Introduction
[Lisa Carney]: Do you want to improve your travel photos?
Finding new ways to frame the scene is a great place to start, and using a few simple moves in Lightroom on mobile can help you enhance your images, even when you're on the go.
Hi everyone!
I'm Lisa Carney, Hollywood retoucher, photographer, and mobile editing aficionado.
And in the next few minutes, I'll show you how to create more dynamic travel and landscape photos just by changing your point of view, as well as how to make your images really shine with Lightroom on mobile.
Add depth by including foreground elements
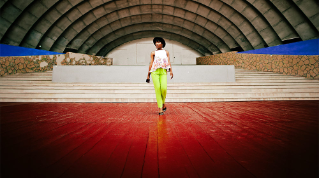
Most people capture their travel photos from standing height.
There's nothing wrong with that, but it often looks like everybody else's shot.
One of the things I like to do to create more interesting photos is to place something in the foreground, close to the camera.
This helps to create a sense of depth in the scene with the composition, where the focus is on the foreground details, but you can see into the background.
Create dynamic compositions by shooting low and close
Sometimes I also like to use this approach by placing the camera down low.
When you view the scene from a lower angle and move closer, two great things happen - the small, often overlooked details in the foreground become the star and the scene feels deeper, like you can step right into it.
Here's what I like to do: First, I pick a foreground subject - think rocks or shells on the beach, flowers, or even petals where you can see a reflection.
Anything with interesting detail, a little color, or contrast works great.
Next, I lower my camera.
I'm talking knee-level or lower, or even just a few inches off the ground, if it's safe.
Then I move in close enough that the foreground feels intentional, not accidental.
Finally, I tap the foreground detail on the screen to set the focus for that area.
And then I take a few shots, and I'll often capture the scene as both a vertical and horizontal, just to give myself more options.
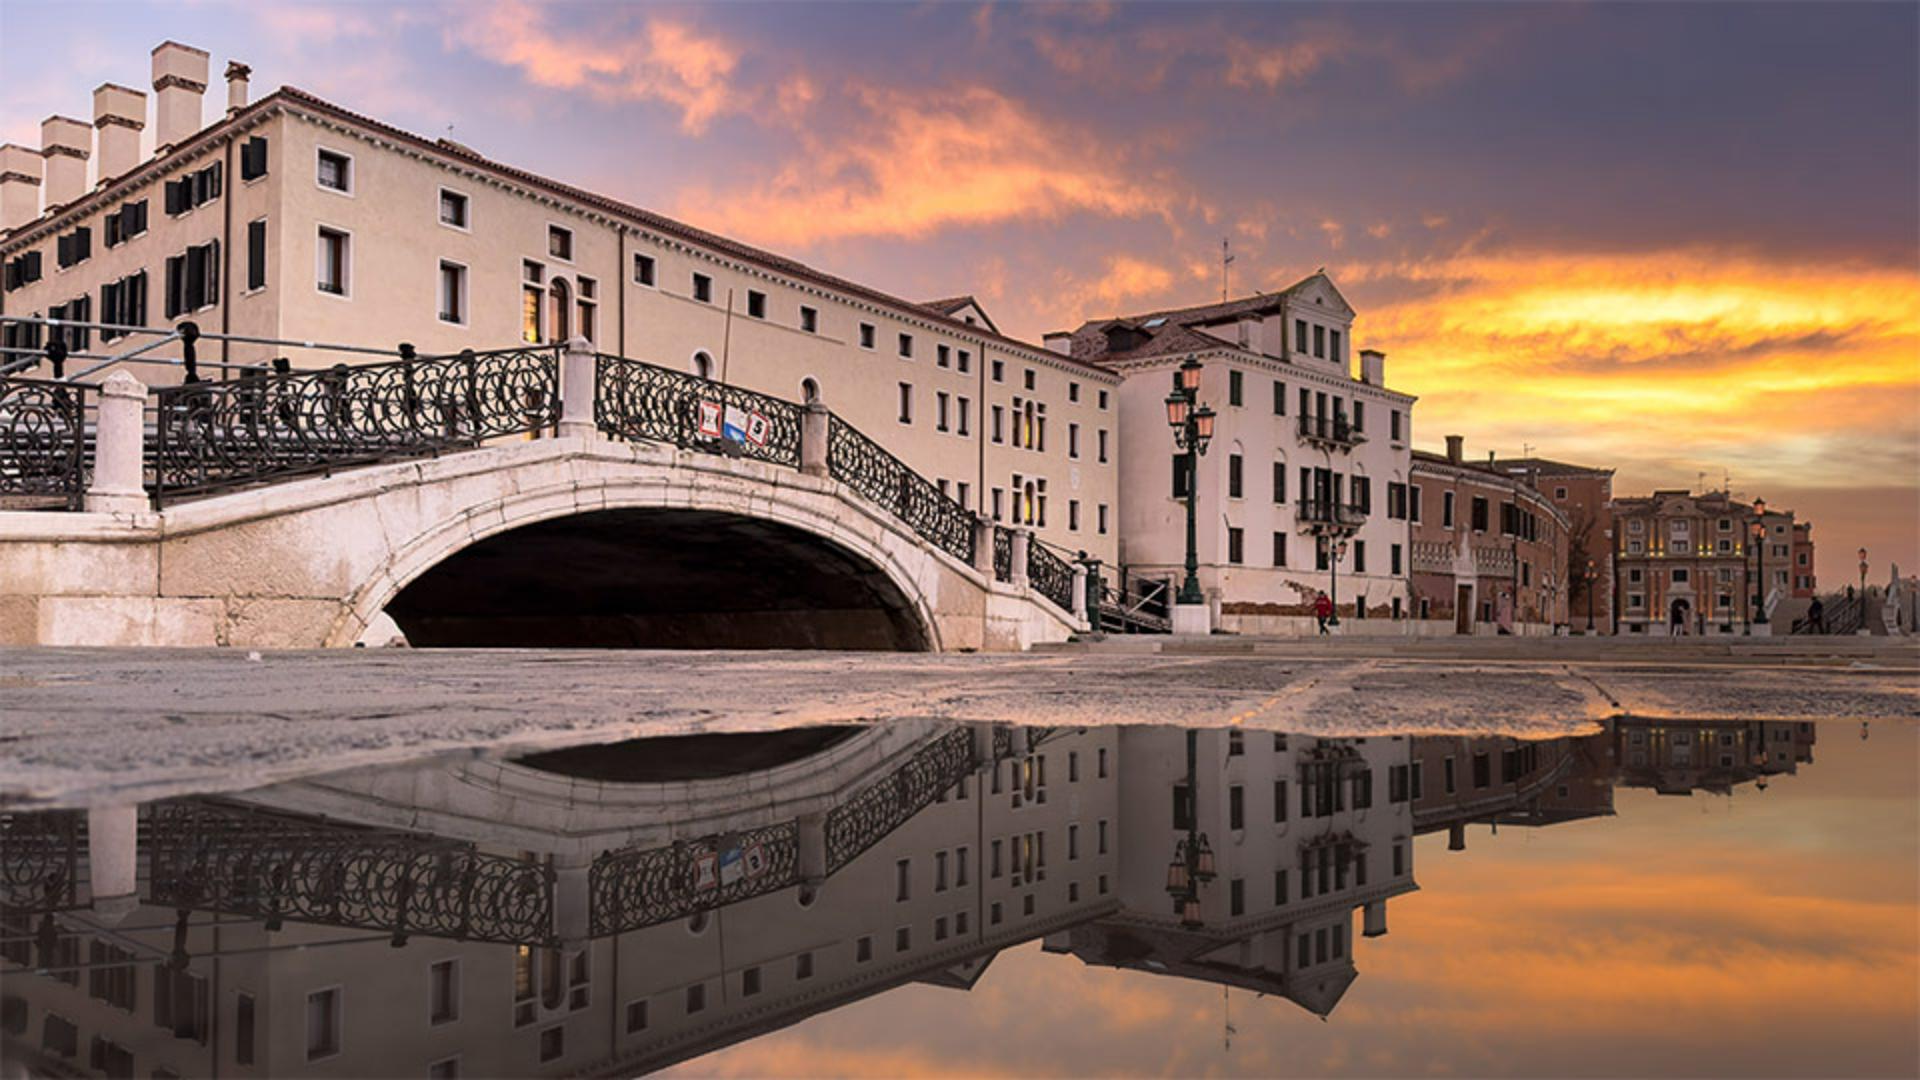
Here's a great sample of a scene where this low-and-close approach works really well.
For this image from Venice, Italy, I placed my camera low and close to the paddle, and I chose a wide-angle lens to get the reflection of the architecture, while still being able to see a good portion of the sky.
Quicky modify different areas with Scene Enhance
Now let's go into Lightroom on mobile, and I'll show you some of my processing tips for this type of image.
In this photo, there are three distinct areas in the scene: the sky, the building, and the water.
And you know, a lot of my travel photos often have these elements.
One of the things I love about Lightroom on mobile is that it provides an easy way to apply adjustments to these separate areas.
I'll tap the Magic Wand icon to open up the Quick actions.
Next, I'll tap on Enhance to open the Scene Enhance and Lightroom will analyze the image and give me options to adjust different areas of the scene.
First, I'll adjust the Sky.
What's interesting about this photo is that since there's such a clear reflection of the sky in the water, it's also being affected.
Next, I'll scroll up and adjust the Water.
In this case, I prefer the look I get when I move the slider to the left.
This reduces the contrast and the highlights and draws your attention up towards the architecture, which is after all the hero of this image.
Next, I'll adjust the Architecture slider.
In this case, moving it to the right gets me a better result.
I'll press and hold on the image to see the Before view and release to see it with the Scene Enhance adjustments.
So far, so good.
I'll tap the Checkmark in the lower right to apply that.
Refine adjustments with the Scene Enhance masks
My favorite part of Lightroom on mobile is that all of these Scene Enhance adjustments can be refined and customized at any time.
I'll tap on this Circle icon in the lower right to reveal the Masking panel.
I can pull out this little white line indicator on the right-hand side.
And here you can see all three masks that the Scene Enhancement created for me.
If I tap on the mask for Architecture, you can see three little dots at the bottom of the screen under Light, Color, and Effects.
This lets you know that Lightroom has made adjustments in those panels.
I can now tap on the Light panel and see what Lightroom has done.
As you can see, it has increased the building's contrast and adjusted for the shadows.
I think I want to make the building a bit brighter, so I'll increase the Exposure to about 0.22.
I'll press and hold on the image to show the original, and then release to return to how it looks with the current edits.
I like to do that often in my editing process, so I can get an idea of what my image is looking like.
It also helps me to refresh my eyes.
I'll tap the Checkmark in the bottom-right corner to get back to the main menu.
I'm liking how this image is looking.
However, I think I'd like it to be warmer overall.
I'll tap on the Edit icon and then choose Color.
I'll add a little warmth by moving the Temperature slider to the right, and adjust the Tint ever so slightly to the right towards magenta.
Now the sunrise image is looking much warmer.
Again, I'll press and hold on the image to see the Before view and then release to see the view with all the adjustments.
I'm really quite pleased with the results.
It looks so much better and it takes me back to that early morning in Venice.
So the takeaway is don't settle for the default angle when you're taking a photo.
Get close to something in the foreground, or get low and close to find those overlooked details and add depth to the scene.
Then use Scene Enhance plus Masking in Lightroom on mobile to enhance different areas of the scene.
Thank you for watching and happy editing.