Introduction
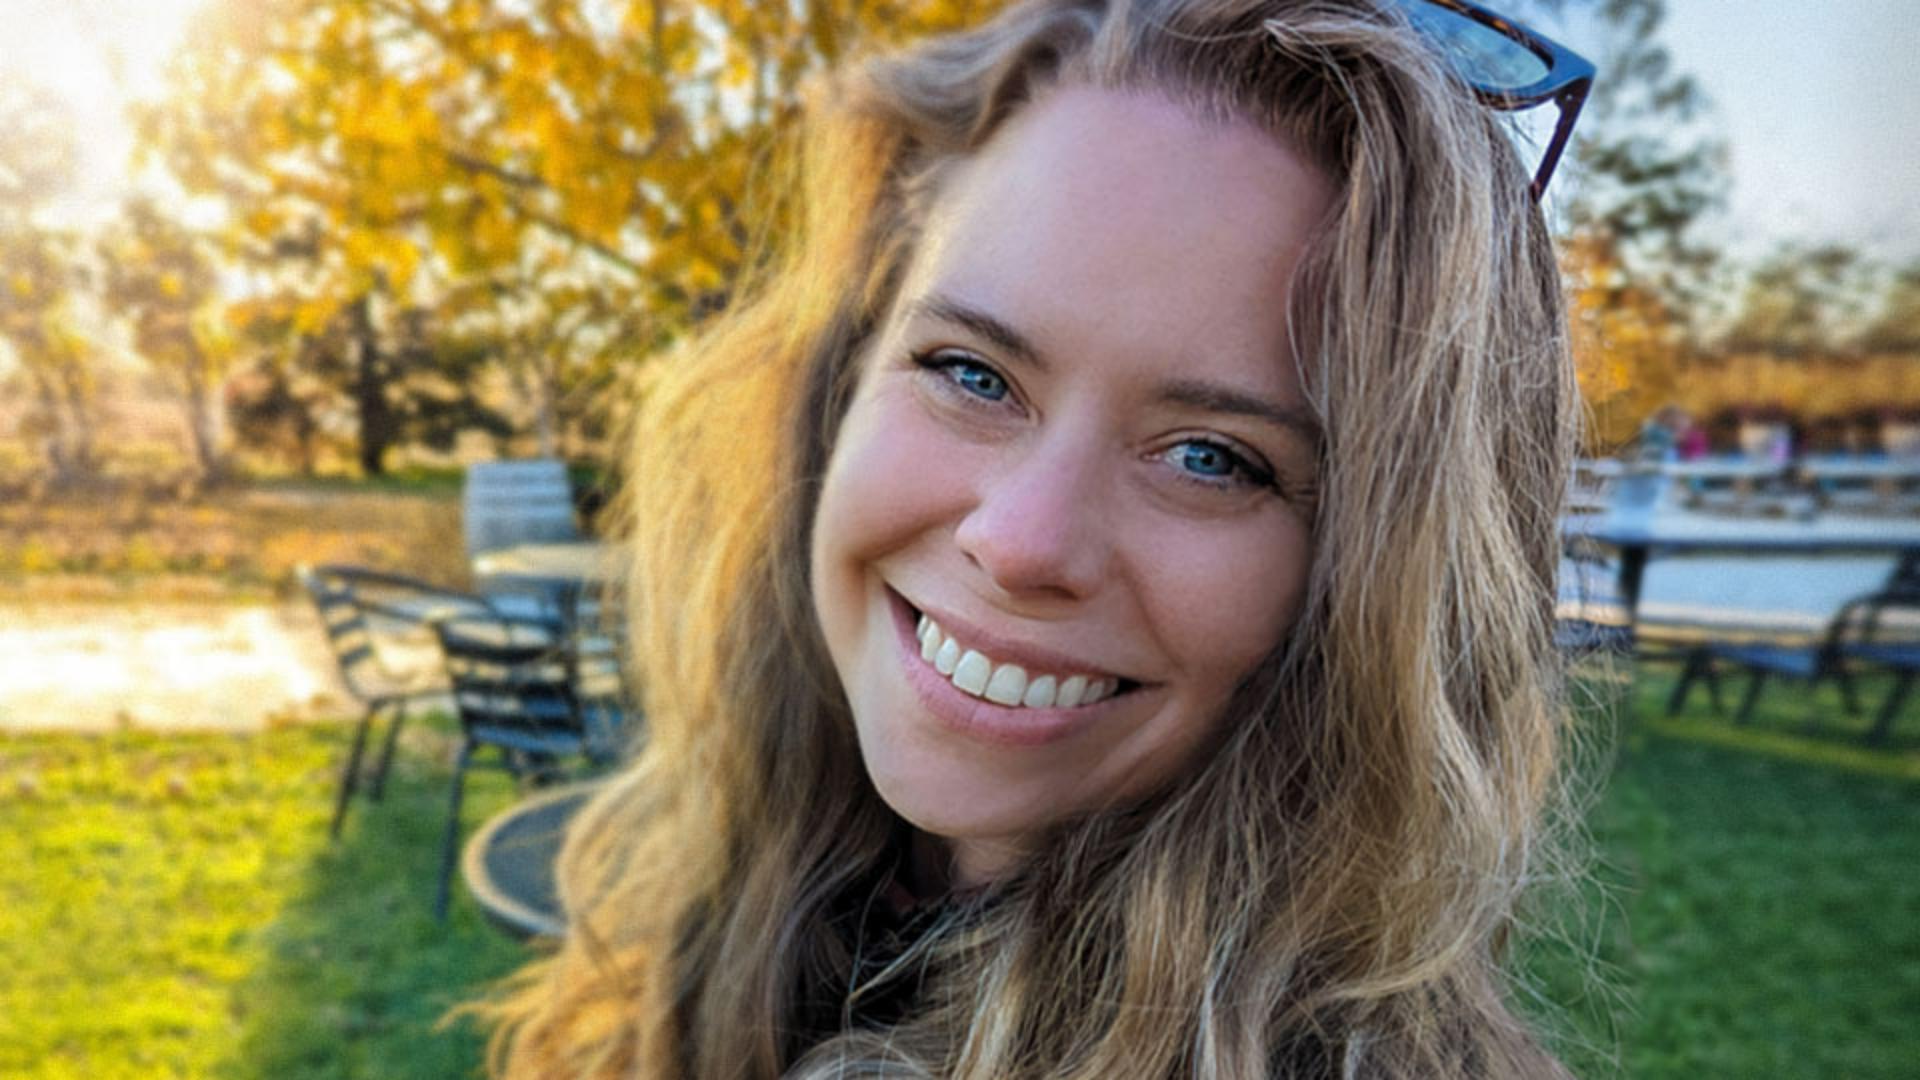
This is a fantastic portrait.
Unfortunately, the flyaway hairs over her face are very distracting and take a lot away from an otherwise great photo.
My name is Jesús Ramirez.
And in the next few minutes, I'll show you how to remove unwanted content from your photos with just a few clicks.
For this image, we will use the Spot Healing Brush Tool.
Choosing the spot healing brush for small distractions
The one-click solution for removing small blemishes and other unwanted elements.
Photoshop has several powerful tools to remove content from photos, but they all work slightly different and have unique strengths.
In this image, the flyaway hairs are small and thin and they do not cover areas with a lot of detail.
No need for a tool with high precision.
Start by enabling the Spot Healing Brush Tool from the Toolbar or press the J key on the keyboard.
I'm a big fan of keyboard shortcuts.
I recommend using them if you feel comfortable.
Before you make any adjustments,
Setting up a non-destructive retouching workflow
Click on the New Layer icon in the Layers panel to create a new layer.
This new layer will contain all your changes without permanently altering the original photo.
This non-destructive workflow allows you to edit and experiment without committing to the adjustments.
You can always return to the original image if you don't like the changes you've made.
To ensure the Spot Healing Brush Tool works with the content on multiple layers, go to the Options bar and check Sample All Layers.
Then set the Type option to Content-Aware.
Next, resize your brush, make it slightly larger than the flyaway hair.
You can do so from the Brush Settings in the Options bar.
From here, drag the Size slider to the left.
However, I prefer to decrease or increase the brush size by tapping on the left or right bracket keys.
Those are the keys to the right of the letter P in North American keyboards.
If you use the keyboard shortcut, you can place the cursor over the flyaway hair to get the perfect brush size.
If you can't see your brush tip, and instead you see a Target icon, then tap on the Caps Lock key to disable the Precise Brush Tip mode.
Now, you can simply click and drag over your image
Removing flyaway hairs with controlled brush strokes
to remove the flyaway hairs.
I prefer to keep my brush strokes short.
It gives me more control.
Also, remember you can always resize the brush tip as you paint by using the bracket keys.
If you make a mistake, press Control Z on Windows or Command Z on the Mac to undo, and try again.
In a complex area like her eyebrow, try making the brush smaller.
This will keep the healing adjustment just in the flyaway hair.
And continue painting until the flyaway hair is gone.
This looks fantastic.
Click on this layer's Eye icon from the Layers panel to compare the original photo against your edited version.
Although this tool is designed for small imperfections, you can still use it on slightly larger objects, especially on objects around areas without a lot of recognizable detail.
For example, the armrest of the chair on the bottom left.
Using spot healing on slightly larger objects
To remove it, make your brush tip larger.
Again, I will use the keyboard shortcut, tapping on the right bracket key.
And click and drag to remove the armrest.
It may require a few tries.
Once you get close to the edge near her arm, make the brush tip smaller by tapping on the left bracket key and continue painting.
Make sure not to go over the edge.
Again, Photoshop does a fantastic job.
Now, that you know how the Spot Healing Brush Tool works,
Reviewing results and next steps
try removing other distracting elements from your photos.