Introduction
[Stefan Gruenwedel]: Hi, my name is Stefan Gruenwedel.
I'm an instructor on the Adobe Learn team.
In this video, I'm going to show you the basics of Color mode - the brand-new system for color grading that's right inside Adobe Premiere.
To switch to Color mode,
Navigate Color mode and its heads-up displays
click the Color tab at the top of the screen.
The first thing you'll notice is the generous space devoted to the Program monitor in the middle of the screen.
The Clip grid on the right displays each clip in the Timeline.
You can view them in a single column or as a grid.
At the bottom are the various controls for Color & Contrast, Color Shift, and Detail.
As you click each control, a different heads-up display or HUD, will appear.
These displays show you what you're doing as you work, and they go away when you don't need them.
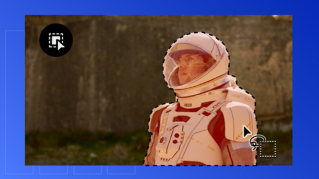
Click once in a color control to display its HUD.
Adjust color, contrast, shift, and details
Your mouse movements will then be constrained to adjust only that control.
You don't have to hold the mouse button down, either.
Just drag the mouse up and down to adjust one parameter, then drag it sideways to adjust another.
Click again to close the HUD and restore the mouse to normal control.
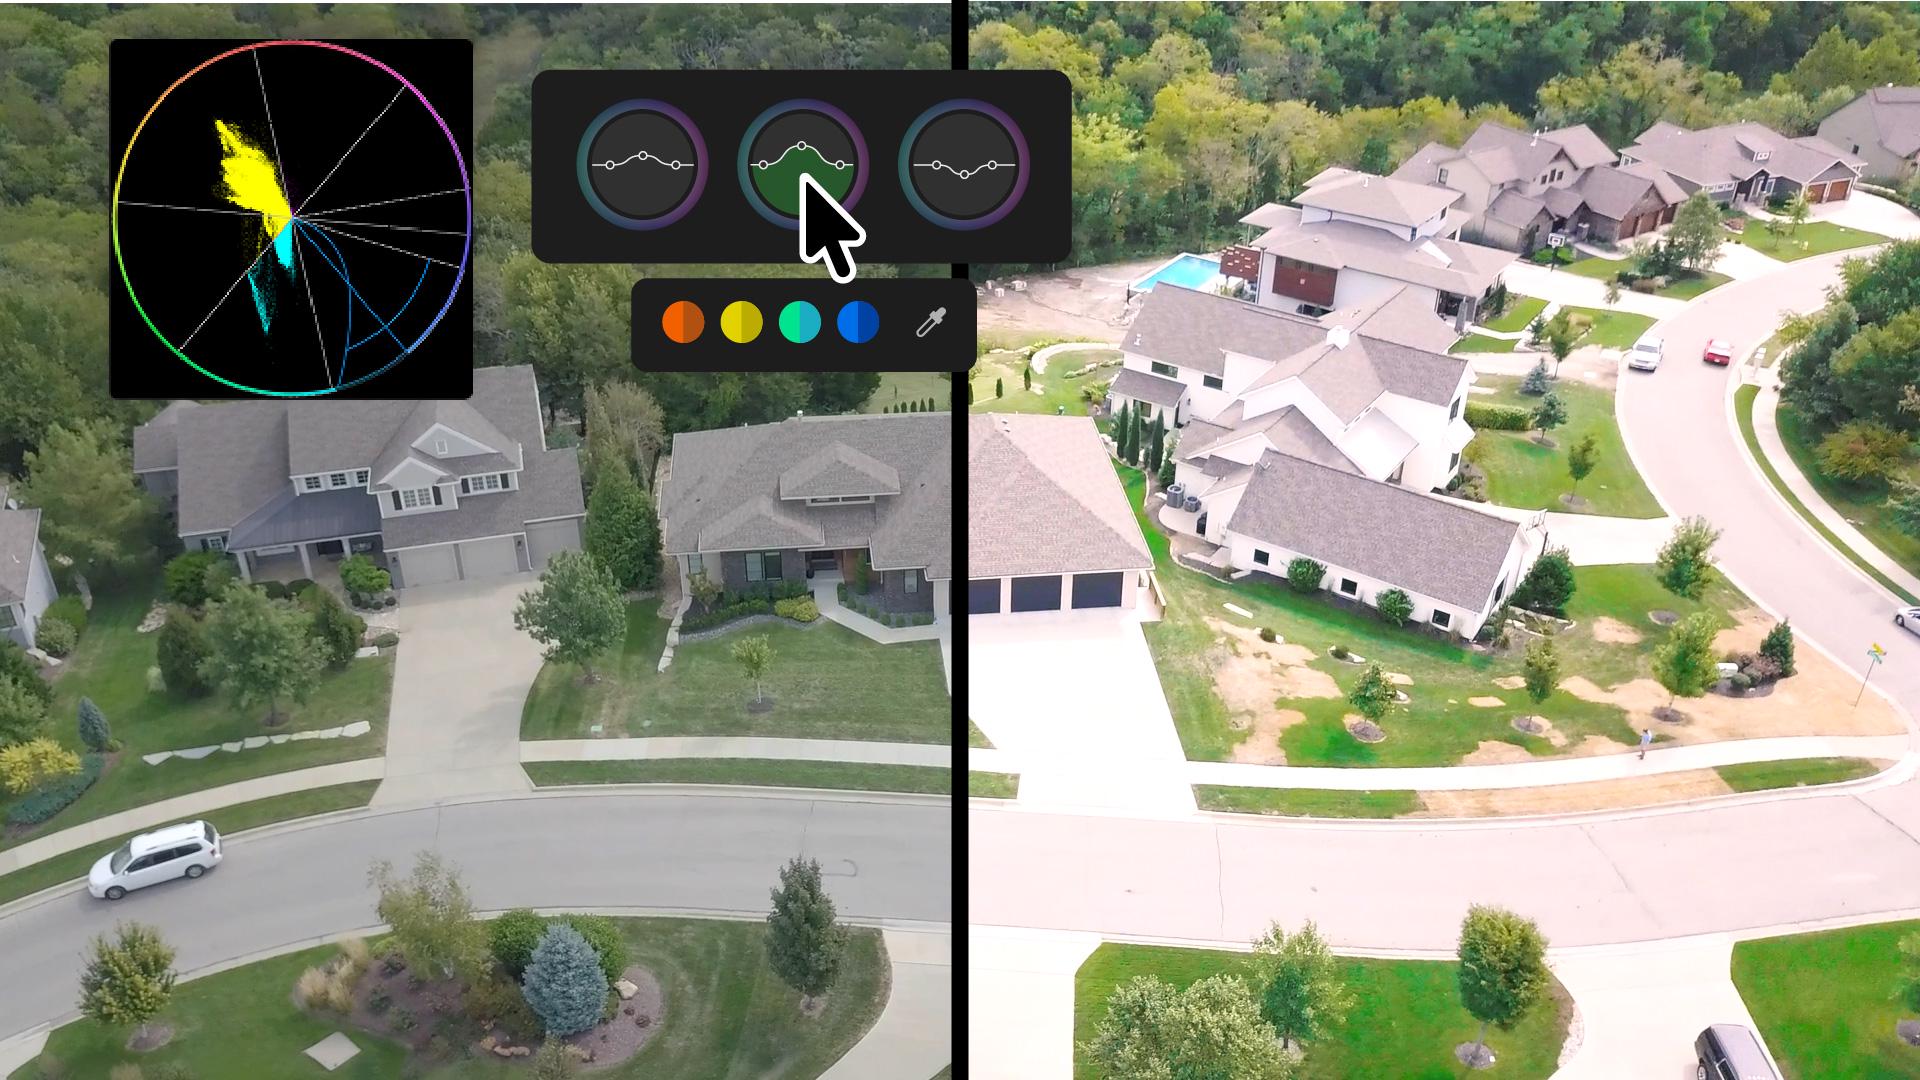
To know what mouse direction does what, hover over Contrast.
You'll see a popup that says Contrast changes are vertical while Pivot is horizontal.
Pivot determines which part of the image is affected by the contrast adjustments you make.
Hover over Exposure, and you'll see that vertical mouse movements control the Exposure, while horizontal movements control the Black Level.
Hover over Temperature, and you'll see that Temperature adjustments go up and down, while side-to-side movements affect the Tint.
Play with each control group to get the hang of it.
The changes are non-destructive, and you can always click Reset to return things to where they were before.
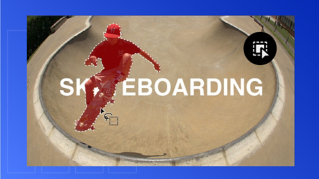
Color Shift autosamples the clip you see in the Program monitor and extracts its dominant hues, as you can see from the Hue swatches below the controls.
As you click different clips in the Clip grid, you'll see the swatches change.
Click a swatch to adjust the Hue and Saturation of that color range.
Finally, the Detail controls affect the clip's Texture and Sharpness.
So far, I've shown clip-level adjustments.
Select Sequence and choose a Style Preset.
Use presets and groups to work efficiently
Presets affect the entire sequence.
Pick a Cinematic style to give the project a cinematic look.
After applying that style, you can finesse it.
For example, click into the Contrast Kit to adjust the contrast - up and down and midpoint left and right.
You can also adjust a range of clips.
Shift-select some clips in the Clip grid.
You'll see that selection now appears between Clip and Sequence.
Now you can add an adjustment to that selection.
See this little number?
This indicates how many clips are included in the selection.
See how the available color controls change based on what you select - for example Clip, Group, and Sequence.
Right-click a group adjustment to rename it, duplicate it, delete it, or reset it.
Copying a group adjustment to another clip is as simple as dragging it to the Clip grid.
The little number updates by one to indicate that you added a clip to the group.
When you copy a clip adjustment to another clip, you can only paste those parameters that match.
For example, if you Copy an Exposure adjustment, you can paste it as an Exposure adjustment.
But Paste will sensibly be unavailable if the control isn't Exposure.
When you're all done, go back to editing your project by clicking the Edit tab.
That's the basics of the new Color mode.
Try it out for yourself.
We've provided you with some sample files for you to practice with.
I highly recommend that you learn as much as you can from the heads-up displays.
The more you work with them, the greater understanding you'll have of what controls what and how the various color grading controls affect the clips in your project.
Thanks for watching.