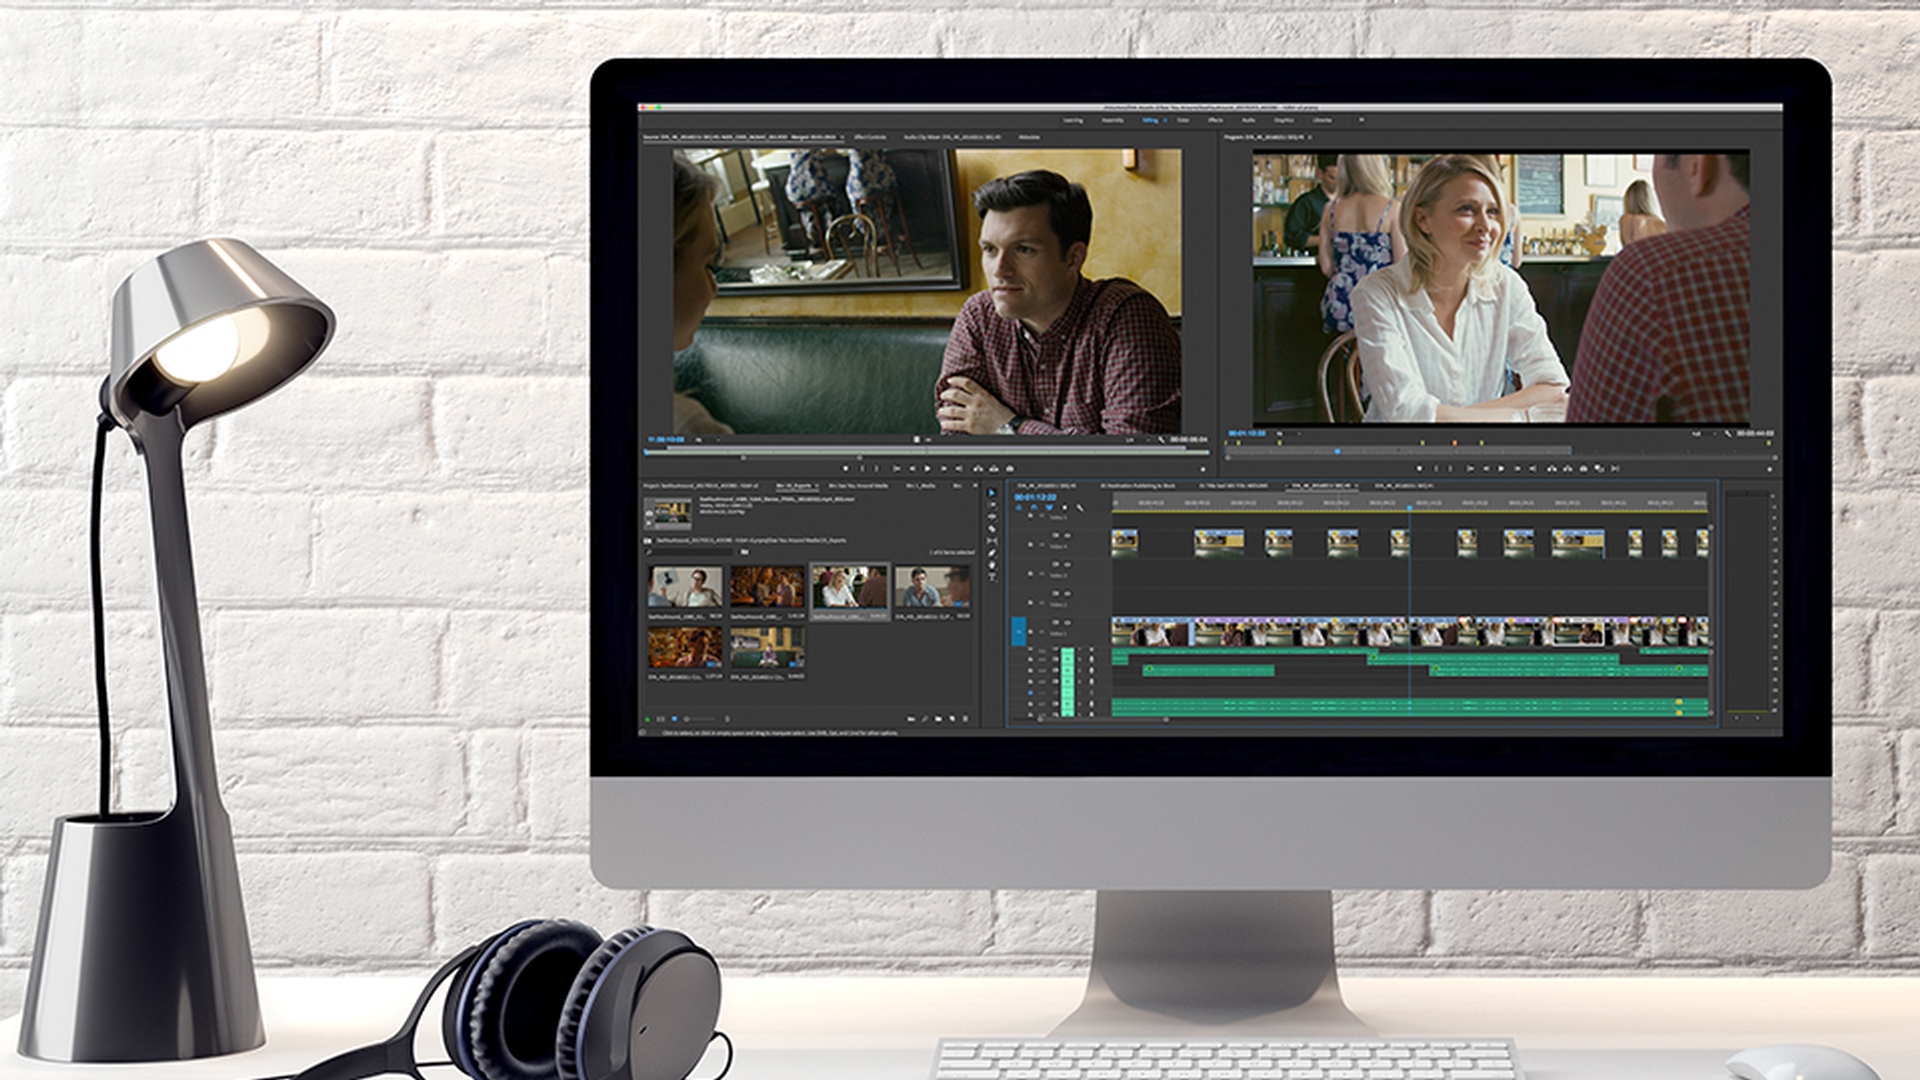
Exporting a sequence from Adobe Premiere Pro CC can be as simple as selecting a sequence I'm working with a scene here from the film, "See You Around." adding in and out marks if you want to export just a part of it. choosing File, Export, Media... or pressing Control M or Command M.
Choosing a Format and a Preset, selecting a file name, and location, and clicking Export.
The presets are carefully configured to give you a dependable quality for your output.
You can also choose to only Export Video or Export Audio.
Before we really get into the Export Settings dialog, I'd like to mention the Sequence Settings.
I'm going to Cancel out of here and I'm going to go to my sequence Menu and choose Sequence Settings...
A sequence has format settings, just as a media file does.
Whenever you add clips to a sequence, they will automatically be conformed to match these settings.
That is whatever their original frame rate, frame size, and so on.
They will be adjusted to match these Sequence Settings.
So, now let's export this sequence and it's worth noting that when you're exporting a sequence, rather than a clip, which you can also do, the sequence is the source, and we can see the settings for this sequence here in the middle of this dialog.
This information is helpful, because it gives you a quick way to compare your sequence format to your output format, and if at any time your Output differs from your Source, there's the potential for quality loss, so you'll generally want these to match.
I should mention, it's normal to choose options in this dialog based on a deliverable specification provided to you by your client.
All of the major broadcast tv stations, for example, have specifications for media delivery.
So, you don't have to guess the right options to choose.
There are four main areas in the Export Settings dialog separated by thick black lines.
Top left, we get a preview of our Output and the option to crop the output.
Bottom left, we can choose which part of our sequence we will export.
Top right is all of the options that define a new file we're going to create.
Bottom right, we have some standard options to do with encoding in general, like setting a new start time code and the way to render frame rate differences, if you're outputting to a format that differs from your sequence.
So, let's start at the top.
This Match Sequence Settings option will produce a file that matches your current render settings.
It's useful for many workflows, but not usually what you'll choose when exporting, because you'll usually have a specific file type in mind.
So, I'll turn this off.
Use the Format menu to choose a category of media file type.
There are industry standard options; including AS-11, up to 12-bit DPX, and QuickTime.
I'll choose H 264 as a popular illustrative example.
QuickTime movies are well established as a delivery format, but if you're producing content for online distribution, you're likely to find H 264 is the most commonly requested file type.
For a Preset, I'm going to choose YouTube 1080p HD.
I'm going to click on the Output Name and I'll give this a simple name, something like "Final Output," and click Save.
After our summary we have several important tabs. each with settings that will change the output.
If you use a preset, these are all set appropriately for the preset already, but there are some interesting additional options you might choose.
I'm going to start with the Video tab.
This lets you specify the Width and the Height, Frame Rate, and so on for your media.
If you click Match Source at the top the output will be set automatically based on your sequence and further down, at the bottom of this list.
There are some options specific to the chosen format.
The Audio tab has similar standard options for audio output.
And again, there are some settings specific to the chosen format.
Not every format includes Multiplexer options, which sets the way audio and video are combined in the finished file, and if your sequence has captions you can set the way they're combined with the output in the Captions tab.
The Publish tab offers several ways to automate publishing your work on social media platforms; including Adobe Stock.
And the Effects tab offers quite a list of adjustments, overlays, and ways to tune your output.
Some of these are functional like the Video Limiter, which keeps levels below a threshold you set to be absolutely sure your output meets the deliverable limits.
And some are more artistic, like applying Lumetri Look / LUT.
If you save a preset all of the settings on the times are included, which is great if you want to create a workflow for standard output.
Now that I've set my image format, I'm seeing the result in the Output tab.
This media has some built in letterboxing, which are these black lines at the top and bottom.
I can fix that by going to the Source tab and turning on the Crop Option.
And I can adjust the crop either with the numbers up here at the top, or by dragging.
I'm going to overdo this, so you can see the result here in the Output tab, where I can choose the way the aspect ratio for my newly cropped source will fit into the output aspect ratio.
For now, I'm going to turn off the crop and leave things as they are.
Down at the bottom of the Export Settings dialog, I have the option to specify the part of the sequence that's going to be exported.
If you add In and Out marks. they are used by default, and if you don't you'll get the entire contents of the sequence.
You can overwrite the In and Out marks that you've added here, by dragging the start and end of the part of the sequence you want to export.
You'll notice my Source Range is updated here in the menu to Custom.
I'm going to use this menu to go back to exporting the entire sequence.
It's a really good idea to export a short section of your sequence to check that you are happy with the result, before you export the entire sequence; particularly if it's a longer sequence.
When you're ready, click Export to create the file.
If you click Queue, Adobe Media Encoder CC will launch and perform the encoding in the background, so you can carry on editing while the new media file is being created.
Media Encoder CC allows you to batch and code jobs, rather than outputting one job at a time.
I'm going to check the box to import the finished file into Premiere Pro CC, so I can view it right away and click Export to perform encoding right out of Premiere Pro CC.
Exporting directly this way uses all of your system resources to output the file as quickly as possible.
And now, I'll go back to my Project panel.
And here's my output.
I can double click to open this in the Source Monitor, or I can right click and choose Reveal in Explorer..., that would be Finder on Mac OS and see the file that was just created.


