We can use the same VR Effects used for Monoscopic footage on Stereoscopic - Over/Under footage.
In Premier Pro, apply a VR effect to your stereoscopic 360 footage.
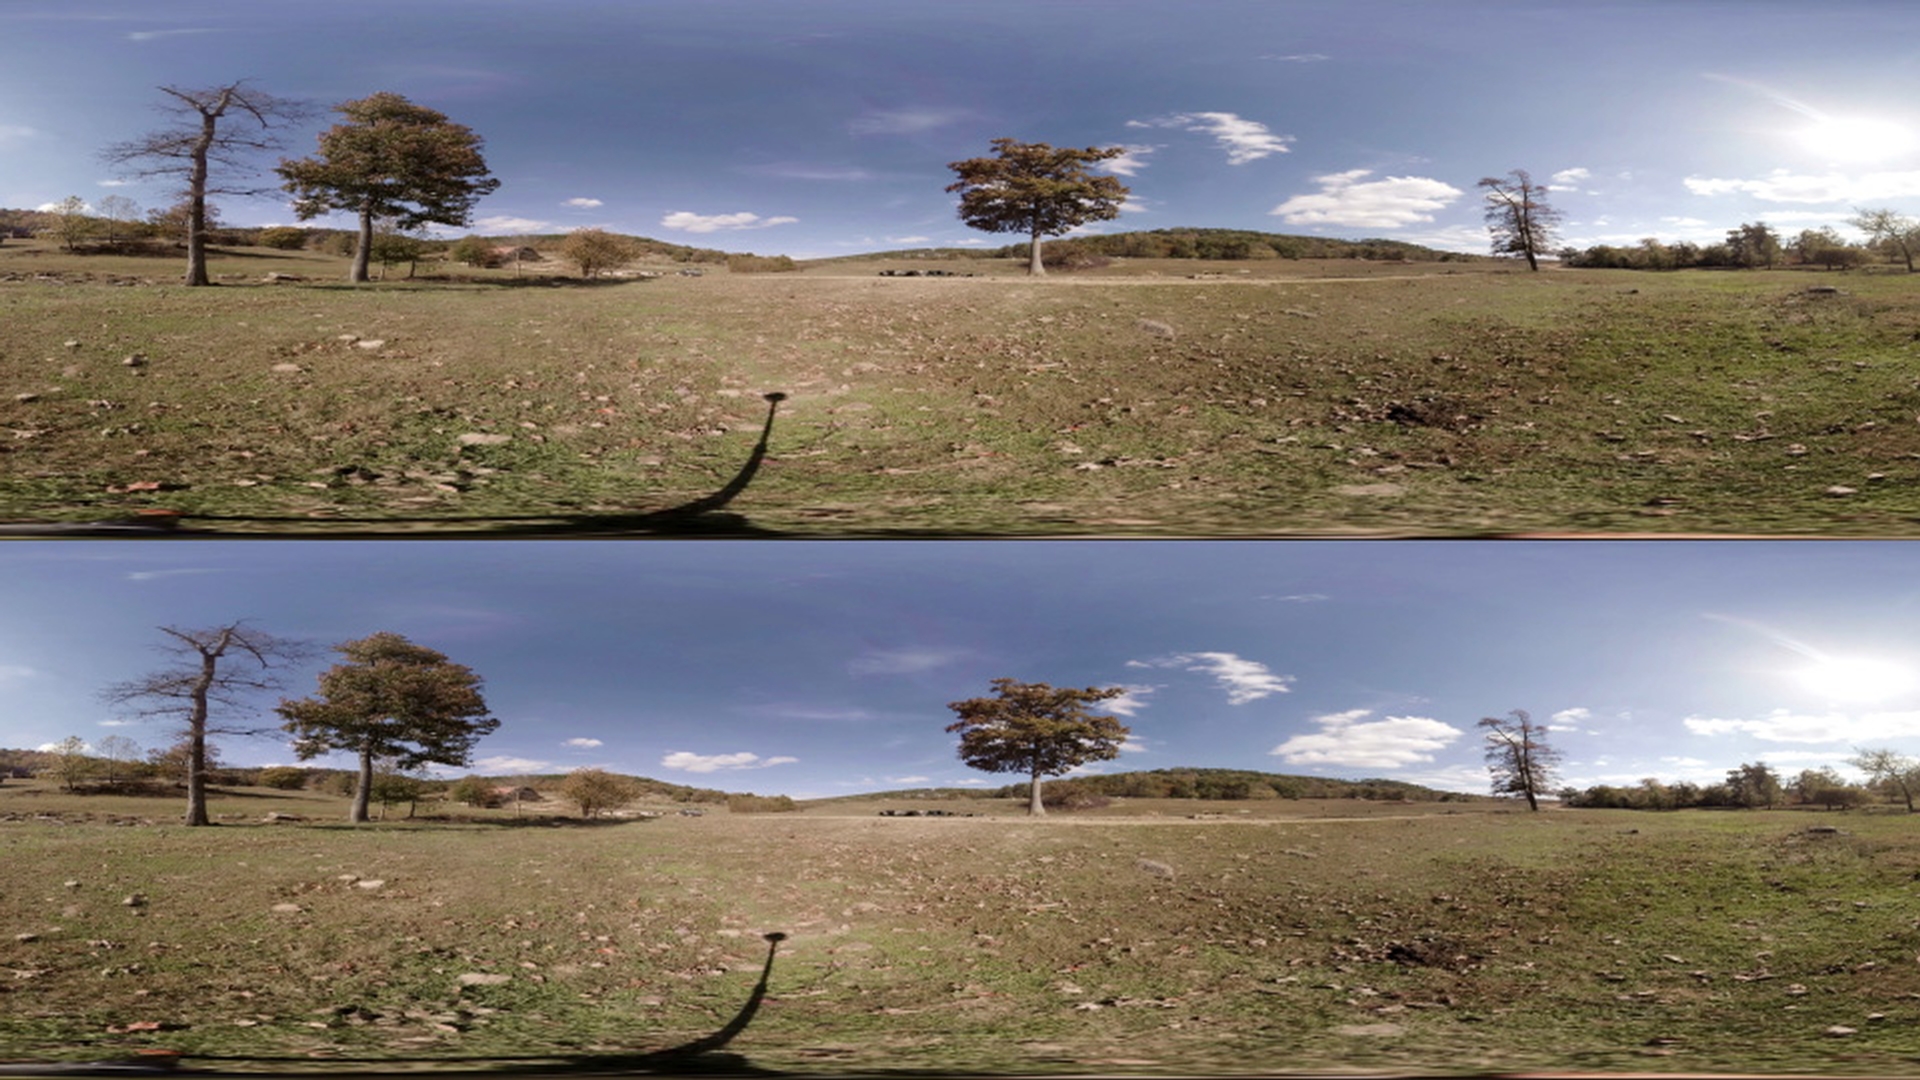
Then navigate to the Effect Controls for that clip and change the Frame Layout from Monoscopic to Stereoscopic - Over/Under.
You can then adjust settings and see the changes reflected on the Over/Under Views I'm going to go ahead and delete that VR effect.
You can also apply stereo graphics using the VR Plane to Sphere effect.
Add your logo into the sequence.
Then apply the VR Plane to Sphere effect to that logo.
Under the Effect Controls change the Frame Layout from Monoscopic to Stereoscopic - Over/Under.
You'll now see two versions of the logo, one for each layer, in the Over and the Under.
You can also adjust the Stereo Disparity for the logo which will help give your logo more of a 3D appearance; matching with the rest of your stereo footage.
When the Stereo Disparity is at 0. it's as if your logo is being projected at infinity, so there is zero parallax difference between the right eye and the left eye.
As you increase the disparity you'll start to notice the logos each move in the opposite direction.
This creates a 3D effect in VR.
Be careful not to push the disparity too far.
The maximum value is 45.
Which is quite a large disparity for each eye.
This will make the logo seem very close to the viewer when they watch it in VR.
Think of it like holding up a pencil in front of your face.
Then close one eye.
Then close the opposite eye and view the pencil with the other eye.
You'll notice the pencil shifts in your view.
This is the same thing happening when we adjust the Stereo Disparity.
Again, you're still able to change all the other options here, such as Rotate Source and Rotate Projection, when you're working with Stereoscopic - Over/Under footage.
You have the same stereo options available to you in After Effects CC.
You'll see as I apply the VR Plane to Sphere effect to a logo.
Under the Effect Controls up here under Frame Layout.
I can just select Stereoscopic - Over/Under and again I have the same stereo options available here such as Stereo Disparity.


