For this tutorial I'm using the Looping Animated Backgrounds.prproj file.
You can find that project file with the media associated with this tutorial.
Just double click on the project file to open it in Premiere Pro CC.
In Premiere Pro CC, I'm using the Effects workspace and you can reset that workspace by clicking on the Panel menu and choosing Reset to Saved Layout.
I’ve got a sequence here that contains just a graphic which animates on screen but there's nothing behind it and I want to have a background.
I'll just play this, so you can see there's our simple animation and though you can't see that the background to the Timeline is transparent because by default it comes through as black.
If I click on the Settings menu here in the Program monitor I can turn on the Transparency Grid and you can see what's going on more clearly.
I'll just turn that off for now and let's see if we can generate a background that'll be a little more interesting.
I'm going to begin by creating a black color matte.
So, I'll just resize the Project panel a little here, so we can see all of the buttons at the bottom of the panel.
I'm going to click on the New Item menu and I'm going to choose Color Matte.
By default, the New Color Matte will be based on the current Sequence settings.
So, we've got the Width and Height and Timebase and so on set correctly.
I'll click OK.
We can choose a color with the standard Color Picker and I'll click OK again because I'm happy with black.
I'll type in the name Background and click OK.
And here is our background color matte in the Project panel.
Color mattes in Premiere Pro CC work the same way as any kind of graphic.
So, if I drag this into my sequence on the Video 1 track under the graphic, well of course, you're not going to see anything because it's a black color matte and there's a black background.
Rather than trim the background right the way out to the duration of the graphic, instead we're going to apply a looping effect, so we can duplicate the graphic and use it again and again in multiple sequences and keep the timing of the loop.
So, I'm going to set a specific duration instead.
I'm going to right click on the Background and I'm going to choose Speed/Duration...
I'm going to make sure the chain link is off between the Speed control and the Duration.
Because this is a graphic the Speed option has grayed out anyway but still I'm going to click into the Duration box and I'm going to type in 1000.
I don't need any punctuation because Premier Pro CC is going to put that in for me automatically.
If I just click away from the box you can see now this is 00:00:10:00 and I'll click OK and there's our 10 second Background clip which is just a black color matte.
I'm also going to turn off visibility for Video 2, so we can see what we're working on more clearly and I'll resize this a little bit, so we get a thumbnail.
Now, I'll position the playhead at the very beginning of the sequence and over in my Effects panel I'm going to search for the Cell Pattern effect.
I'm just typing in 'cell' in the search box.
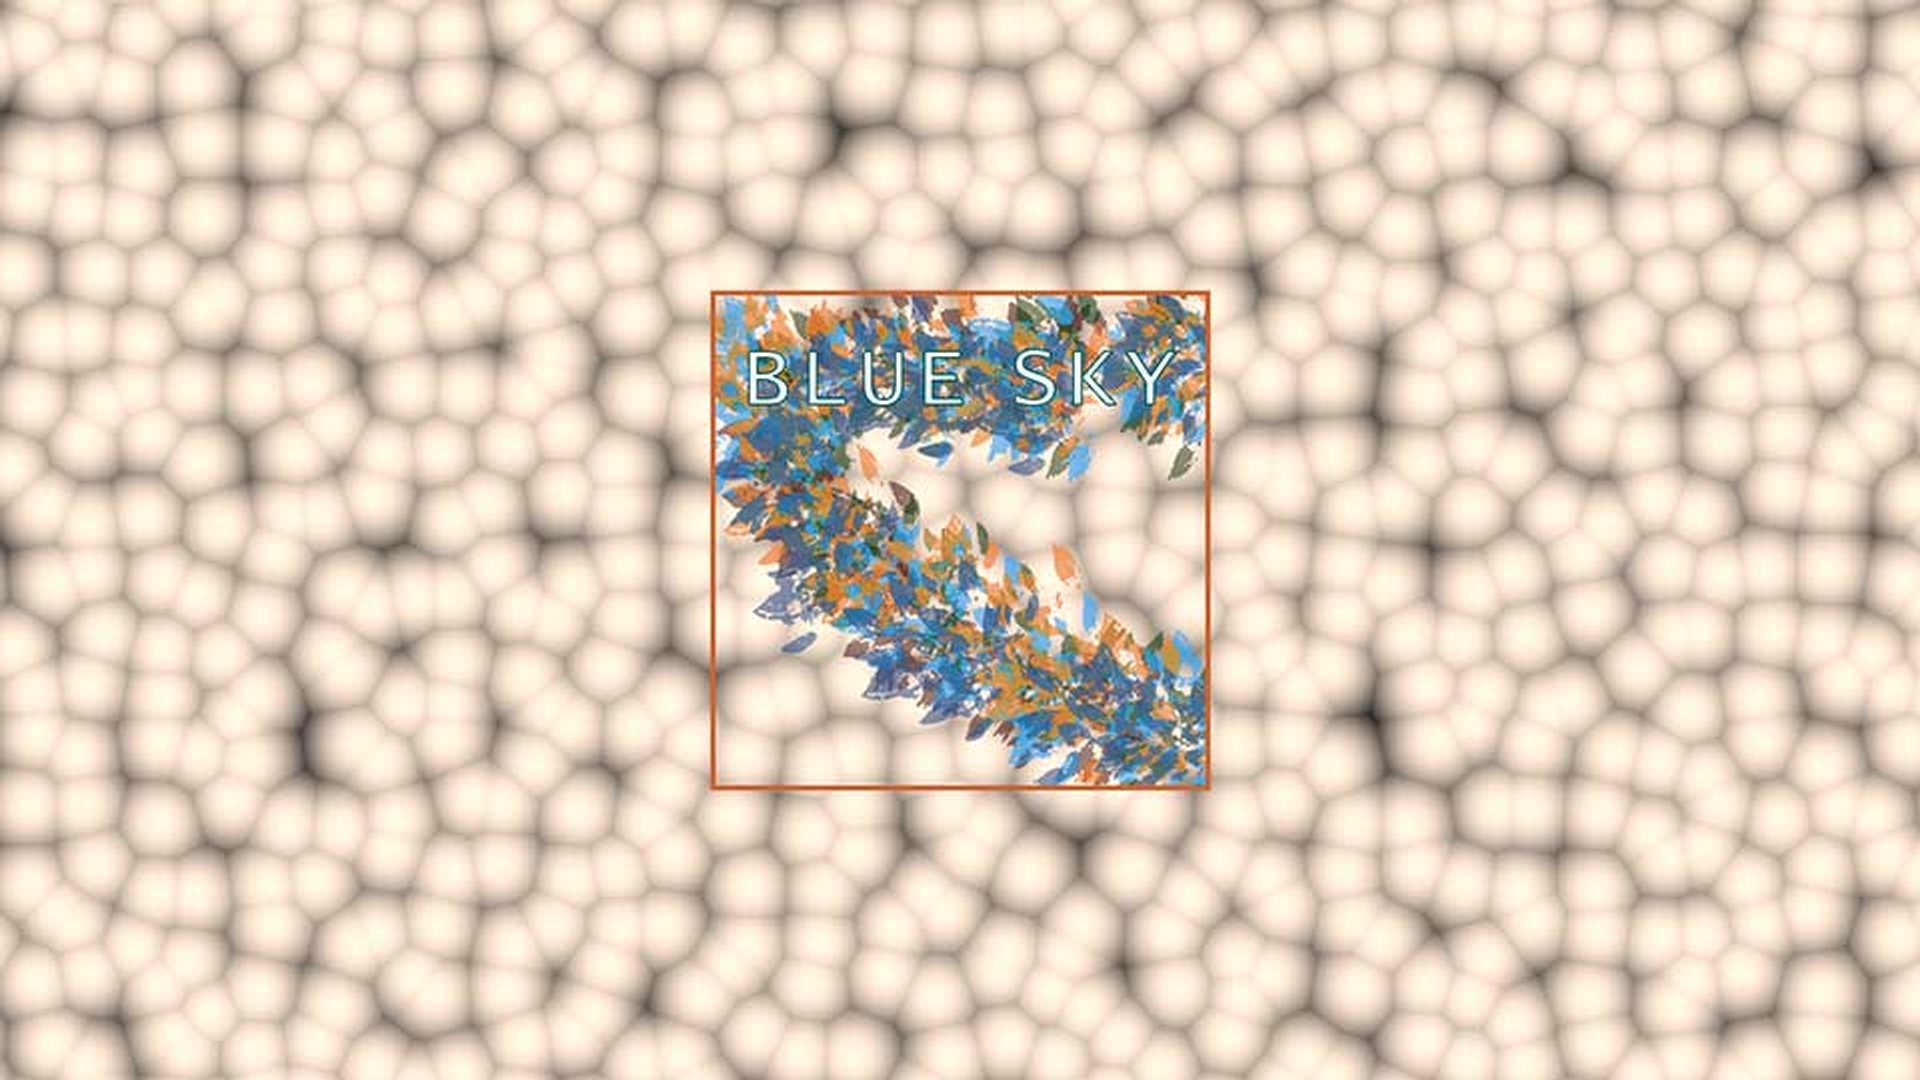
I'll drag this onto the clip and immediately you can see we've got this very interesting cellular pattern.
If I play the sequence a little you can see that actually the Cell Pattern is not animating at all.
It's a static image.
I’ll just stop that and reposition my playhead at the beginning of the clip.
The Cell Pattern effect has quite a few options and I think the best way to learn how to use this effect is to work your way through them and just drag them from one end to the other.
Here for example, if I drag the Contrast all the way down, you can see we got a completely grey image and if I drag it all the way up I get a much stronger black and white effect.
I am going to reset that, and the control I'm really interested in is this one, Evolution.
I'm going to turn on Animation for this control and this is going to add a keyframe.
You can just about see here at the beginning of the little mini Timeline inside the Effect Controls panel.
Now I'm going to make sure the Timeline panel is active, and I've just clicked on it once and I'm going to press the down arrow to move to the end of this Background clip.
In fact, what I've really done is I've moved to the frame just after it.
The down arrow and up arrow will always move you to the first frame of the clip, not the last frame.
In this case, there is no clip after the background color matte, so we're just at the beginning of the blank space.
However, we still have the Background clip selected.
So, if I add a keyframe it's actually going to be applied to this Background clip even though it's beyond the end of the clip.
And this is important because it allows for more advanced animation options.
Let me scroll down just a little bit here, so I can expand the Evolution options.
There we go, little bit more.
And I'm going to set the number of Evolutions to 6 and I'm going to type an x.
This is six times.
I’ll press Enter here and you can see that's come up, that's six full evolutions on that last keyframe.
These evolutions are changes to the Pattern effect.
We're going to turn on Cycle Evolution so that it loops, and we want the number of Cycles to align with the number of Evolutions, so that we can loop the clip cleanly.
I’m going to choose 2 because 2 goes evenly into 6.
Now, because we've got a clean number of Evolutions and Cycles in this effect on that last keyframe, the clip is actually going to end up looking the same at the end as it does at the beginning.
I'll just drag back a little bit, so you can see this, and I'll play a little of the effect.
It's a very interesting result.
Now that we have a perfectly looping clip we can begin to duplicate it.
I'm going to hold the Alt key here on Windows, this would be the Option key on Mac OS and drag the clip along on the Timeline until it snaps into position, so it perfectly aligns with the previous copy of the clip.
I'm going to do that again.
I'm holding down Alt or Option, creating a copy, release the Alt key and snap back and the graphic happens to be exactly 30 seconds, so we've got a perfectly aligned background to our foreground graphic.
Now let's add a color change.
Again, I'm going to position my playhead at the beginning of the sequence.
I'm going to select the first instance of this Background clip and I'm going to switch over to our Color workspace and I'll just reset that workspace to be on the safe side.
And here in the Lumetri Color panel I'll expand the Basic Correction and I'll just pull this over towards the blue.
I'm being pretty lazy here, but you can see the result.
I'm going to go to my Effect Controls panel, I'm going to make sure I've got this Background layer selected.
Let’s collapse the Cell Pattern settings for a moment, expand the Basic Correction for the Lumetri Color effect and remember the controls you see here in the Effect Controls panel are literally the same ones as the ones you can access quickly in the Lumetri Color panel.
Here's my Temperature setting that I've just modified and I'm going to turn on Animation for that setting.
We've now got a keyframe at the beginning of the clip.
Back in the Timeline panel, I’m just clicking to make it active.
I'm going to press the down arrow once and I've got a problem because when you switch to the Color workspace Premiere Pro CC automatically enables this option under the Sequence menu, Selection Follows Playhead.
By pressing the down arrow I've moved the playhead on to the next clip.
Of course, that means we've selected the next clip, but that's okay.
I'll just select the first clip again.
Our playhead is still in position and I'm going to click to add a keyframe for this Temperature control.
So, we've got the same setting at the beginning and end of the clip and I can go to the middle of the clip.
I'm just doing this approximately and I'll warm up that color Temperature.
Let's push this over to the orange.
Now, as I scrub through here you can see we're going blue - orange - blue and we're back to the original uncolored version straight after that.
I'm going to remove these copies.
I'm hitting the Backspace key here.
I'll take this original which now has the color effect on it and I’ll drag this, snap it into position, I’ll drag, snap it into position.
Now because again with the Color Temperature adjustment I set the keyframes to be just after the end of the clip which happens to align with the very beginning of the next clip.
We're going to have beautifully looping color and all of the Cell Pattern effects are going to merge from one into the other.
I'll just turn on visibility for the graphic and I'll play across one of these edits, so you can see the result.
So, we have this seamless join both in the animation of the Cell Pattern and in the animation of the Color.
So, that's how you can create a looping animated background in Adobe Premiere Pro CC.


