Introduction
[Dave Ko]: Hey, my name is Dave Ko, and I'm a motion designer, and I've been using Adobe Premiere for over 30 years, pretty much since its release.
Premiere has evolved far beyond just editing.
Now, with its AI-powered Object Masking tool, you can create clean masks within seconds - no more rotoscoping, no more leaving into After Effects; you can do it all within Premiere.
Today, I'm going to show you how to track a face blurred out using the Object Masking tool.
So, let's get started.
Open the project file called Blur_Face.
Create a mask over your subject
In your Project panel, you'll see the video clip we'll be working with.
Let's drag that onto your Timeline.
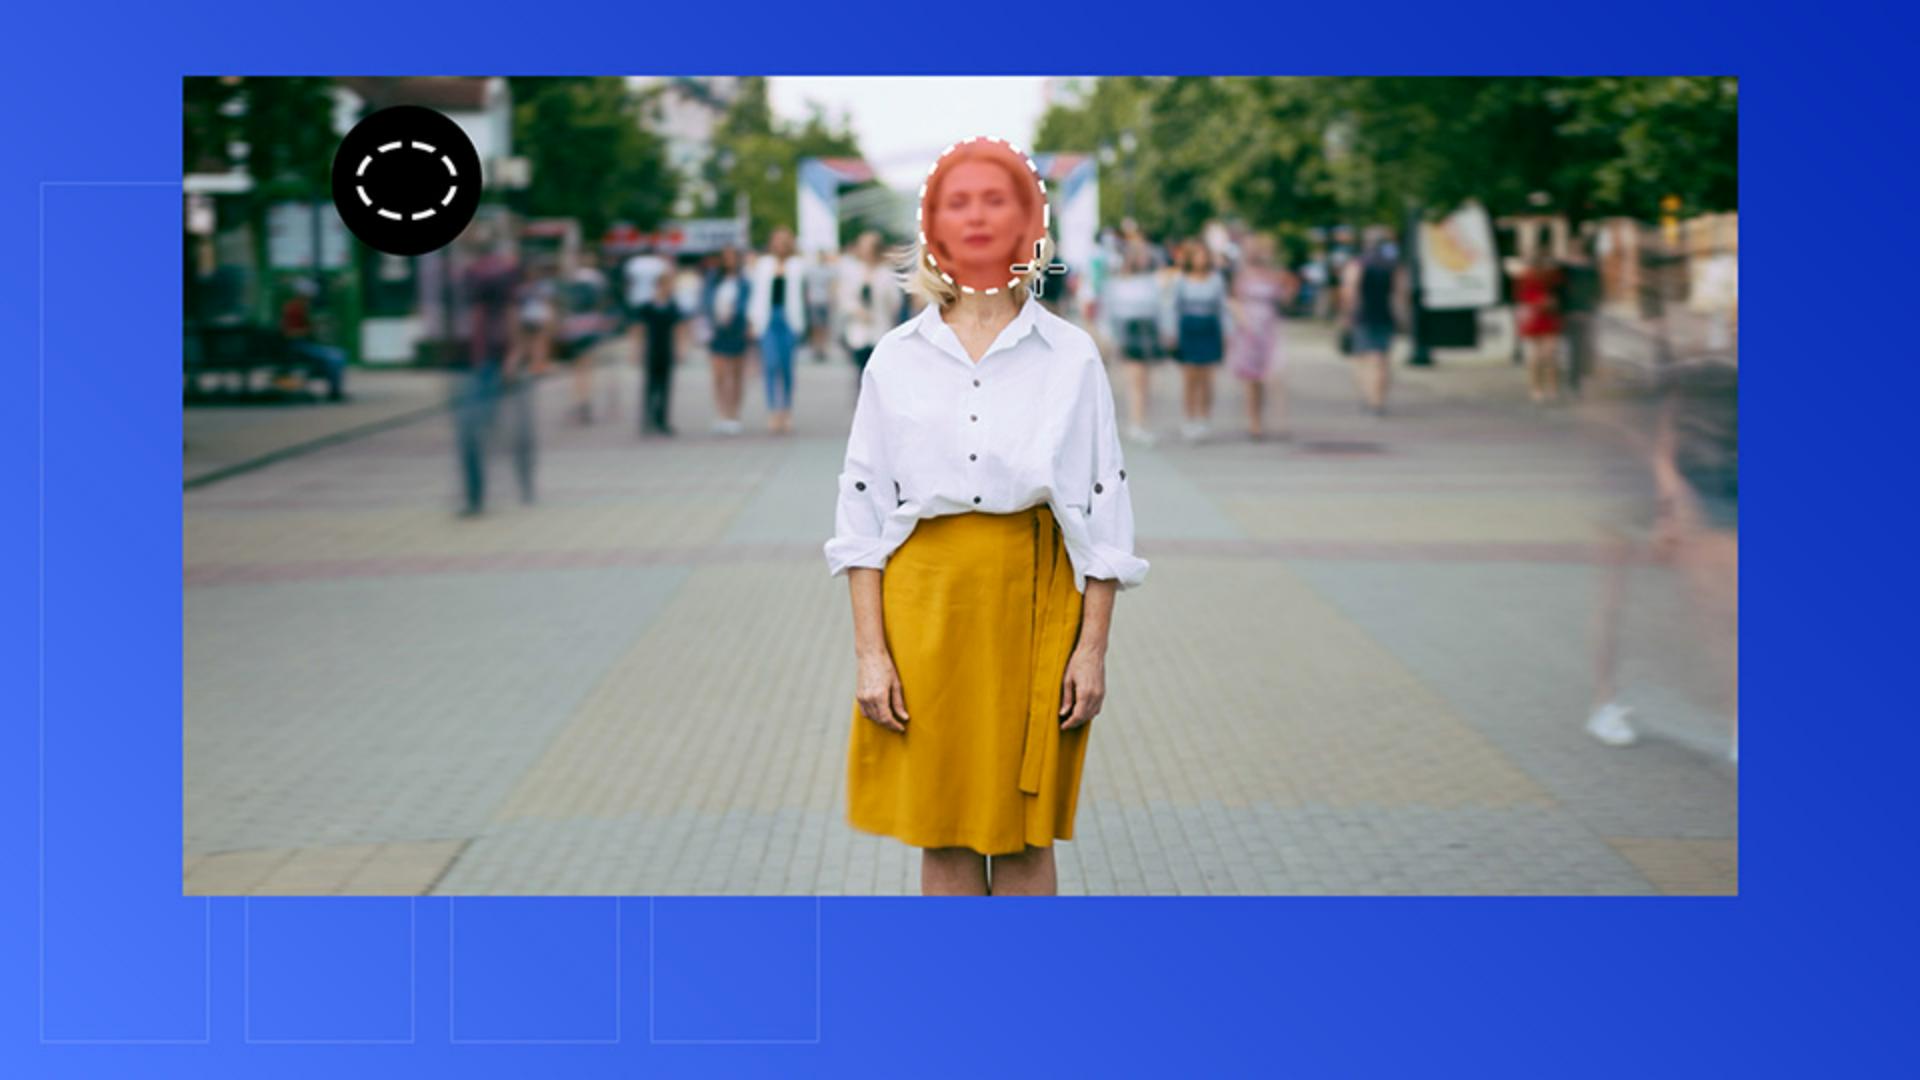
As you scrub through the Timeline, you'll see it's a time-lapse shot of a woman standing in a busy walkway with a subtle camera move.
Our goal is to track her face and apply a blur that blends naturally into the shot.
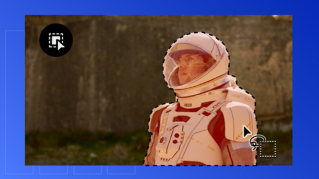
Let's go to the Toolbar and click and hold the Object Masking tool to reveal more options and select the Ellipse Mask tool.
Since her face is roughly oval-shaped, this will give us a great starting point.
Click and drag an ellipse over her face.
Let's just mask to cover her face completely.
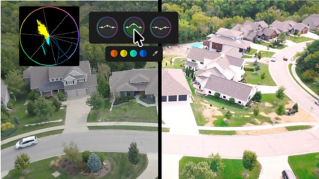
Then grab the Feather controls - the little black dot above the mask - and drag it outward to soften the edges.
Feather it out to the edge of her hair so the blur blends smoothly into the surrounding image.
And once the mask looks good, we'll need to track it.
With the clip selected, go to the Effect Controls panel
Track the mask across the clip
and locate your Ellipse Mask.
You'll see several tracking options there - frame by frame, forward only, backward only, or both directions.
We want to track the entire clip, so let's click the middle button here - Track selected mask forward and backward.
Watch how quickly Premier's AI analyzes the footage and locks the mask onto her face.
Let's scrub through the Timeline, and you'll see how solid this mask tracking is.
Now let's add the blur.
Apply and adjust blur effects
With the Object Mask selected, open the Effects panel.
If you can't find it, go to Window, Effects, search for Gaussian Blur and double-click it.
Because the mask is selected, Premiere automatically nests it under the blur effect.
Let's bump that blur level to about 10.0.
Now we'll animate the reveal of the woman's face.
Animate blur for added control
Move the frame to where you want the blur to begin fading out, and set a keyframe for blur amount; scrub forward a few seconds, we'll set another keyframe and reduce the blur to 0.0.
Now we're ready to play it back.
Just remember to deselect the mask.
Otherwise, your blur is going to be red.
The face starts blurred, then smoothly reveals; the mask is nicely tracked automatically using AI.
And just like that, you've mask-tracked an animated a blur - clean, effortless, and entirely inside of Premiere.
Imagine all the ways you could use this technique to track and blur not just faces, but things like license plates, or to redact parts of documents or sensitive material.
Hope this adds to your growing skillset, and I'll catch you on the next one.