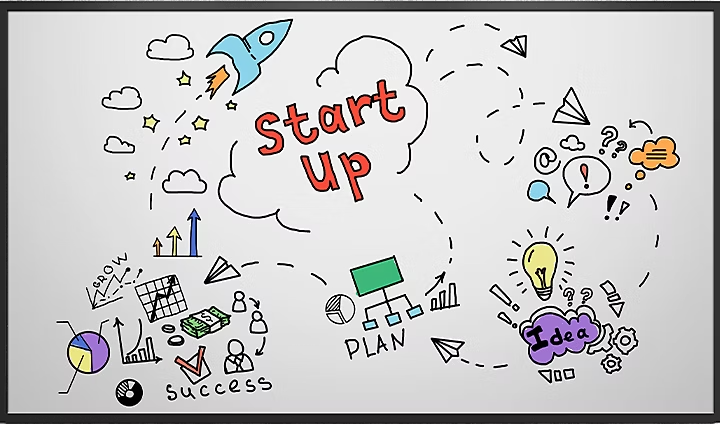
You’ve probably used a dry-erase whiteboard to sketch ideas out during a meeting, illustrate a problem in math class or keep track of your grocery list. But you can also use a whiteboard to create animated videos.
Since the style lends itself well to illustrating complex ideas in a visual way, most whiteboard animations are created as marketing videos or educational explainer videos. The combination of bright, graphic illustrations with an engaging and interesting story instantly grabs attention and can keep both customers and students engaged.
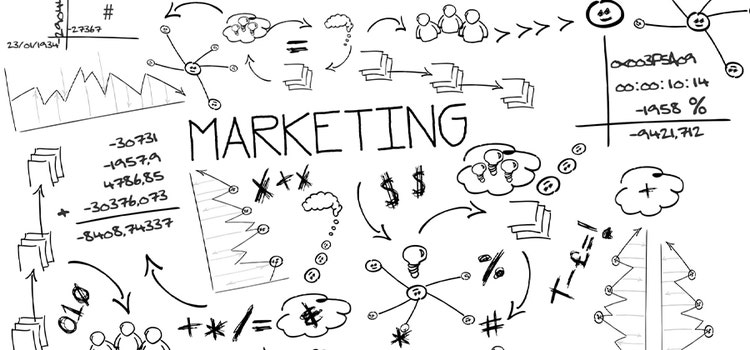
“Whiteboard animation is traditionally done on a dry-erase whiteboard with simple pens. There’s no shading and it’s usually made with very quick line drawings,” explains animator and illustrator Mark Wooding. The videos are often accompanied by a voice-over, explaining the content or narrating the scene.
How to make a great whiteboard animation video.
1. Make an outline for your whiteboard animation video.
The key to a great video is a great script. “The video will only be as successful as the story is. If you want to make a really compelling video, it has to begin with a great script,” says animator and illustrator William Warren. Before jumping in with your pens, focus on the content of your video, what you want to say and how you want to say it.
Most whiteboard videos explain a topic or tell a story. But remember, even dull educational topics can be engaging when presented in the right way. “There’s always a compelling story to tell. It doesn’t matter what your topic is, you can always communicate it well with principles of good storytelling,” explains Warren.
Keep your visuals in mind as you write your whiteboard animation video script. Planning one symbol or illustration for each sentence is a good cadence to keep. “You don’t want to do three drawings in one sentence because that’s too much for the viewer to handle. But you also don’t want one drawing for a paragraph, because then the viewer is left waiting for the next thing,” explains Wooding. Make sure that you read your script out loud as you write. This can help you to plan the pace and tone of your story and make sure the flow feels natural for the final video animation.
2. Create storyboards and decide on an animation style.
Planning and creating your storyboards will help you to decide what imagery should pair with each part of your voice-over. “If you have a great step-by-step storyboard to begin with, the odds are that your final product will be great too,” says Warren.
Plan your drawings for each part of the animation and consider how they’ll work together. “With a whiteboard video, it’s the visual concepts that steal the show. Seeing those visuals come to life gets people’s attention and draws them in,” explains Wooding. Think about what animated characters you want to include. Think about the colours you plan to work with. Consider including some text elements in addition to illustrations. For complex parts of your voice-over, write out certain words to keep viewers engaged.
3. Gather the tools you need.
The next step of the production process is to set up your filming location and get your equipment ready. Whiteboard animations are traditionally done using a dry-erase board, but you can also use foam board or large sheets of white paper. This allows you to experiment with different kinds of pens, but it does eliminate your ability to erase. When you’ve decided on your physical medium, pick a location and set up your lights and camera.
Position the camera above the whiteboard or foam board to get a straight-on view of the illustration you’re creating. Check your hand and camera positioning to make sure you have enough room in the frame to finish your illustrations. And make sure the scene is well lit to avoid casting weird shadows with your hand as you draw.
4. Draw and film your whiteboard video.
Make sure that you warm up your drawing hand before you start video production. “I usually do about 20 quick drawings before I actually start drawing on the whiteboard. When you first start, you’re kind of tight and rigid, so those initial drawings often aren’t too dynamic,” explains Wooding.
Take your time drawing every illustration, icon or word. You can always go back and speed things up in post-production, but it’s a little more complicated to fix a specific drawing after you’ve finished recording. Keep your storyboards on hand so you don’t unintentionally leave anything out and have some fun while creating your illustrations.
5. Record your voice-over and sound effects.
Whether you record the audio yourself or someone else does it for you, the quality of the voice-over is key to creating a quality video. If you record it yourself, try setting up an at-home recording studio. When you’ve captured your voice-over, try editing out undesired background noise with Adobe Audition. From there you can finish cleaning up the track and layer in sound effects when needed.
6. Bring it all together in post-production.
Use like Adobe Premiere to line up your voice-over with the corresponding illustrations:
Speed up or slow down your video so it lines up with the voice-over. Your entire visual recording will probably need to be speeded up, but not at a uniform pace throughout. Cut your visuals into sections and adjust the speed for each illustration individually to edit for flow and pace.
Alternatively, other creators replicate the whiteboard style exclusively using digital designs and illustrations. They achieve the same educational tone without physically drawing on a whiteboard.
However you choose to approach whiteboard animations, keep this in mind: “Push yourself to always be improving. I’ve experimented quite a bit and I’ve tried different pens, different lighting, different boards and different styles of editing,” says Wooding. If you’re not totally satisfied with your video, try something new and make something different. The possibilities are endless and the tools are at your fingertips.
You can control how Adobe websites use cookies and similar technologies by making choices below. But note that if you disable cookies and similar technologies entirely, Adobe websites may not function properly.
Cookies are small text files stored by your web browser when you use websites. There are also other technologies that can be used for similar purposes like HTML5 Local Storage and local shared objects, web beacons, and embedded scripts. These technologies help us do things like remembering you and your preferences when you return to our sites, measure how you use the website, conduct market research, and gather information about the ads you see and interact with.
You can make choices in the menu below about what cookies and other technologies you want us to use on Adobe sites when you visit them from this browser. You can always change those choices later by clicking on the Cookie Preferences link at the bottom of the page.
If enabled:
We can improve your experience by tailoring the site and the content to things we think might be of interest
We can better keep track of your preferences — like what language you prefer to use
We will better understand your likely interests so we can provide you more relevant Adobe ads and content on non-Adobe websites and in non-Adobe apps
It will help us improve the performance of our website and those of our partners who use the Adobe Experience Cloud
If disabled:
We won’t be able to remember you from session to session so the experience may not be tailored to your interests
You’ll still have access to the content of the site but certain features that depend on cookies may not function
You’ll still see ads, they just may not be as relevant to you
General information
You can control how Adobe websites use cookies and similar technologies by making choices below. But note that if you disable cookies and similar technologies entirely, Adobe websites may not function properly.
Cookies are small text files stored by your web browser when you use websites. There are also other technologies that can be used for similar purposes like HTML5 Local Storage, web beacons, and embedded scripts. These technologies help us do things like remembering you and your preferences when you return to our sites, measure how you use the website, conduct market research, and gather information about the ads you see and interact with.
You can make choices in the menu below about what cookies and other technologies you want us to use on Adobe sites when you visit them from this browser. You can always change those choices later by clicking on the Cookie Preferences link at the bottom of the page.
If enabled:
We can improve your experience by tailoring the site and the content to things we think might be of interest
We can better keep track of your preferences — like what language you prefer to use
We will better understand your likely interests so we can provide you more relevant Adobe ads and content on non-Adobe websites and in non-Adobe apps
It will help us improve the performance of our website and those of our partners who use the Adobe Experience Cloud
If disabled:
We won’t be able to remember you from session to session so the experience may not be tailored to your interests
We’ll still count your use of our site and services
You’ll still have access to the content of the site but certain features that depend on cookies may not function
You’ll still see ads, they just may not be as relevant to you
Operate the site and core servicesOperate site and measure engagement
Always active
These cookies are required, and they are used to enable the site and related services core functionality. Without them the site could not operate, so they cannot be disabled.
These cookies enable the site and related services’ core functionality and collect statistics about user engagement, such as counting active use to help us understand trends. These cookies cannot be disabled.
Measure performance
These cookies are used to analyze site usage to measure and improve performance. Without them Adobe cannot know what content is most valued and how often unique visitors return to the site, making it hard to improve information we offer to you.
These cookies are used to analyze site usage to measure and improve performance. Without them Adobe cannot know what content is most valued, making it hard to improve information we offer to you.
Extend functionality
These cookies are used to enhance the functionality of Adobe sites such as remembering your settings and preferences to deliver a personalized experience; for example, your username, your repeated visits, preferred language, your country, or any other saved preference.
Personalize advertising
These cookies are used to enable Adobe and our partners to serve ads more relevant to your interests. Without them you will still see ads, but they might not be as relevant to you.