Introduction
With a basic understanding - of the Pen tool, in this video, - you're going to get some practice, you're going to create some artwork - with the Pen Tool, and you might even learn - a few things along the way.
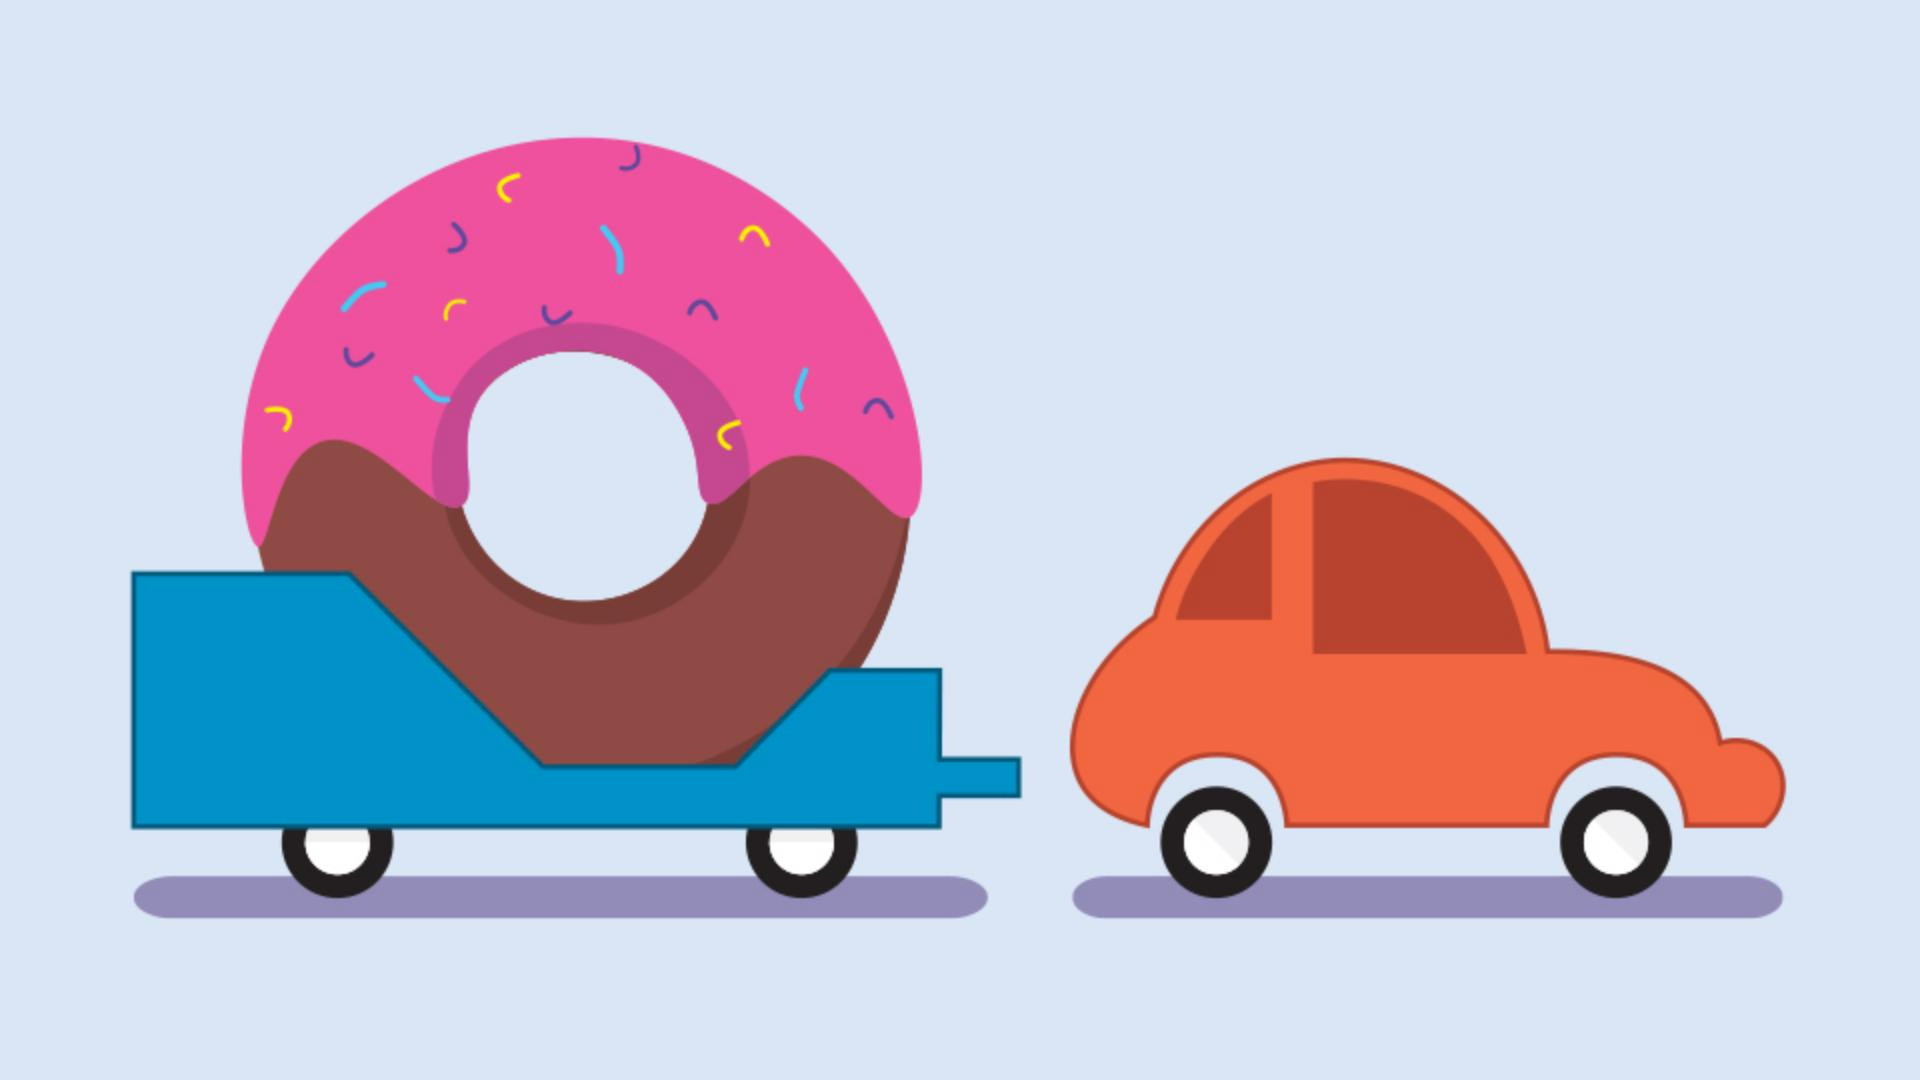
You'll create this trailer and this car, and you can see - the finished artwork on the right.
To start, you'll make sure - that the Smart Guides are turned off by choosing View, Smart Guides.
And then you'll start - by drawing this trailer.
Drawing straight paths with the pen tool
Now, it's mostly a lot of straight lines, - so select the Pen Tool And I'll zoom into it.
To quickly set the stroke and fill - to their defaults of a white fill and a black stroke, you can actually press the letter D - on your keyboard.
Then make sure to remove the Fill so you can see the template - through the path.
Now, you can start.
Start drawing anywhere.
I'll start down here.
Click and release to set a point.
Then move the pointer over - to the next corner.
And the path needs - to be perfectly straight here.
So you'll use the Shift key.
Press Shift and click, - then release the key.
You can move the pointer up here, and to make another - perfectly straight path, Shift-click the next corner point here.
Make another straight line here - by Shift-clicking.
Then move the pointer down here - and press the Shift key again.
This time, just drag the pointer - around a little bit.
You can see it's actually - going to snap to 45 degrees.
Come down here, click and release the mouse, then the key, and you just made a diagonal path.
Work your way around - by pressing the Shift key and clicking.
If you make a mistake, - you can always choose Edit, Undo Pen, and then redraw that last point.
And when you get - to the original point here, Shift-click to close the path.
Not too bad, right?
Making straight lines - should be pretty familiar to you now.
So let's move on to a shape
Combining straight lines and curves
that actually has straight lines - and curves to it.
I'll move over with the Hand Tool.
Now, take your time while drawing this.
Even pause the video if you have to.
Let's start down here - just because it's a simple straight line Click and release to make the first point, then to make a straight path, Shift-click.
Now, the next part of the path is a curve, so you're going to need a direction line - to make that curve.
Move the pointer back over the last point, press and drag away - to create a direction line.
Drag it roughly up here, go past the top of the template curve here - so the path isn't flat.
Then come here - where the next point's going to go.
Controlling curves with direction handles
Press and drag - and make sure the path before looks good.
Then release.
Now for this next path, you need to split the direction lines - to make a corner.
We won't delete the direction line here - because the path is so curved.
So press Option or Alt, and drag the end - of this direction line to the left.
Now, you can think of this curve as sort of similar in shape - to the one over here, but it's on its side.
Release the mouse, and then the key.
Create a new point here - by pressing and dragging.
Make sure the path behind looks good.
Now, you'll need to split - the direction lines since the next part of this path is going to go - in a slightly different direction.
So press Option or Alt and start dragging - the end of the direction line.
Splitting and adjusting direction handles
But let's think about this for a second.
Which way - should this direction line point?
Release the mouse - and the key for a second.
Move the pointer, and you can see that the path - goes to one side of the direction line or the other.
So if the path needs to go - in this direction, the direction line has got to go - somewhere over here.
If I were to move - the direction line over this way, it just won't work, look.
So press Option or Alt, and drag the end - of the direction line over to here.
Release the mouse and then the key.
Now, you can make a curve up here.
So press and drag to make a point.
And as you drag, press the Shift key.
That way, you can strain - the direction lines.
You can make them perfectly horizontal.
When it looks something like this, release the mouse and then the key.
Now, does your path down here - look a little off, it's not following exactly?
That might be because - the direction line's too long like mine.
To edit that, press the Option or Alt key and drag the end - of the direction line here closer to the point so there isn't - so much curve to the path.
There.
Come to the next point, - press and drag.
And the path changes direction so we can either split the direction lines - or remove the direction line.
Let's remove it in this case - because the path isn't super curved here.
So go ahead and click the point - to remove the leading direction line.
Now, to make the bumper.
For the next point, - press and drag to make the point and release.
Notice how it didn't tell you - to go look back at the path as you're drawing it?
Because I'm hoping you're kind of - getting the idea with that now.
You'll split the handles here - since this path has more curve.
So press Option or Alt and drag the end of this direction line - in the direction of the path.
Press and drag here - and make sure the curve before looks good.
Now, the next part - of the path is straight, so we don't need the direction line.
Option or Alt-click the point - to remove it.
Then come over here, - simply click and release.
Now, the next part is a curve, so you're going to need - a direction line to control it.
Press and drag from the point - you just made to make a direction line.
To close this path,
Closing paths and completing the artwork
move the pointer over the original point - you started with, and you should see a small circle - next to the pointer, press and drag to finish the car, and close that path.
If you've gotten this far, great job.
Getting as much practice - with the Pen Tool as possible is the key to getting better at it.
Practice, practice, practice, - that's what I always tell people.
And it will take time.
So, maybe you could try - drawing these two shapes again.
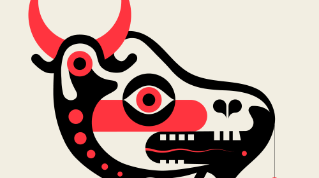
And maybe go over here and see if you can draw this monster shape - for even more practice. -