Moving an image from Lightroom to Photoshop is often the next step when you want to make more complex adjustments like skin retouching, creative effects, or simply using a tool or adjustment not currently available in Lightroom.
Hi, I'm Glyn Dewis, and in this video, I'm going to show you how to use a simple but powerful feature in Lightroom that makes it possible to send an image into Photoshop, so that we can make some further adjustments and then have it go straight back to Lightroom.
I have this image here open in Lightroom, that I've applied some adjustments to already, and you can see those here.
But now I want to add some extra creative effects.
And to add those, I need to use Photoshop.
To send the image into Photoshop, I go to the File menu and choose Edit in Photoshop...
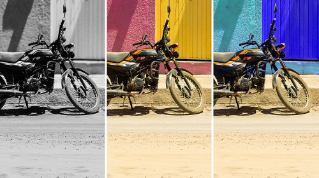
And now that the image is open in Photoshop, I'll start by adding a faded film look, and I can do that very easily using a Color Lookup table adjustment layer.
Yes, I'm liking it a lot.
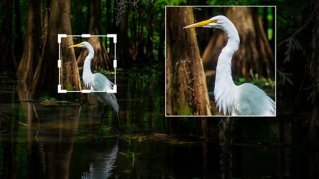
Now I think I'll add a border around the image, and I'll use one that I have saved in my Creative Cloud library.
I'll drag it in and then just resize it.
Now that I'm finished in Photoshop, I'll go to the File menu and choose Save.
And then close the image.
Doing this sends our image back into Lightroom, which is super handy because of two reasons.
Firstly, if I now decide that actually I wanted to make some further adjustments to those I'd made in Photoshop, if I go to the File menu, and Edit in Photoshop..., we can see that all of the adjustments are still available to us in the Layers panel.
Also, back in Lightroom, if I press G to go to the Grid view, you'll see the number 2 is now showing in the top right-hand corner of the thumbnail.
This is because when we sent our image into Photoshop, Lightroom actually created a copy and that is what we worked on.
Meaning that our original image remains untouched and this is called a stack.
If you wanted to access it, all you would need to do is go to the Edit menu, Stacks, and Ungroup Stack.
And here is our original image and its adjustments.
The only thing to consider here is that when you send an image back from Photoshop into Lightroom and then make some further adjustments and then send the image again into Photoshop, the layers in Photoshop are no longer available.
If you want to preserve any layers you've added in Photoshop, just make sure you don't apply new Lightroom adjustments to a file that's already been edited in Photoshop.
Now you know how to send an image from Lightroom into Photoshop and back to Lightroom, and also what to consider if you want to continue to have access to all of the adjustments that you make.
The great thing about this particular workflow is that your original image remains in Lightroom, and you also have a new file with all of the edits you made in Photoshop.
So, for me, Glyn Dewis, have fun making use of this workflow with your own projects, and I'll see you in another video.


