Introduction
When working in Photoshop on the iPhone, you may find yourself wanting to edit parts of your images, and you can easily do so by using selections and adjustment layers.
I'm Howard Pinsky, and in this video, I'm going to show you how easy it is to edit parts of your images using Photoshop on iPhone.
Here we have an image I'm working on, and I'd love to change up the colors for a fun look.
Let's start by selecting our main object.
Selecting objects to target specific edits
Tapping on Select area, Photoshop has detected several objects we can immediately add to our selection.
I can either tap on the thumbnails in this list or directly on canvas.
With our object now chosen, tapping the Checkmark will create our first selection and give us a few options at the bottom, including Adjust area.
This will show us various adjustments that we can make to our selected object.
Adjusting color with hue and saturation
And since we're looking to change color, let's add Hue and Saturation.
Here we can shift the color with the Hue slider, adjust Saturation and Lightness.
I'll now tap the Checkmark at the bottom of the screen to commit the adjustment.
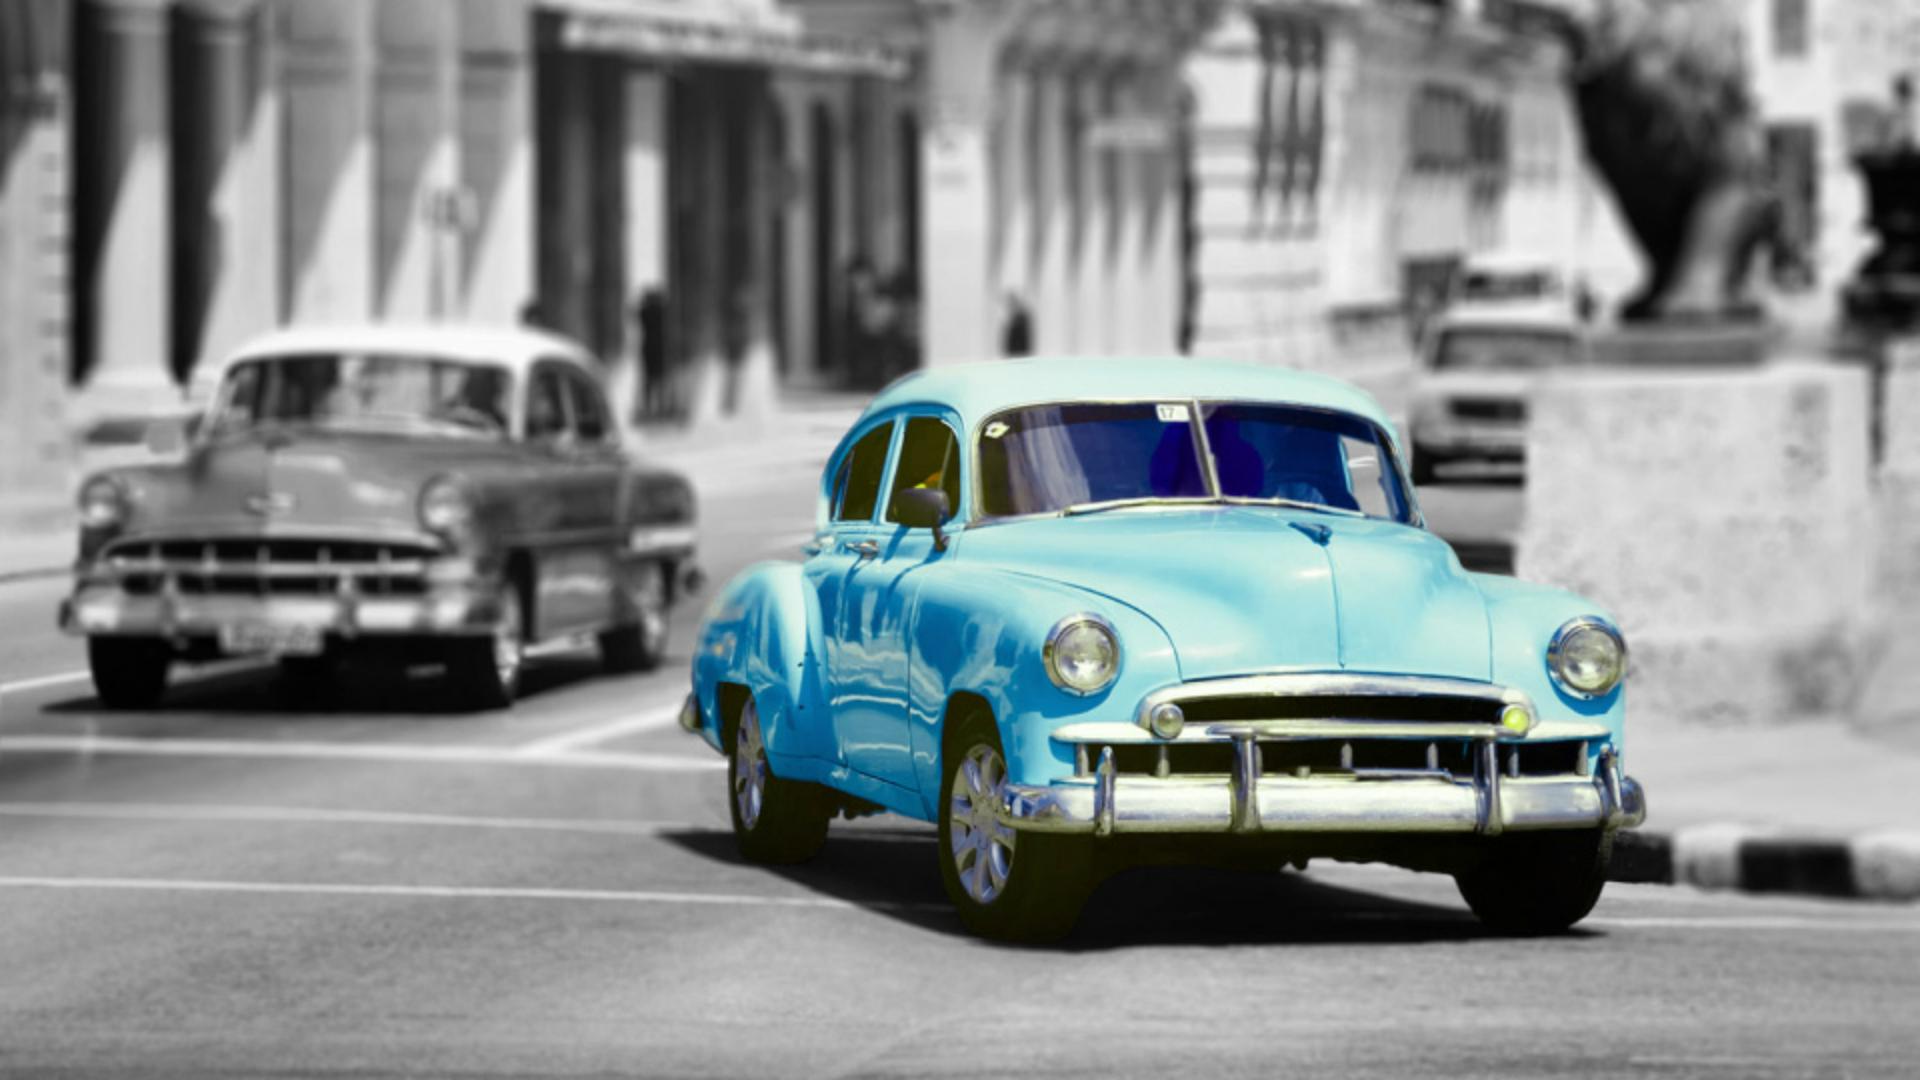
That's looking pretty good, but what I'd love to do now is make the rest of the image black and white.
So, diving back into Select area,
Inverting selections for black and white effects
I'll once again select the car by tapping on it in the image.
But this time, I'm also going to tap on this Invert button to select everything else in the image.
Now, when I tap on the Checkmark to create the selection, you can see the animated border that represents the selection around everything except the car.
Next, let's do something with this selection.
I'll tap on Adjust area and this time I'm going to choose the Black and white adjustment to give this image a nice, timeless look.
I can also go through the various color sliders here to tweak the various gray tones of particular colors if I'm after a specific look.
For example, if I drag the Yellows slider to the left, everywhere that was yellow gets darker.
You can even add an overall tint to the image at the bottom.
And if you change your mind about the tint or any of these adjustments, just tap the Undo button at the top as many times as you need to.
With our edit looking snazzy, I'll tap on the Checkmark to apply the adjustment.
Next, I'm going to open the detailed layers stack
Reviewing and editing adjustments in the layers stack
by swiping left on these mini layer thumbnails.
And what you may notice is that both our adjustment layers have been added to the layers stack.
So, at any point in the future, you can jump back into either adjustment layer to make changes.
And that's how you can quickly adjust parts of your images using Photoshop on iPhone.
I'll catch you all in the next one.


