Introduction
[Jan Kabili]: A fun way to add objects to an image is to use the Clone Stamp tool to copy content from one part of an image and stamp or paint it in wherever you want it.
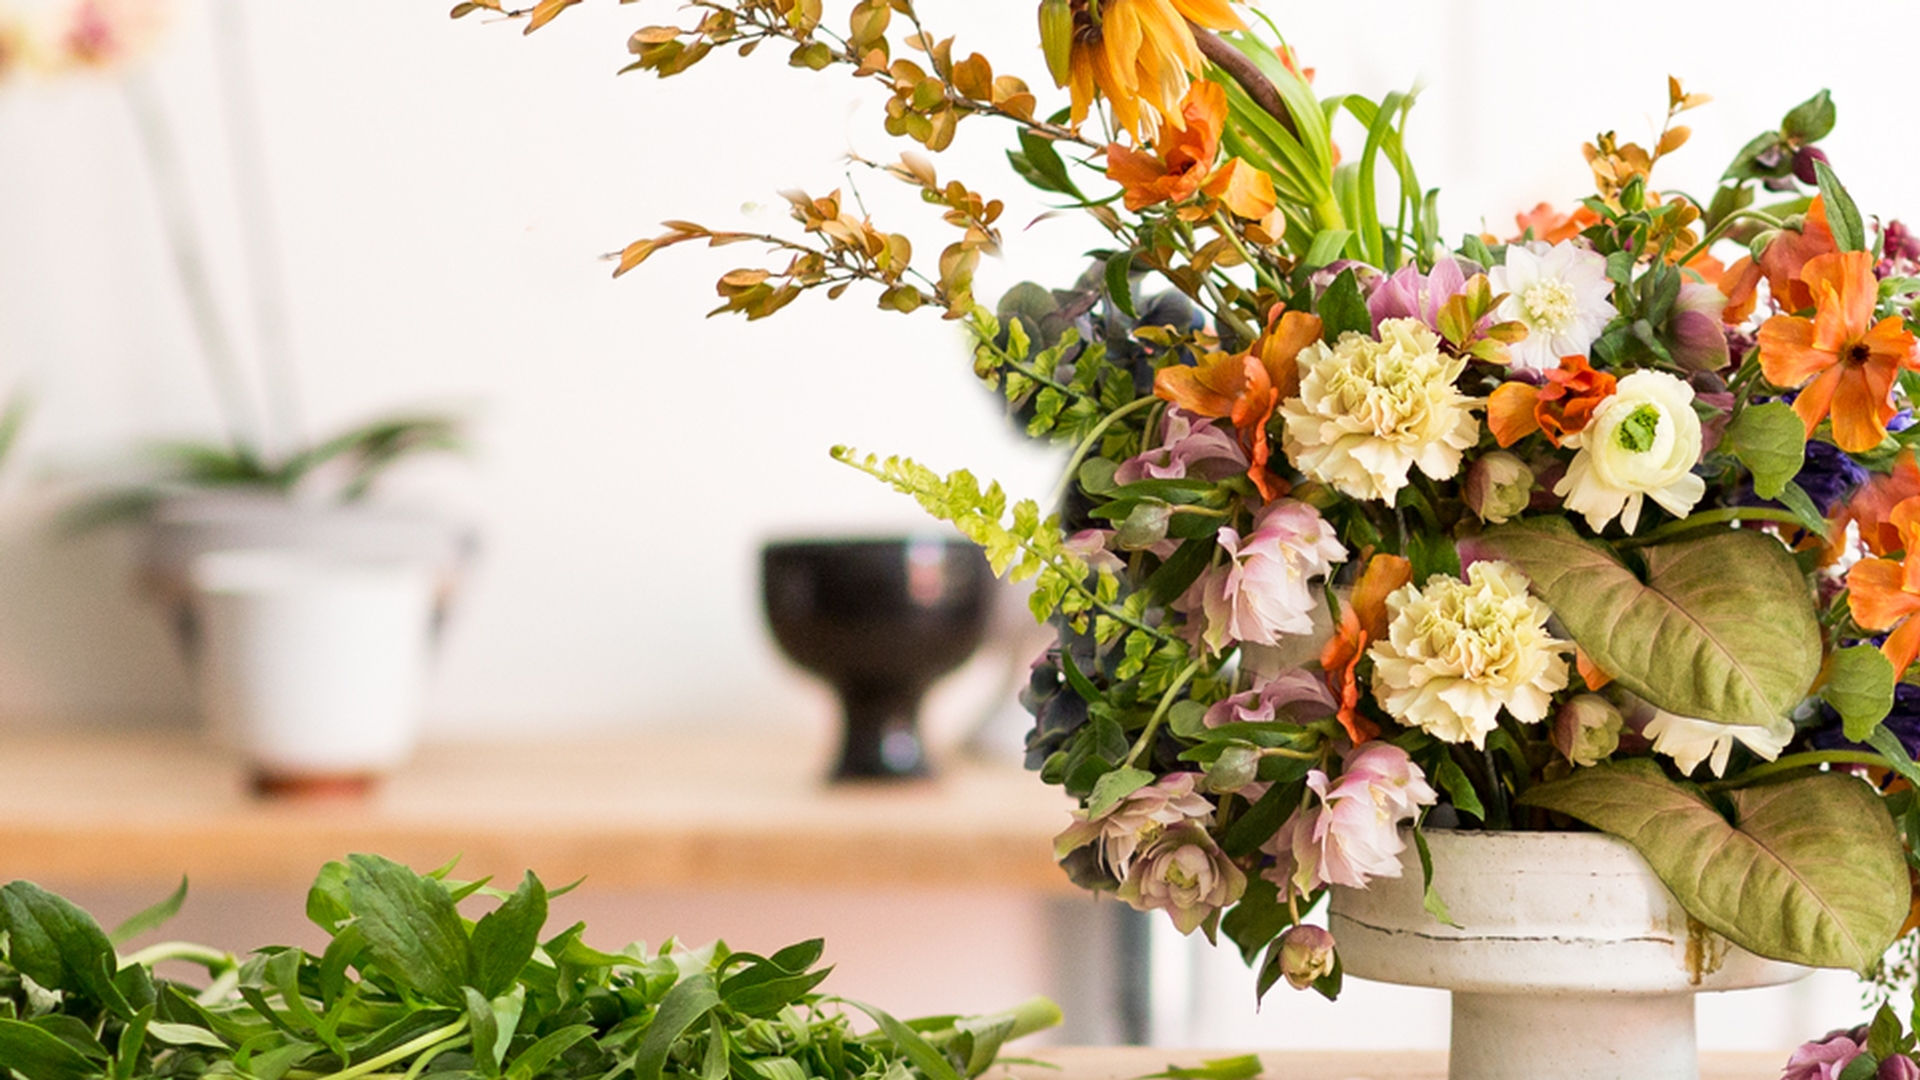
Let's try that on this image from the practice files for this tutorial, using the Clone Stamp tool to fill in some of the sparse areas of this flower arrangement with more flowers.
Selecting and setting up the clone stamp tool
Go to the Tools panel and select the Clone Stamp tool, which is here.
Hover over the image to check your brush tip.
My brush tip is very small on this large image.
So, I'm going to go up to the Options Bar for the Clone Stamp tool and click the Brush Picker.
And there I'll drag the Size slider to the right, to make my brush tip bigger.
It's also a good idea to increase the Hardness of this brush from its default of zero.
I'm going to put it way up here.
And then click in a blank area to close the Brush Picker.
Now we're going to load the Clone Stamp tool with an object to copy, sort of like you would load a paintbrush with paint.
To do that move down to the bottom right of the image over these flowers,
Sampling source pixels and painting with the clone stamp
and then hold down the Option key on a Mac or the ALT key on Windows.
Notice that the brush tip changes to a target icon.
Click there and then release your finger from the Option or ALT key.
And the brush tip changes to its normal view.
Now move up to an empty area, so that you can see that your brush tip is now loaded with those flowers that you just sampled.
Click and drag and you're painting with the flowers.
As you do, there's a small cross symbol, a source point, that's moving along with you, sampling more flowers, so that you can paint with them using the Clone Stamp tool.
Now that you have an idea of how this works
Filling areas naturally and avoiding repetition
let's try this to fill in the flower arrangement.
First let's undo what we've painted here by pressing Command + Z on the Mac or CTRL + Z on a PC.
And if you need to step back more steps, go up to the Edit menu and use step backward.
Then move over the flower arrangement and hold down the Option key or the ALT key on Windows.
The cursor changes to a target.
Click and release your finger from the Option or ALT key.
And then move over an area, where you need more flowers, and start painting.
And you can see that the source point is moving along with you, adding more content to this image.
If you get a result that you don't like, try loading your brush with different flowers.
Hold down the Option or ALT key again somewhere else and then release your finger and paint over the area that you didn't like.
Go ahead and continue the same way on your own, loading your brush tip with flowers and cloning them in to fill out that flower arrangement.
If you'd like to see an example: Here's an example I've been working on.
And here are some tips to help you as you work: As you go, try loading your Clone Stamp from different areas of the image so you don't get a telltale repeating pattern.
And you can also change your brush size as you work, to clone smaller or larger areas.
Take your time and have fun with this.
When you get a result that you like,
Saving the finished image
go up to the File menu, choose Save As... and save your image in the Photoshop or PSD format.
And don't forget to try this fun technique on your own images.