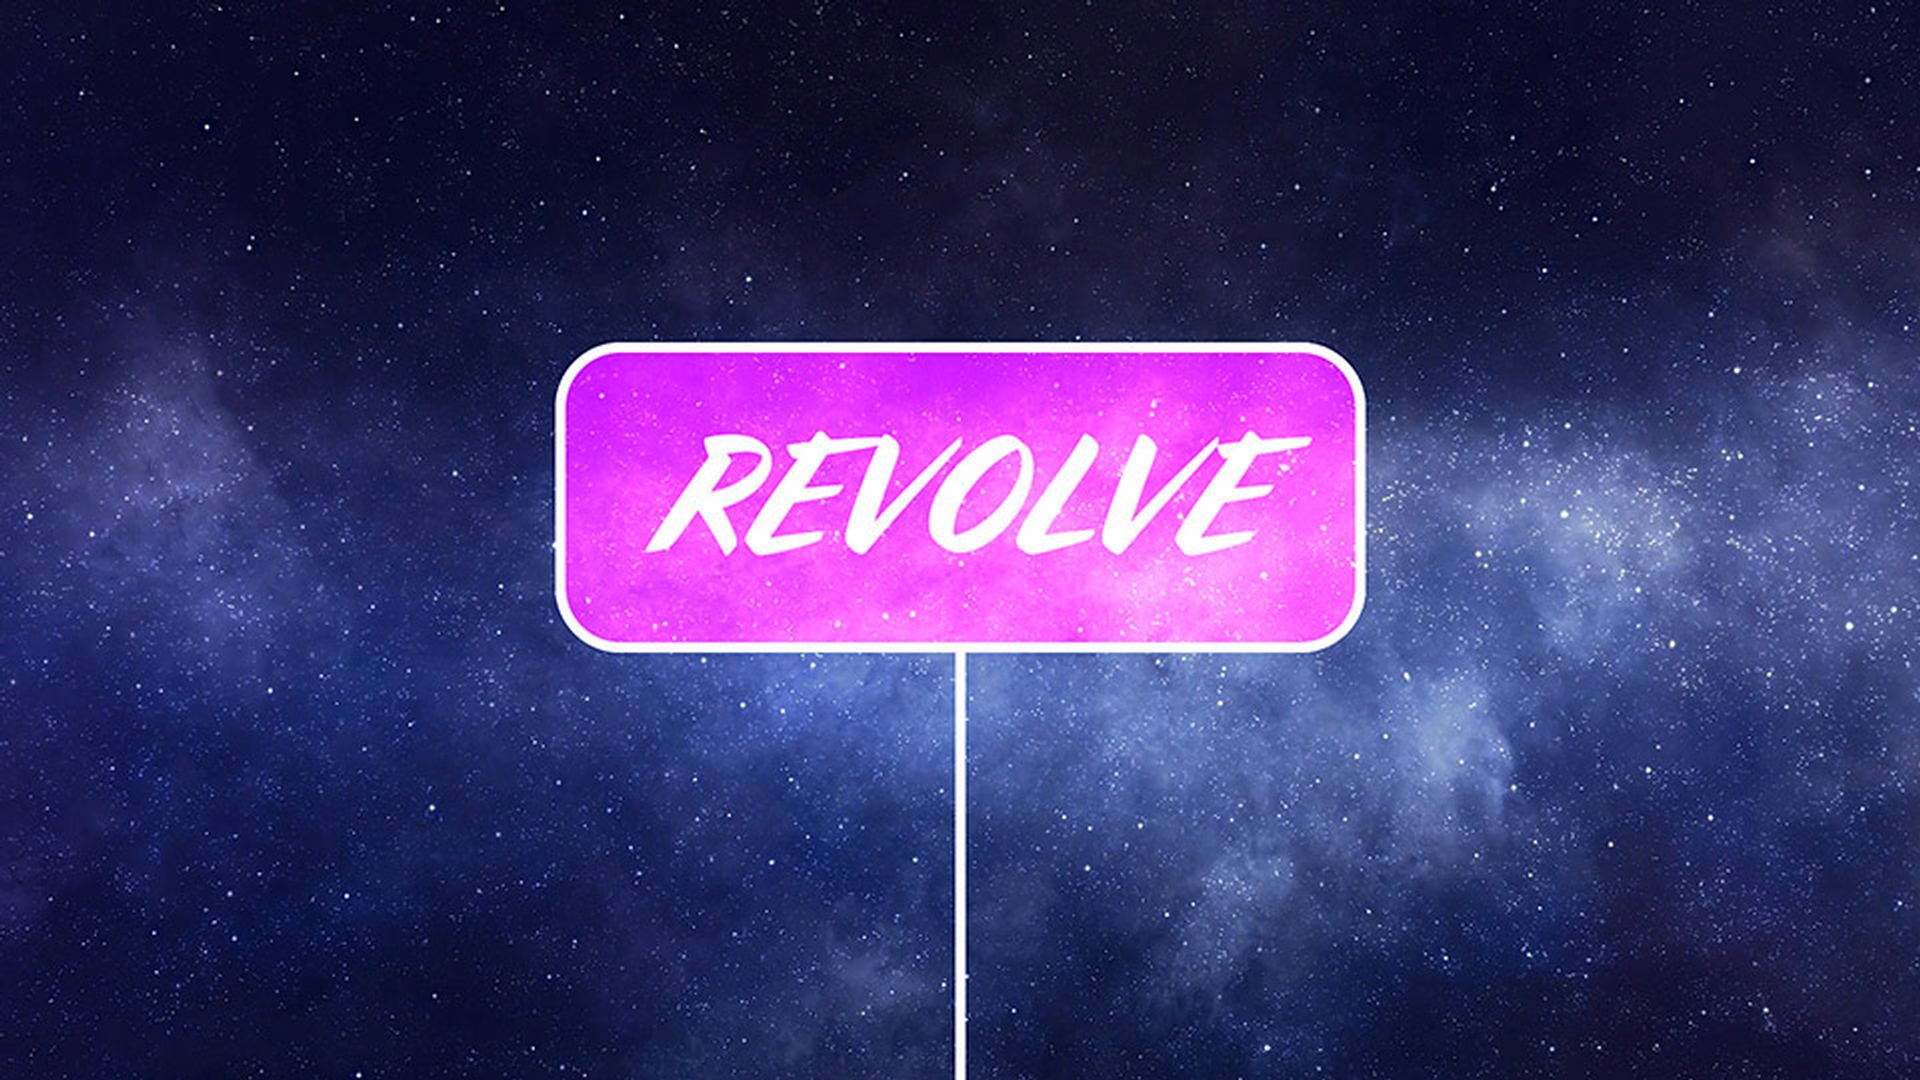
In this project, we're going to learn how to position 2D layers in 3D space.
As we make this sign Revolve towards us, kind of like a paddle wheel.
To start, I'll go down and select Layer 1, and press P to open the Position data.
Notice, we only have data for X and Y.
There is no Z.
That's because we need to enable 3D for this layer.
To do that, in the Switches panel, you want to go ahead and enable the Right Mode switch.
And when you do that, now you'll see we have X, Y, and Z.
And we have additional Rotation values.
There are other visual cues that let us know we're in 3D as well.
In the middle of the Composition panel, the layer that's selected is the 'Revolve' sign.
And I have Control Axis handles that allow me to reposition that layer along the specific axis.
For example, when I hover over the X axis, I see the letter X.
And if I click and drag, now this layer's only moving along the X axis in 3D space.
I'll just press Control Z to undo that last command.
And visually I also know I'm in 3D because in the upper right-hand corner it says I'm in the Classic 3D Renderer.
Now let's go down to the Timeline and scrub on the X Rotation value.
And you'll notice it's rotating around the middle of the sign.
And I want it to rotate around the bottom.
So, I'll make sure my X Rotation value is set at 0.0.
And I'll go up to the Tool bar and grab the Pan Behind tool.
Now, we can hover over the Y Axis handle till we see the letter Y.
And then click and drag down.
And that will move the anchor point along the Y axis.
Go ahead and drag it until it just disappears off the bottom of the screen.
Then press V on your keyboard to grab the Selection tool.
And, hover over the Y axis for the Position because I want the bottom of the sign to go off the bottom of the Composition panel.
So, let's scrub on the Y axis until the bottom of the sign just goes off the bottom of the composition.
Now if we scrub the X Rotation, you'll see it's rotating in 3D space.
And we can animate it rotating towards the camera by setting some key frames.
Let's change the X Rotation value to a value of -90.0 and press Enter.
Then, add a key frame for the X Rotation.
Now let's move the Current Time Indicator to 0:00:01:00.
And change the X Rotation to a value of 0.0.
Now as we scrub, you can see it's spinning up.
I'd like it to stay at that position for a little while.
So, let's move the Current Time Indicator to 0:00:02:00.
And then go to the left side of the Timeline and click the Add Key Frame button to add another key frame.
And to finish this off, let's move the Current Time Indicator to 0:00:03:00 and change the X Rotation value to a setting of 90.0.
Now to see this rotation more clearly, I'm going to go into the middle section of the Composition panel.
And click on this drop-down where it says '1 View' and change it to 2 Views - Horizontal.
Now in the upper left corner of the right side here, I can see my Active Camera.
This is what will render out.
Or I can see my Custom View 1 here.
If you're not seeing Custom View 1, click on the left side of the panel.
And then go to this drop-down here and make sure Custom View 1 is selected.
Now, when I scrub my Current Time Indicator, you can see a different perspective of your 3D rotation.
Now to make this animation a little more interesting, I'd like to have more than one sign rotating.
So, let's select Layer 1.
And press Control D on Windows or Command D on the Mac to duplicate.
And then drag the layer.
And after you start dragging the layer, hold down Shift until its In point is right at 0:00:02:00.
Now, let's check out our animation.
I'm going to click on the right side of the Composition panel to make sure the Active Camera side is active.
And I'll change my 2 Views - Horizontal drop-down to 1 View, move my Current Time Indicator back to the start of the Timeline, and press the Spacebar.
And now you can see I've got one sign and then a second sign.
So, when it comes to positioning 2D layers in 3D space, it's just a matter of paying attention to what different parameters are active.
And if you can't see what's going on in the scene, you might want to click on the View pull-down.
And take multiple views or different angles of your scene, so you can have a better idea as to where things are positioned in 3D space.


