When you want to add text, logos or images into a 360 video in Premiere Pro CC, you need to make sure those layers are projected correctly on your equirectangular footage.
To demonstrate, I'm going to drag in a logo into my sequence.
I just place it on top of my video.
Now, I'm going to come here and toggle the VR Video Display.
So, now I can actually click and drag around our 360 video just like we would online or on a headset.
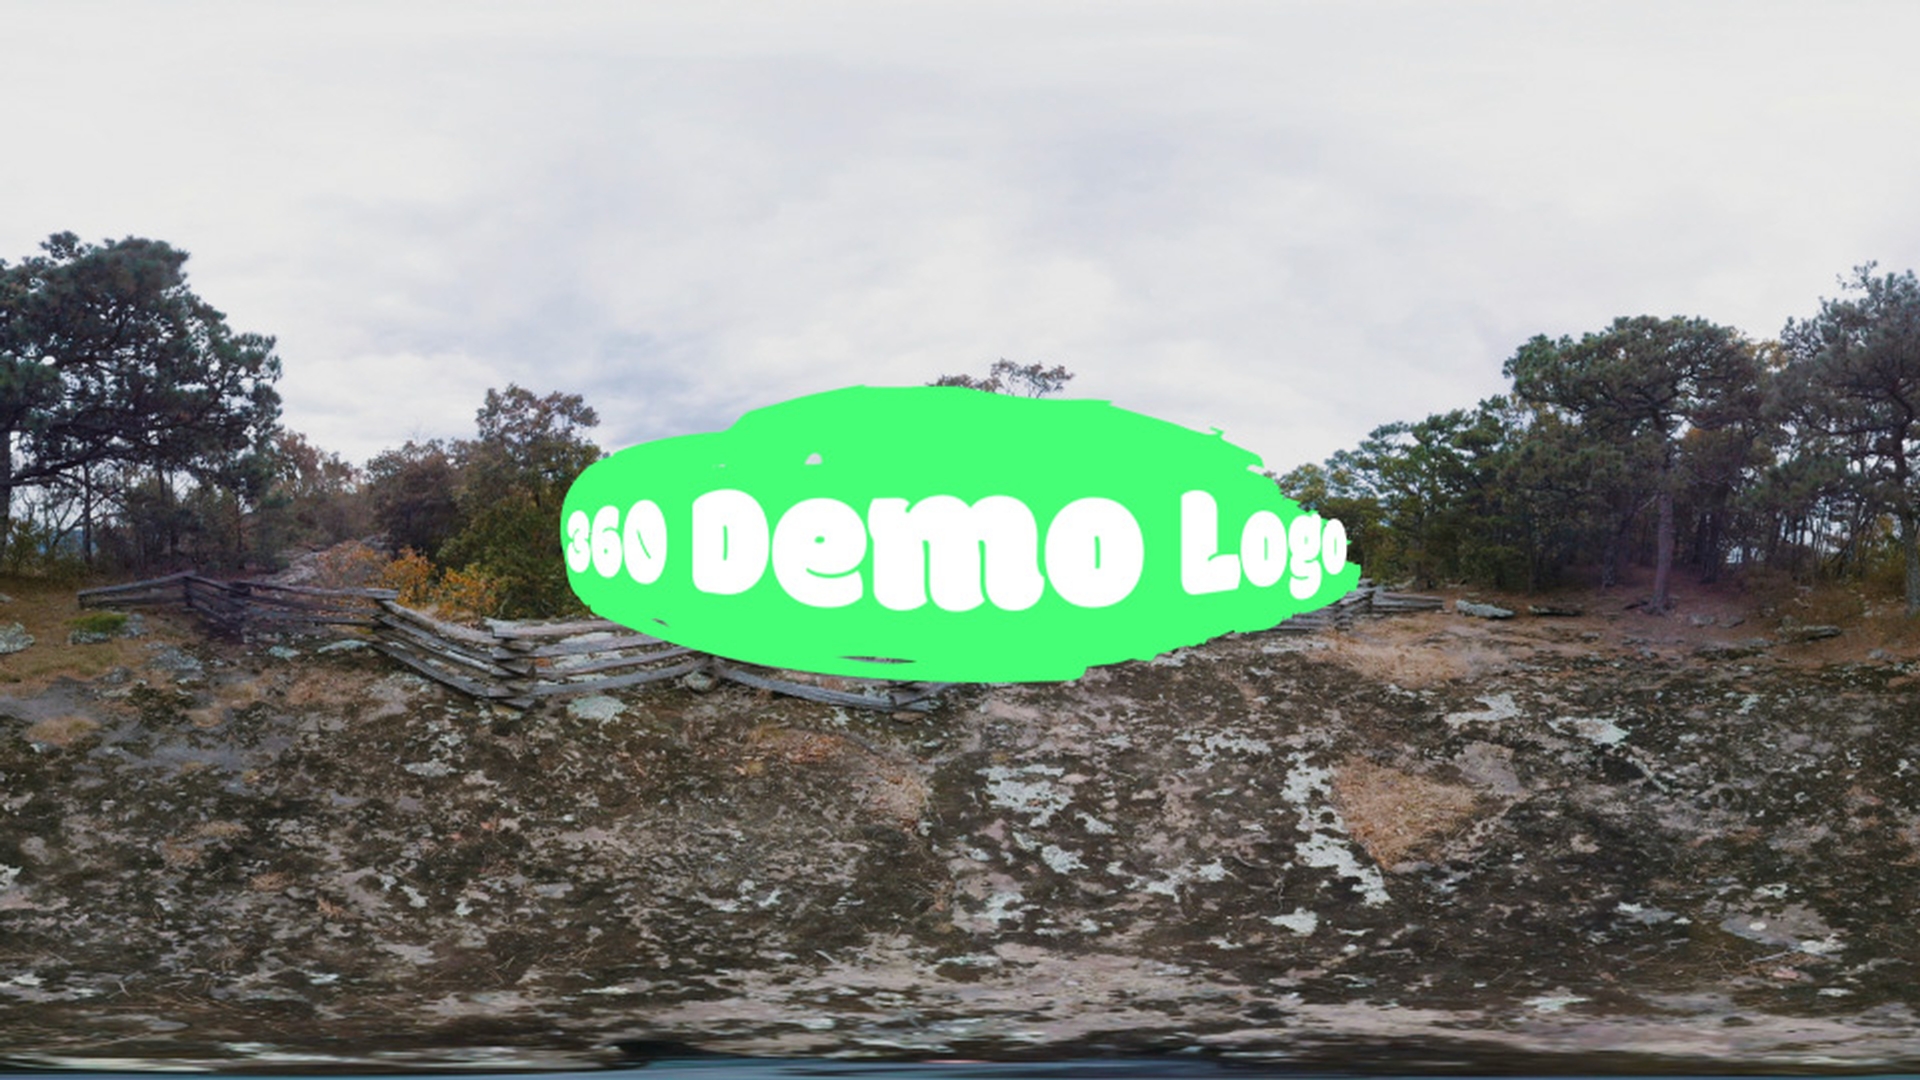
Everything looks correct except for the logo.
If we look at that, you can see it's actually kind of wrapping around the spherical shape of our video and it's not being projected flat like it needs to be.
So, I'm going to go ahead and turn off the Toggle VR Video Display.
And you can think about this as if our footage has been unwrapped from a sphere.
If we look at the logo, the logo is actually correct right now.
However, the rest of our video again looks as if it's been unwrapped.
So, we need to properly restore our logo in this current state, that way when it wraps back around to the spherical shape, it will be projected correctly.
In order for us to do that, we're going to apply the VR Plane to Sphere effect.
So, I'm going to come over to the Effects panel, under Video Effects, I'm going to scroll down here to Immersive Video.
And then under Immersive Video, I'm going to find the VR Plane to Sphere effect and I'm going to apply that effect to my logo.
When we do that, you'll see the logo distort, almost as if it's kind of bulging out here in the center and the sides get a little bit smaller because those are actually being unfolded from the sphere.
So, let's go ahead and jump back over to the Toggle VR Video Display and see what this looks like.
So, now looking at this in VR, if I actually look around the scene, we can now see the logo actually is being projected flat, as the way we intended it to be.
However, we can do a few more adjustments over here, if we go to the Effect Controls for VR Plante to Sphere, we have options we can select, such as Frame Layout, if we're working with Monoscopic or Stereoscopic Over/Under footage.
We're currently working with Monoscopic, so I'm going to leave that as is.
The next setting is the Scale (Degrees).
This actually effects the field of view that our object takes up here.
So, if we go ahead and adjust the scale, we can go a little bit back in space, it's actually taking up less of our field of view.
In essence, it makes the logo look smaller.
Now, we can again move it closer if we want to as well.
And you can also keyframe this, you can adjust this moving in your scene if you need to.
We have another option here for Stereo Disparity and that's only if you're going to be working with Stereoscopic footage.
Our next option we have here is Feather.
I'm going to go ahead and scale this back up, so we can see this a little bit easier.
The Feather I'm going to actually apply to the edges of our logo or text or image.
Now, I'll go ahead and increase that.
You'll see the feathering kind of affect our logo there.
It's a nice setting to adjust if you get aliasing around the edges of your logo or text and you want to help soften those up.
Next, we have Rotate Source.
I'm going to go ahead and scale this back down a little bit.
And under Rotate Source, what it does is it's actually going to rotate whatever layer we have this applied to.
Kind of like a flat 3D layer.
So, I'll go ahead and adjust the tilt here on the X axis.
You can see how that rotates our logo.
We can do the same thing on the Y and the Z axis.
I'm going to go ahead and reset each of those.
And now, I'm going to go ahead and close the Rotate Source.
Now, the next option we have is Rotate Projection.
This will actually rotate our logo around our 360 scene.
And again, we have the Tilt, Pan and Roll.
Then I'll go ahead and adjust this on the X axis and you'll see it actually moves our logo up and down.
But the good thing is, if I move it up, and you actually look at it, it's still being projected flat like the logo is supposed to look.
And again, we can move this around using the Pan control here if we need to as well, and the Roll control.
Now, if I actually jump out of the Toggle VR Video Display, we can see the logo again.
It has that proper distortion to it.
That's a good signal, this is going to look correct on our equirectangular footage.
The VR Plane to Sphere effect is also available in After Effects CC and works the exact same way.
I'll go ahead and select the VR Plane to Sphere effect, apply it to a logo here in After Effects CC.
You'll now see that proper spherical distortion applied to our logo.
We have the same Effect Controls over here just as we did in Premiere Pro CC.


