Introduction
A Luma Matte is actually a short way of saying luminance matte and what luminance is, is the brightness of an individual pixel.
So, you can actually use luminance to determine the transparency of a layer.
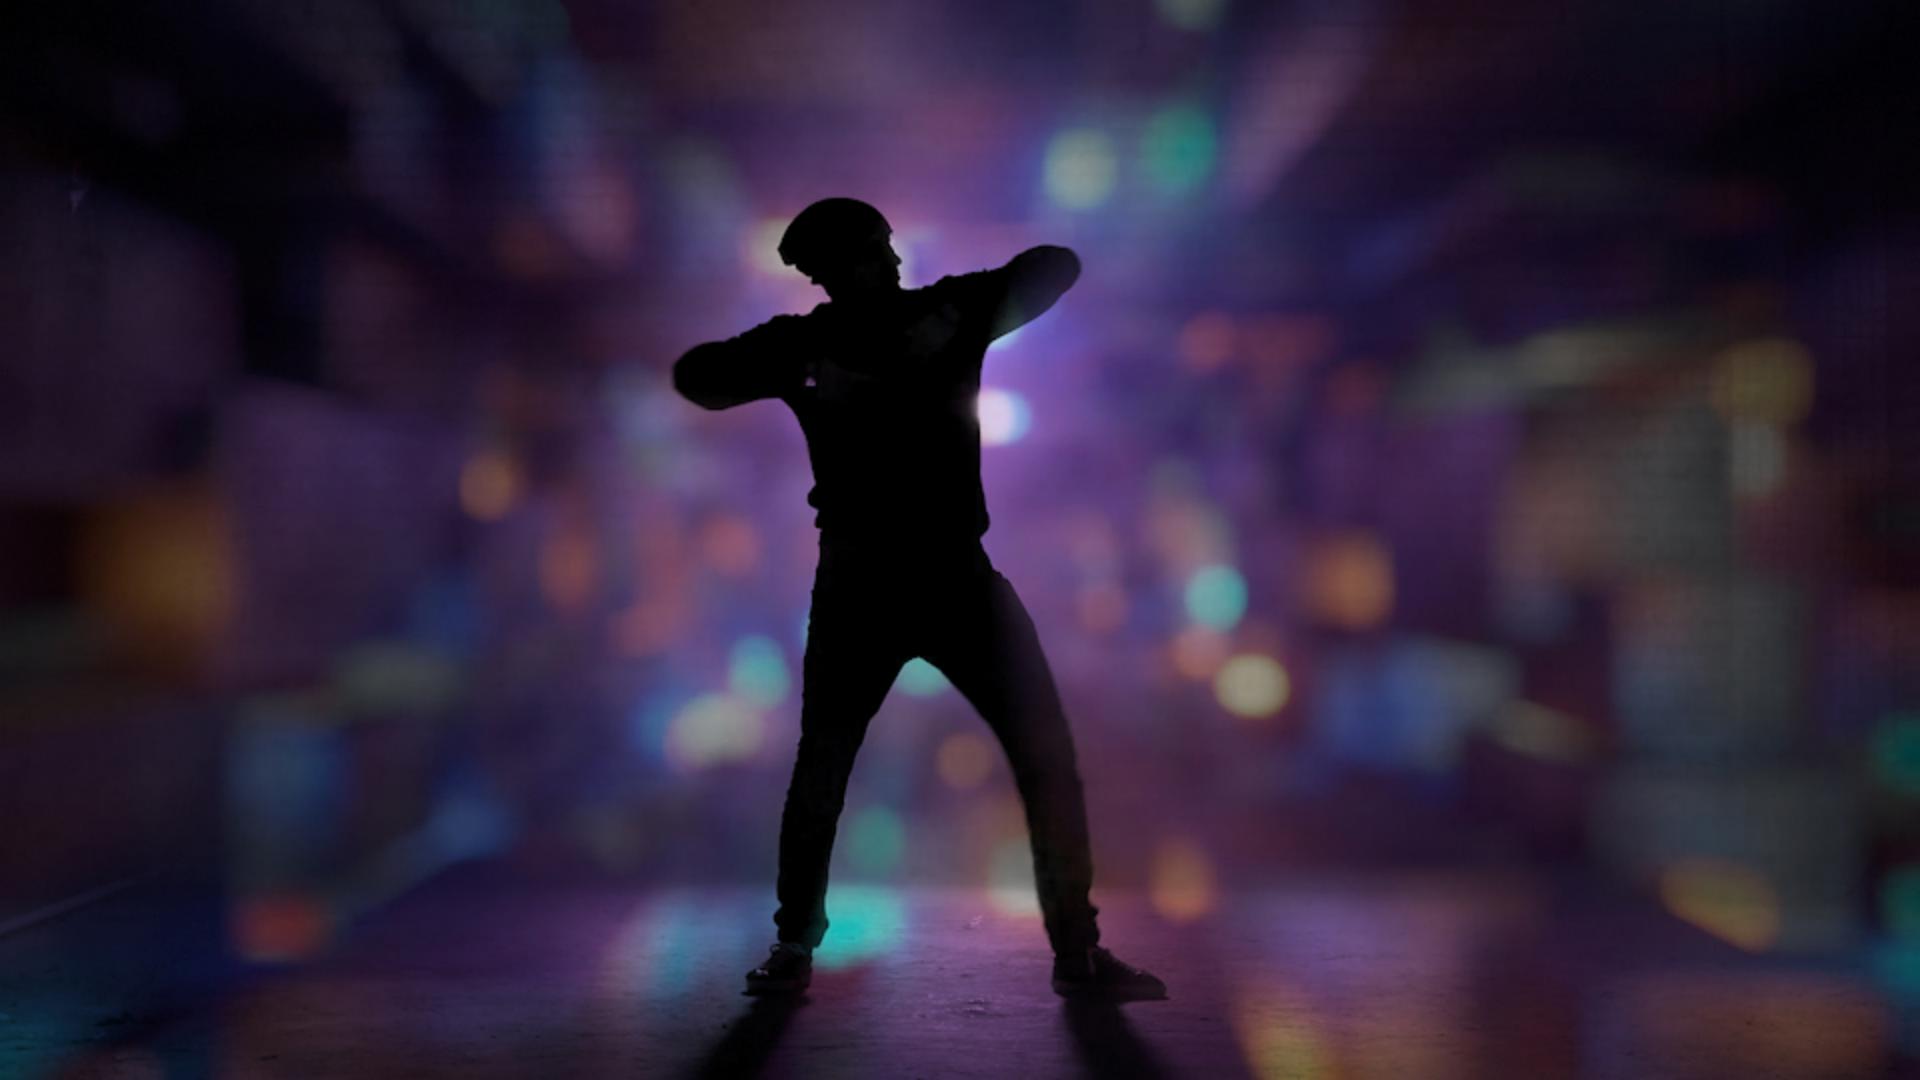
So, for example, in this video here I've got a Dancer.
And if I scrub through the Timeline you can see as he's dancing, we've got different moves and stuff, but basically, he's almost black and then his outline shape is almost white.
And so, I can actually use that to cut this dancer out of a background using only its luminance.
Understanding luminance and luma matte transparency
So, let me show you how that works.
Applying a luma track matte to composite video
If we go down to the Timeline, I can turn the visibility of the Dancer Layer off and here you can see I've got Colorful Lights as a background layer and I want to fill the Colorful Lights in the lighter areas of this dancer.
So, the easiest way to do this is to go to the bottom of the Timeline and Toggle your Switches and Modes until you're actually in Modes.
And then if you click on the Track Matte here you can say I don't want to use the Alpha channel for this dancer because the Alpha channel is full screen video.
So, that's really not going to help.
I want to choose Luma.
But here, first I'll choose Alpha Matte so you can see nothing is changing because it's full screen video.
But when I choose Luma Matte it's only looking at the brightness of that layer.
Now, you notice I can still see some of these little dots inside my dancer.
And as we move all the layers are moving and that looks pretty cool, but if I really want to pop this silhouette what I'm going to do is work on increasing the contrast in that image.
Improving matte quality by increasing contrast
So, I'll select Layer 1 and I'll turn its visibility on.
So, notice when we applied the Luma Track Matte it turned its visibility off.
So, I'll turn its visibility on so we can see it and then I'll come over to my Effects & Presets and I'll type Black and that's Black & White.
So, I'll drag and drop that on there to make this black and white.
So, now we're only dealing with brightness of pixels.
Now, I could adjust this by adjusting things like in the Magenta area here and that would change the brightness of the Magenta pixels.
I don't really need to do that, so I'll just undo.
What I want to do is heighten the levels, so the black pixels are black, and the lightest pixels are really bright white.
So, I'll come back over here, and I'll search for Levels.
So, L E V E L S.
There we go.
And I'll drag and drop under Color Correction, Levels right on to here.
And notice I have a Histogram over here.
So, a Histogram is a representation of the video signal from left to right and on the left side here on this upper graph I want to grab this leftmost triangle.
This is the input for the black levels.
So, I want to drag it until it actually gets into part of the video signal here.
So, now you can see he's actually black and then I still have the white input which I could use to make things brighter, but honestly since I've already got bright pixels right here, I'm going to leave that alone.
So, now I can turn the visibility of this layer off, so the Luma Matte is looking at the layer above after all the effects have been applied.
So, now you can see in his face there's no bleed of information, but if I turn its visibility on, here you can see I've got little lens flares and stuff here which is what is actually allowing some of the colors to show through.
Reviewing the final luma matte composite
So, now as I scrub you can see I've created this kind of interesting effect where the dancer is isolated from the background of the blurry colorful lights that was created only by using what's called a Luma Matte.


